
Physics of Sound Drum Project
Project Overview
This project was part of a larger interdisciplinary project with the other 9th/10th grade subject teachers. In the interdisciplinary project, students created a song about a specific message.
Student groups were called bands, and each band had to create one song with a specific message.
The songs were compiled into one album that was shared through out the school.
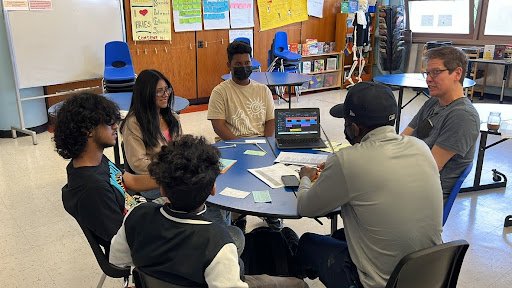
The project culminated with groups doing a live performance of their song and a presentation students made about the power of music with a teacher at the school.
In my physical science class, each band had to create a drum to play during their live performance. Each student in the band created one drum that played a specific musical note different from their other band members.
Interdisciplinary Breakdown
English & History Class
Responsible for developing the message and writing the lyrics of their song
In History, students studied songs with powerful messages.
In English, students learned about literary devices.
Student bands chose a specific message they wanted to focus on in their song and wrote lyrics connected to the message.
Each student in the band wrote one verse for their band’s song. As a band, they developed the chorus together.
Meanwhile, in history class, students developed their presentation around the power of music using concepts they learned in their subject classes.
Science & Math Class
Responsible for creating the digital instrumental and drums for their song
In my physical science class, students learned about sounds waves, frequency, amplitude, pitch, and how the human ear perceives sound.
In math, students learned the math related to rhythm, tempo, and beats.
Each student in the band selected a musical note and calculated the length of the drum needed to produce that musical note.
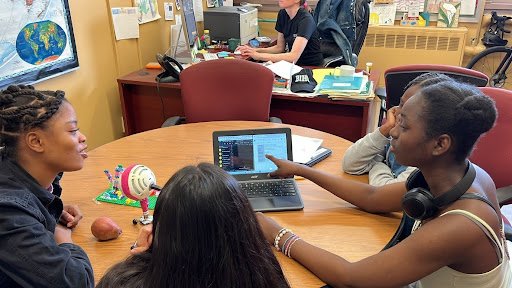
Students used their work in math class to create their digital instrumentation and identify the tempo and rhythm of their song.
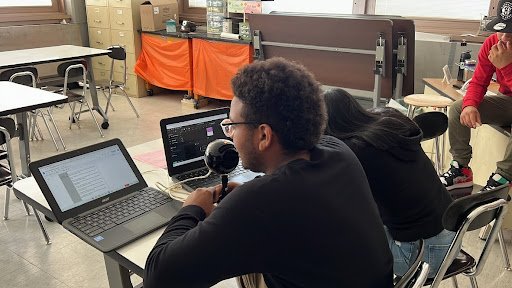
When students had their written song and digital instrumental, they recorded their song, which was uploaded to our Soundcloud album.
Project Facilitation Resources

To support students as they collaborate with their team, consider having students develop a team collaboration contract. Go here to see student-facing materials and read about how I use the restorative practice of talking circles to have student groups create their collaboration contract.

Consider having students use a Kanban Board to collaboratively manage their work together to develop their drums. Go here to read how I implement Kanban Boards during a project.

In this project, students move through a design process to develop a drum that plays the frequency of a specific musical note. Consider having students document their design process that they can use to reflect on their learning more deeply. Go here to read how I have students use time-lapse or stop-motion video to record their design work in my STEM project.
Project Facilitation Guide
Note: The guide describes how students used the science content to create their drums. It does not detail the work in their other classes connected to this project. Consider how you may want students to use the drums they create at the end.
Part 1 - Discovering the Physics of Sound
Students sharing their favorite songs and traditional instruments from their home countries using this activity and presentation template.
Introduce the project to students that they will create their own musical drums that can play the pitch of a specific musical note. Collect student questions about the project.
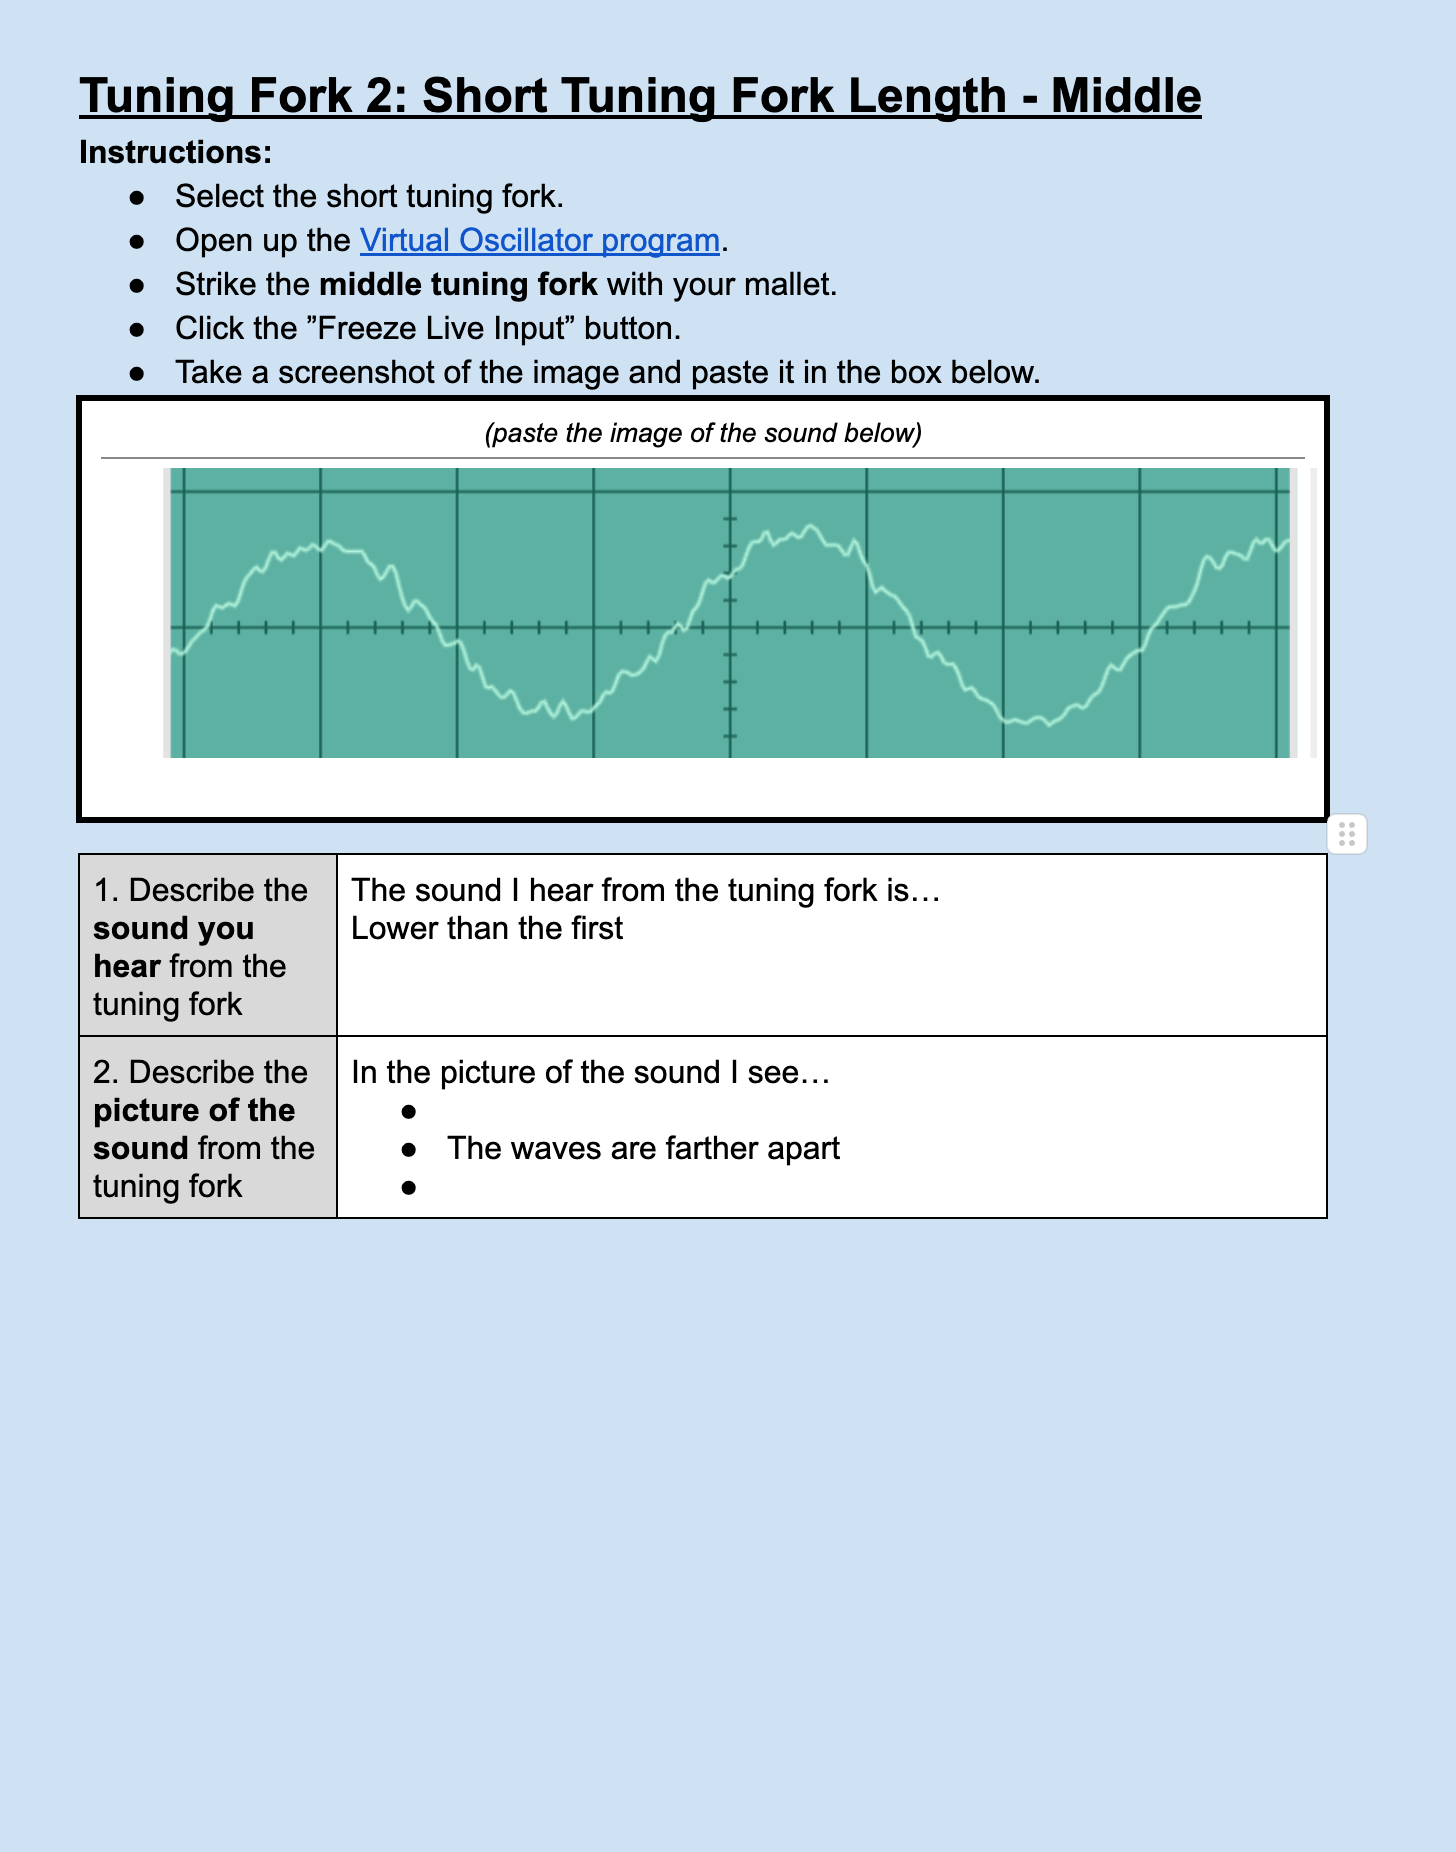
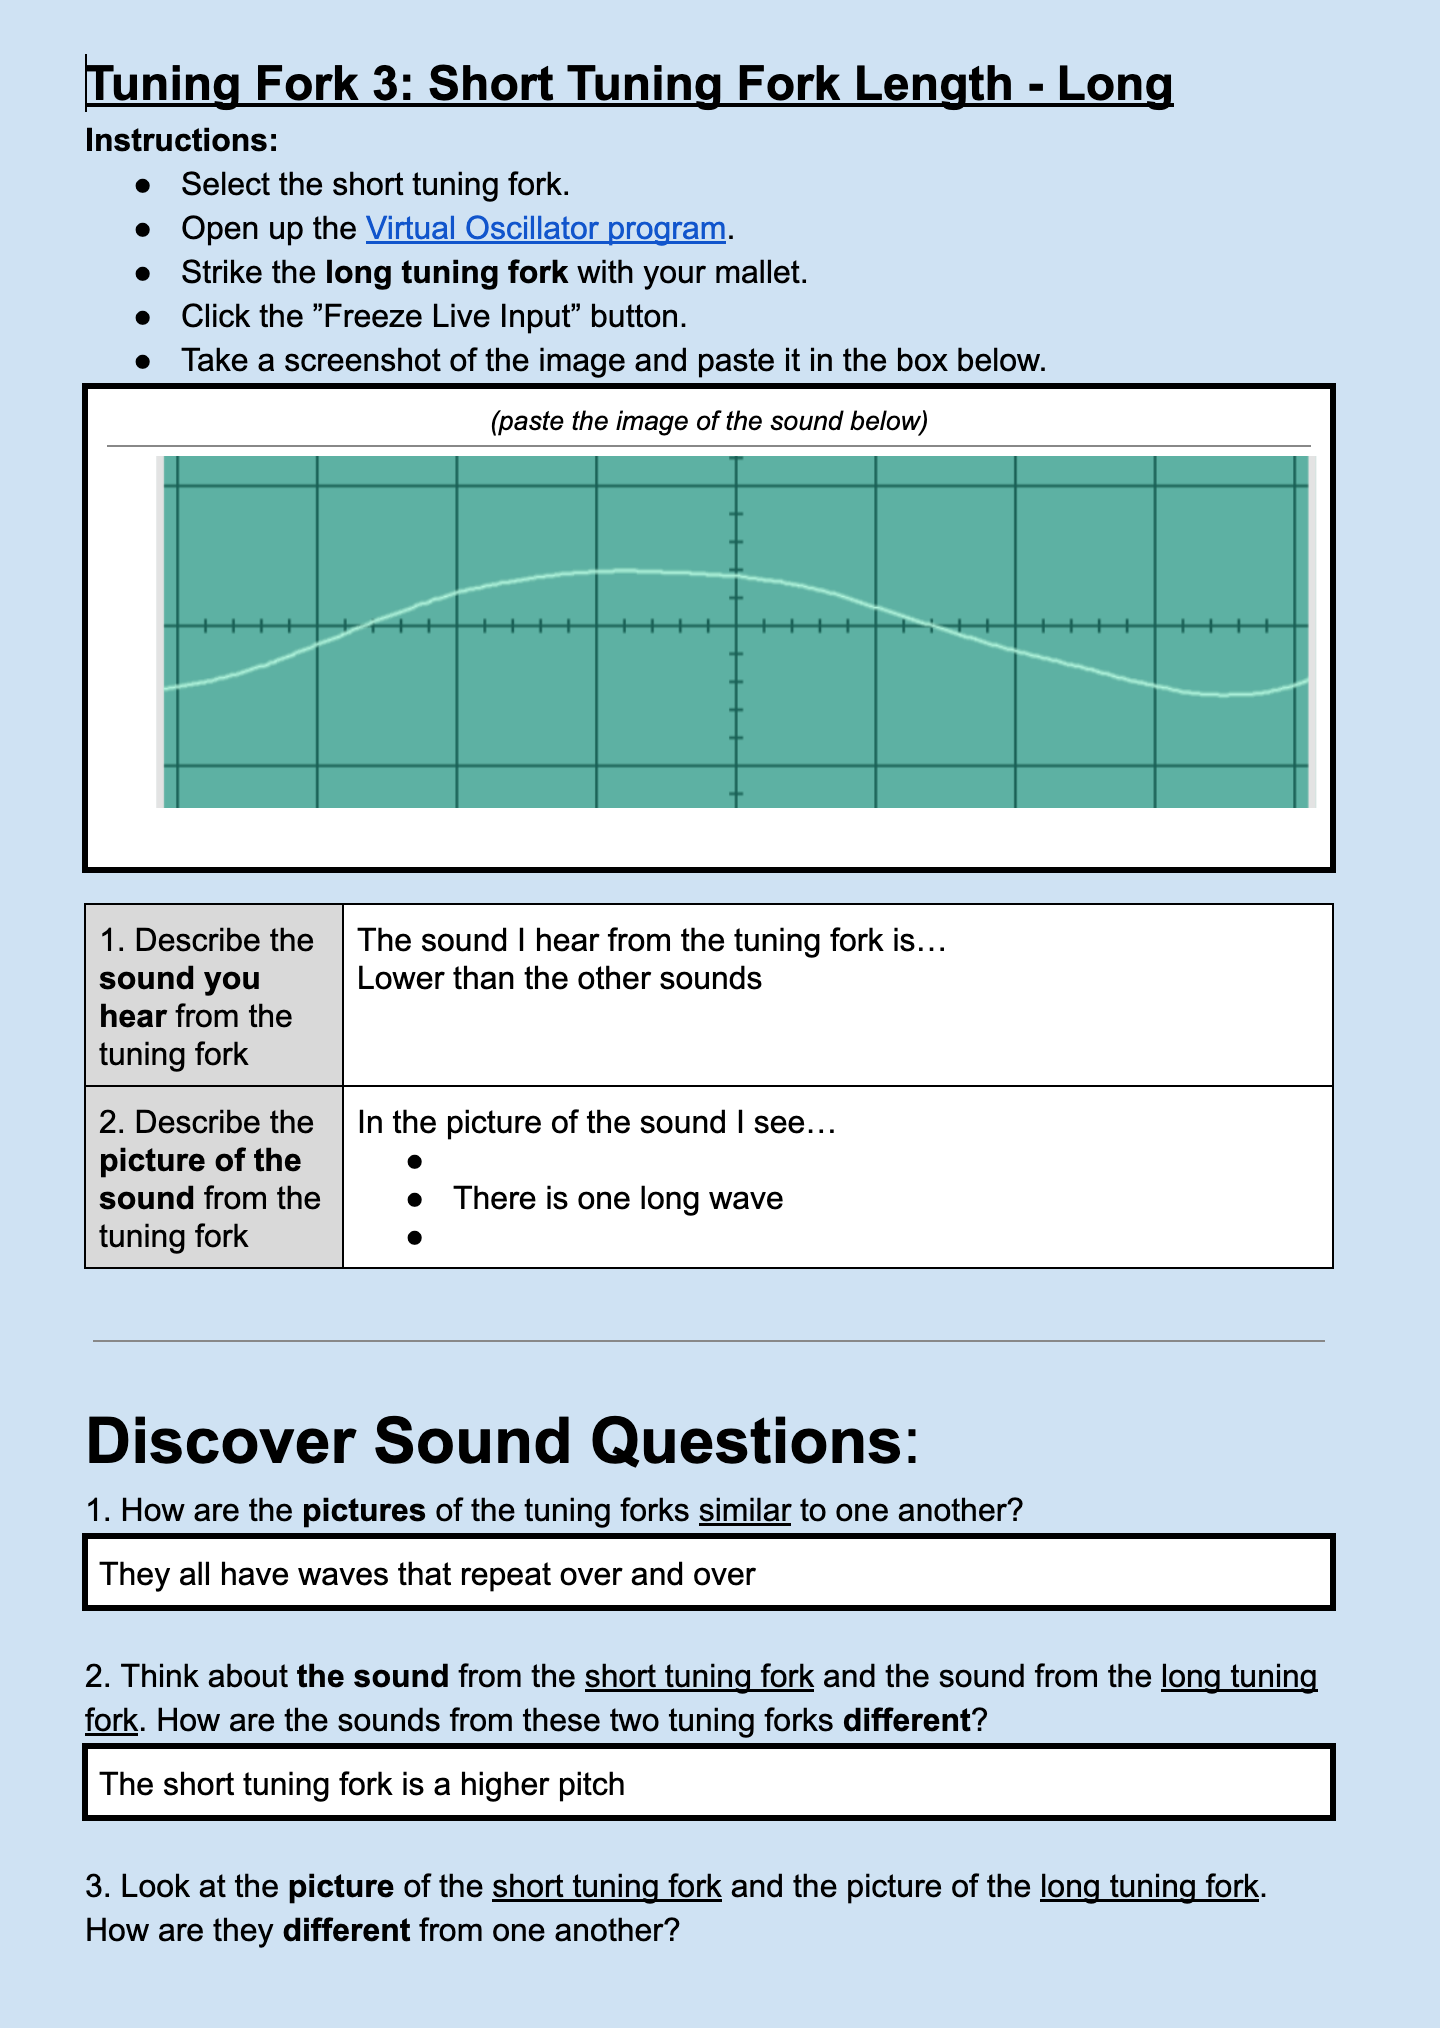
Get tuning forks and use this virtual oscillator program. Have students do a See, Think, Wonder routine as they observe the sound waves generated from different tuning forks. Collect student observations and questions.
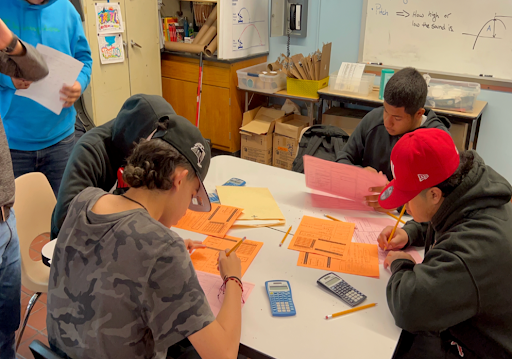
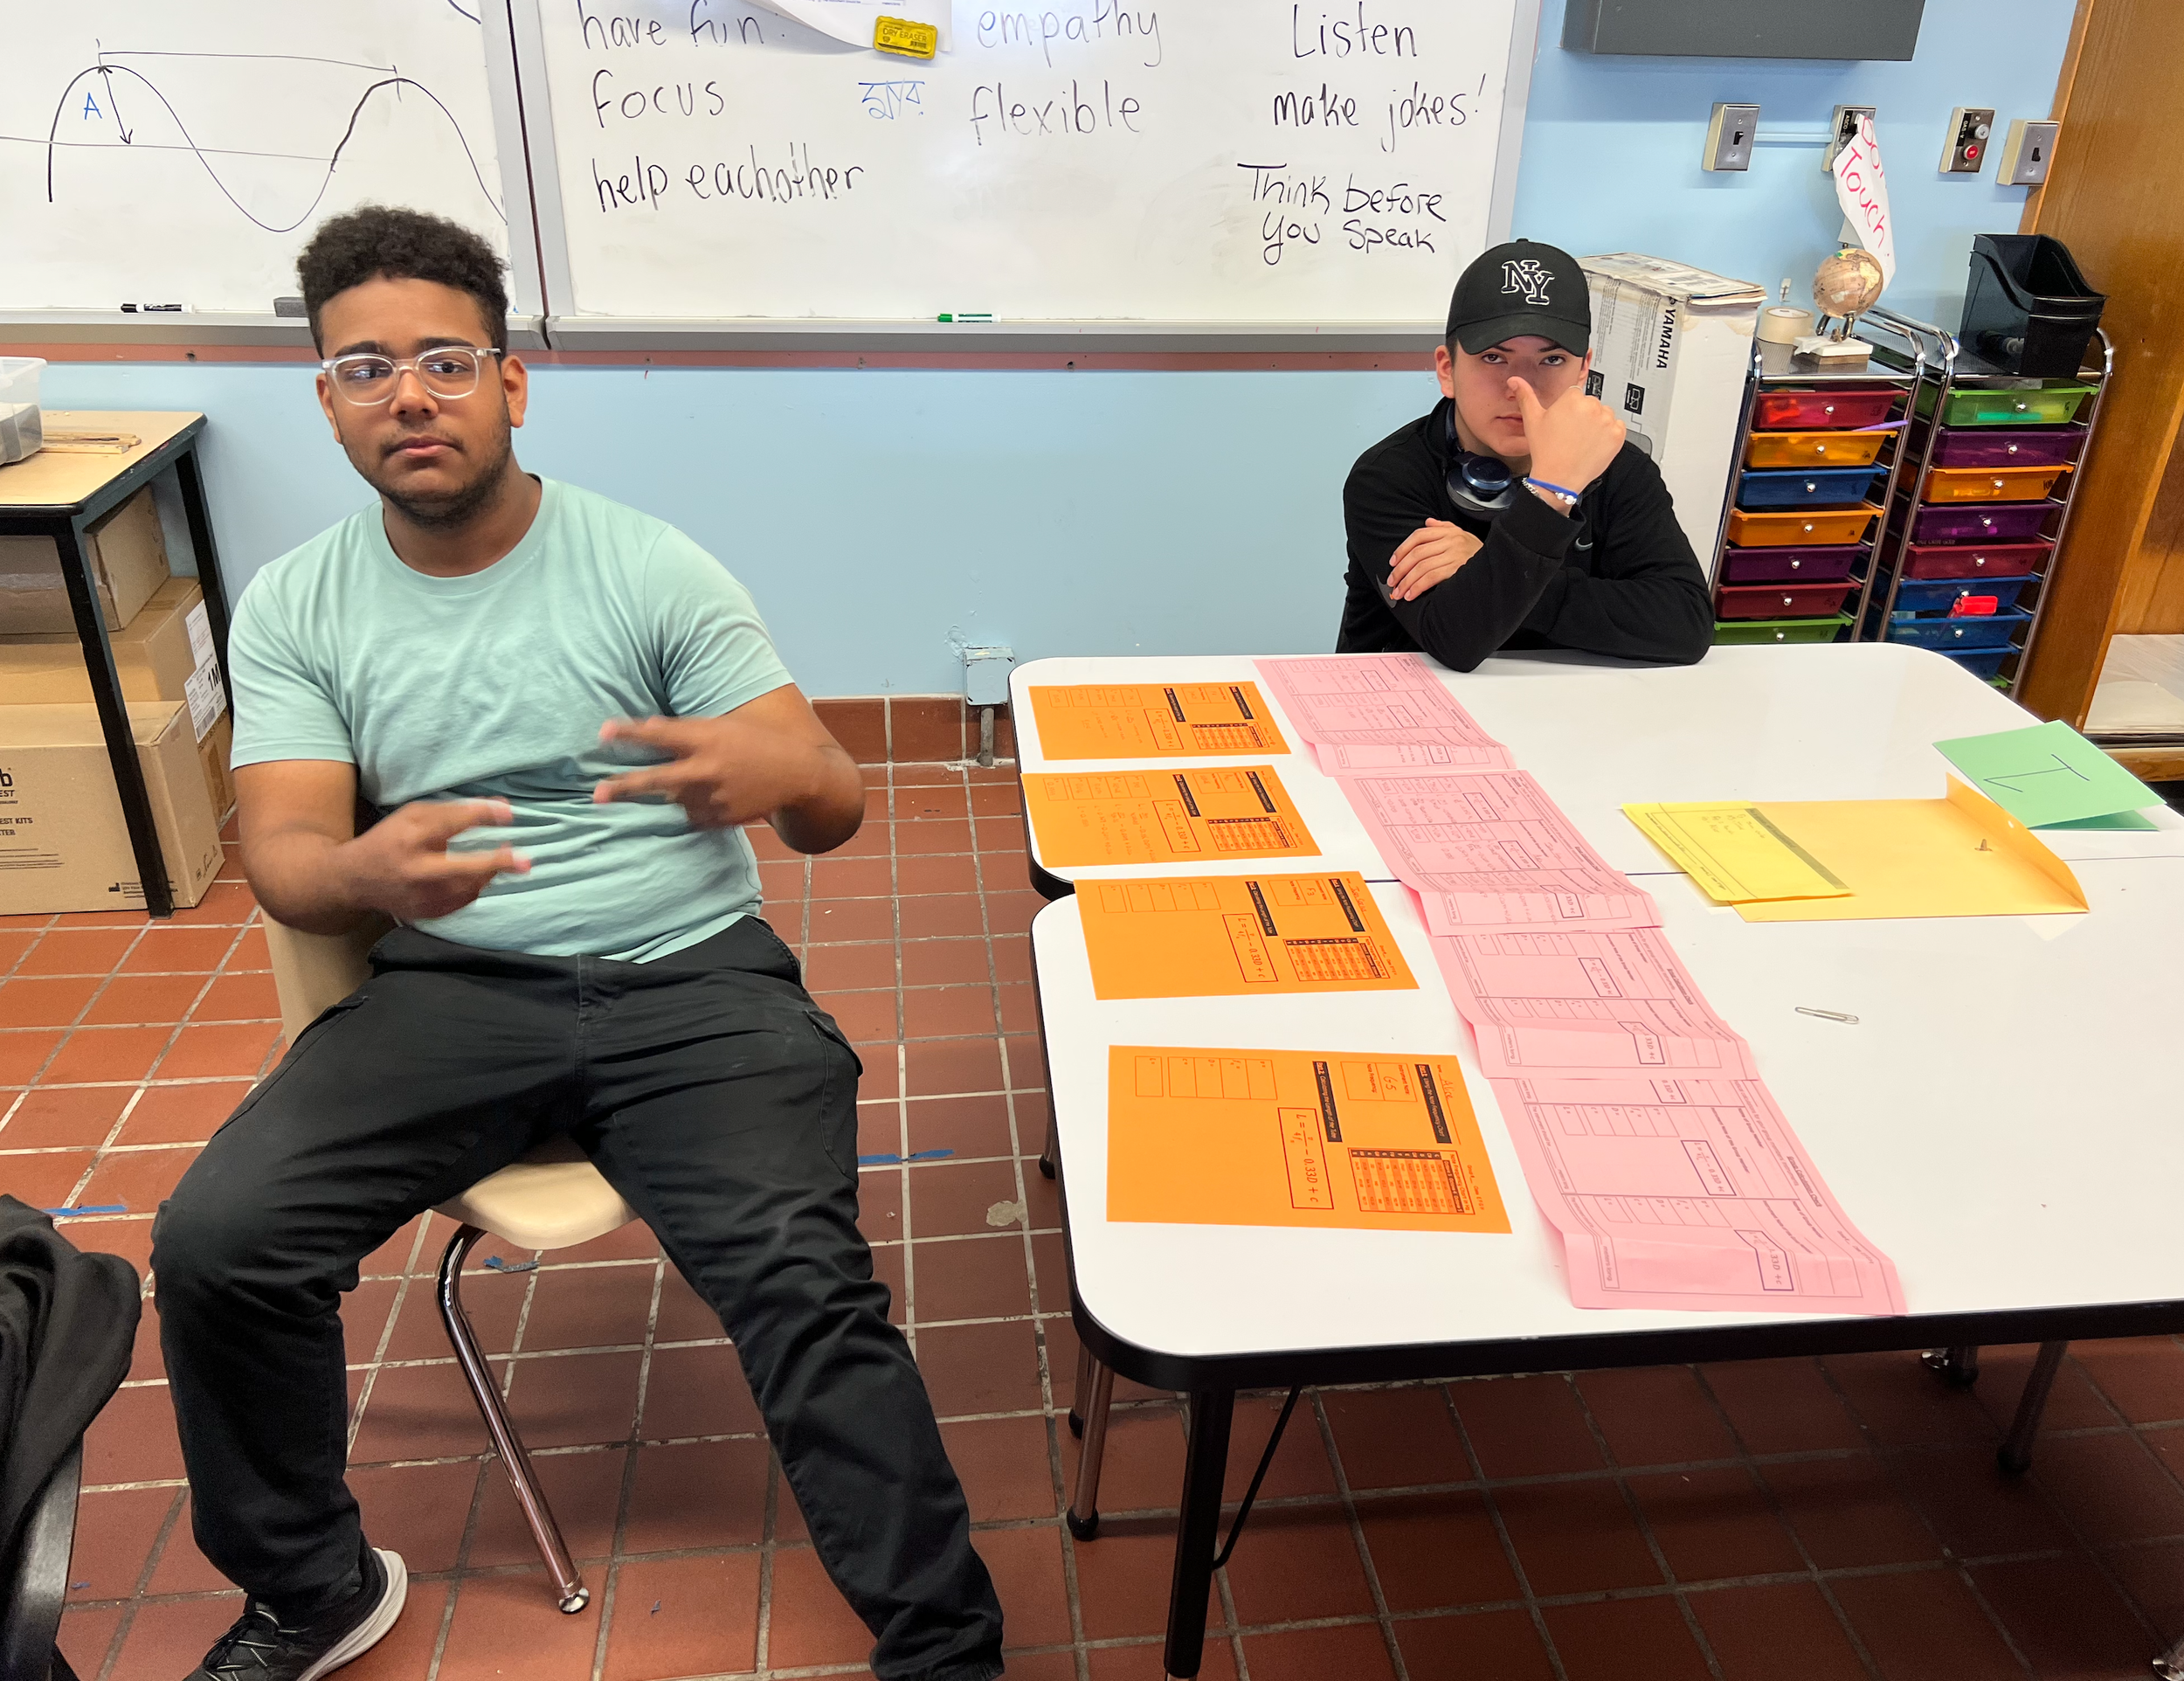
Have students use the tuning forks to investigate the relationship between sound wave frequency and pitch. Use the Discover Sound document for students to complete this activity. Here’s a student completed example.
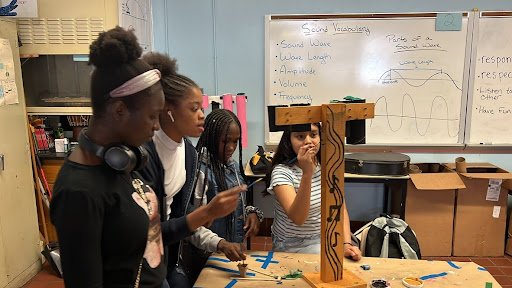
Use the Discover Sound activity to introduce sound waves, pitch, frequency, amplitude vocabulary.
Remind students they will each have to create a drum that produces the pitch of a specific musical note. Ask students to share out their ideas of how they will have to design their drum to make the correct pitch.
Have students use the Musical Note Selection Chart to choose their musical note and identify the frequency of that musical note. Ensure that each student in the group selects a different musical note. To help students decide their musical note, have students use this virtual piano.
Note: the range of musical notes on this chart are curated to ensure the length of the drum is not longer than the packaging tubes students will use to make their drum.
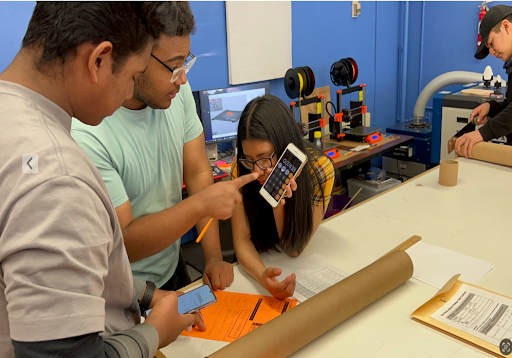
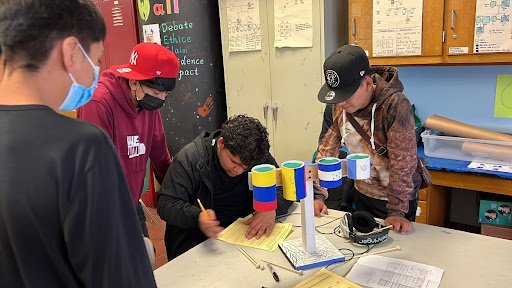
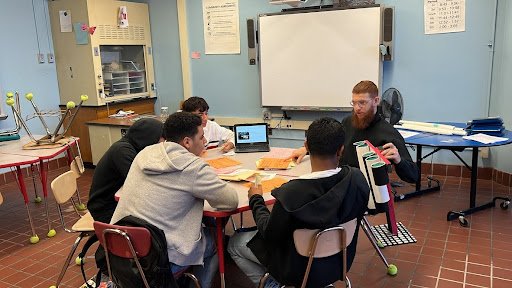
Have students individually calculate the length of their drum using this worksheet.
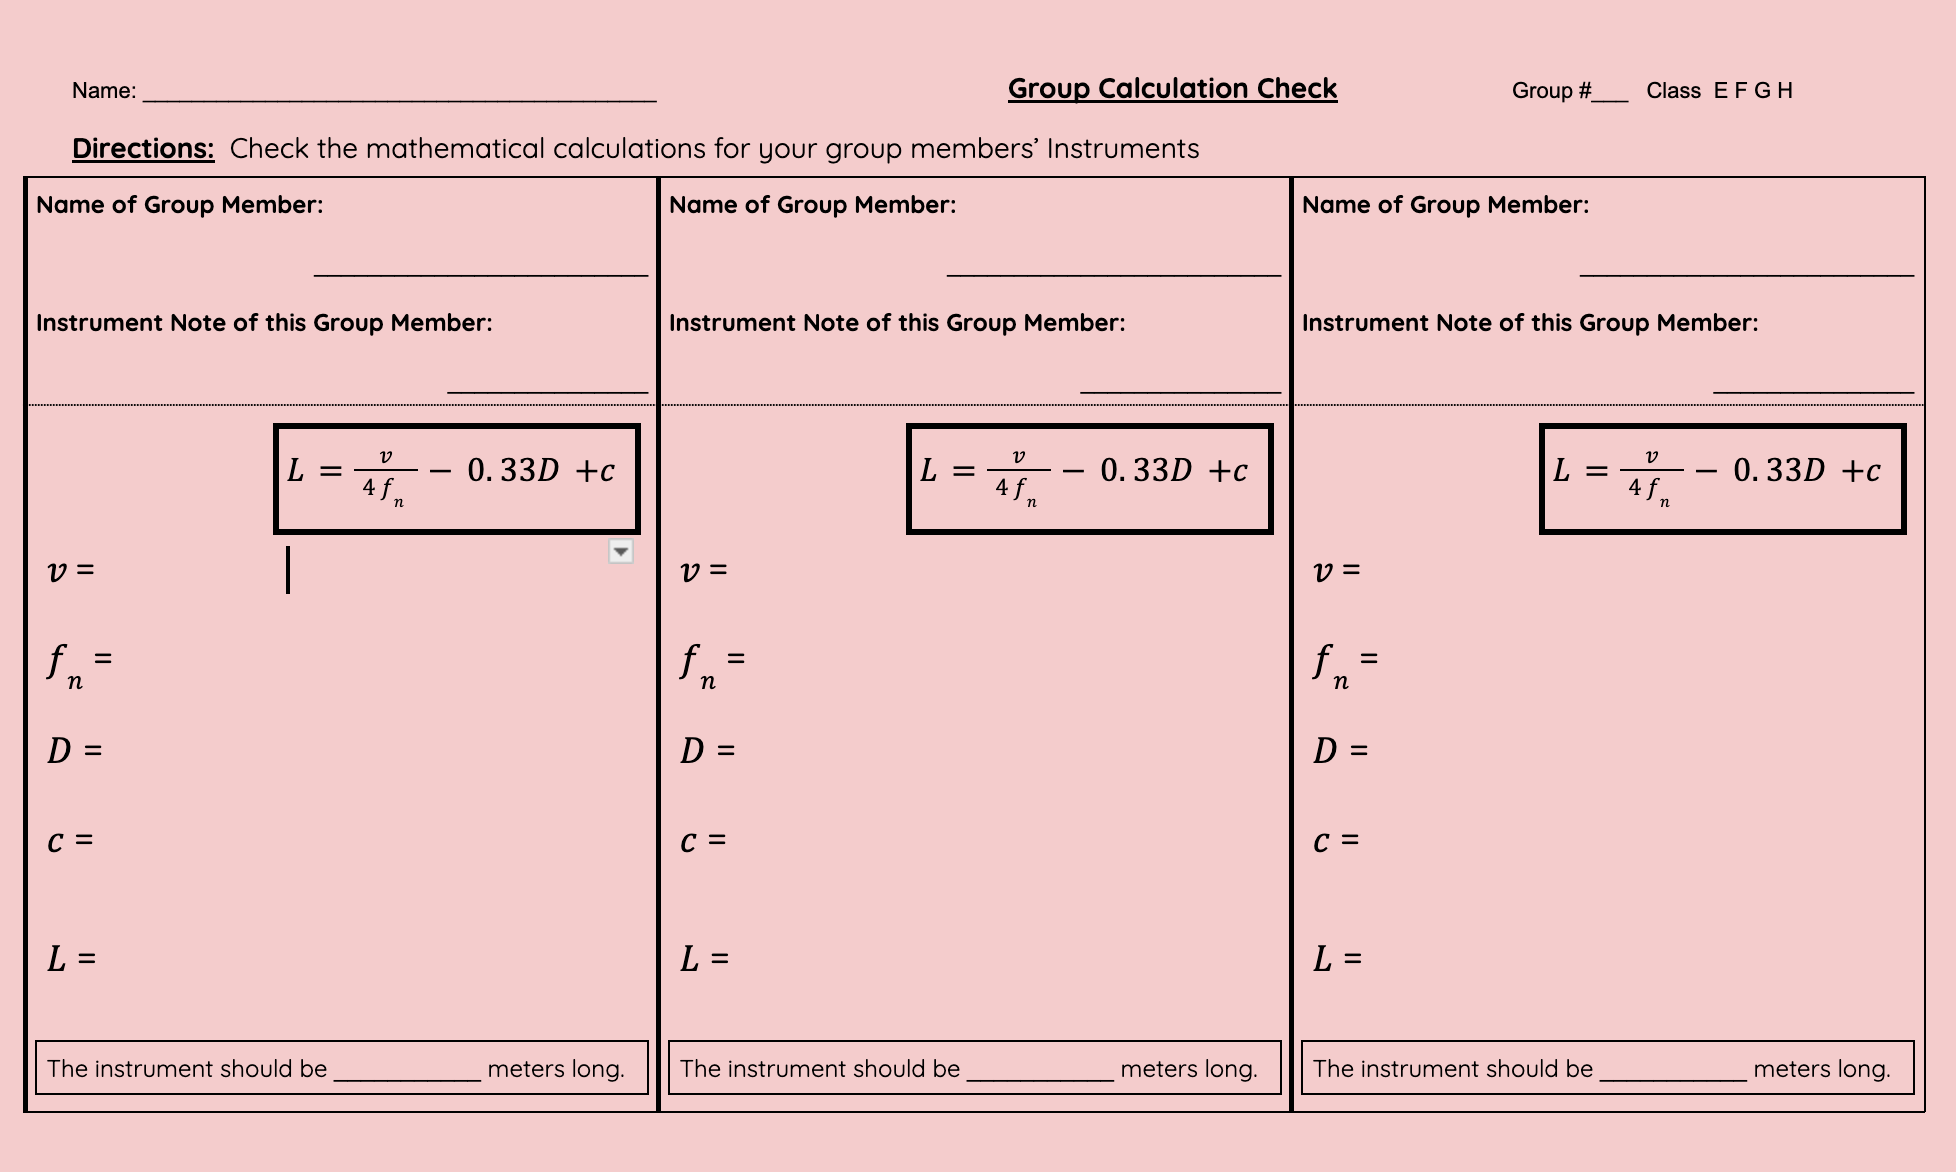
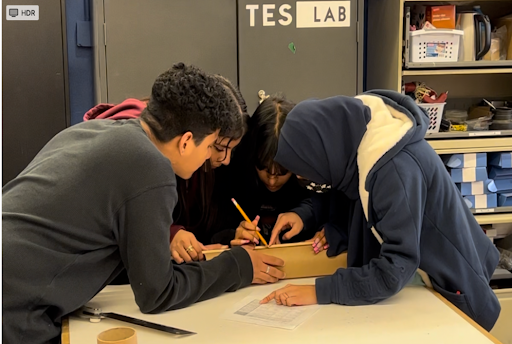
To ensure calculations are accurate, have students in their group independently verify the calculations of the others in their team using this worksheet.
To do this, have each student in the group calculate the length of drums of the other people in their group. Make sure that students are not sitting near other people in their group to ensure the calculations are independently derived.
Have students return to their groups and compare their independent calculations of the drum lengths with the calculations made by the student who is responsible for each drum. Have students adjust their calculations accordingly.


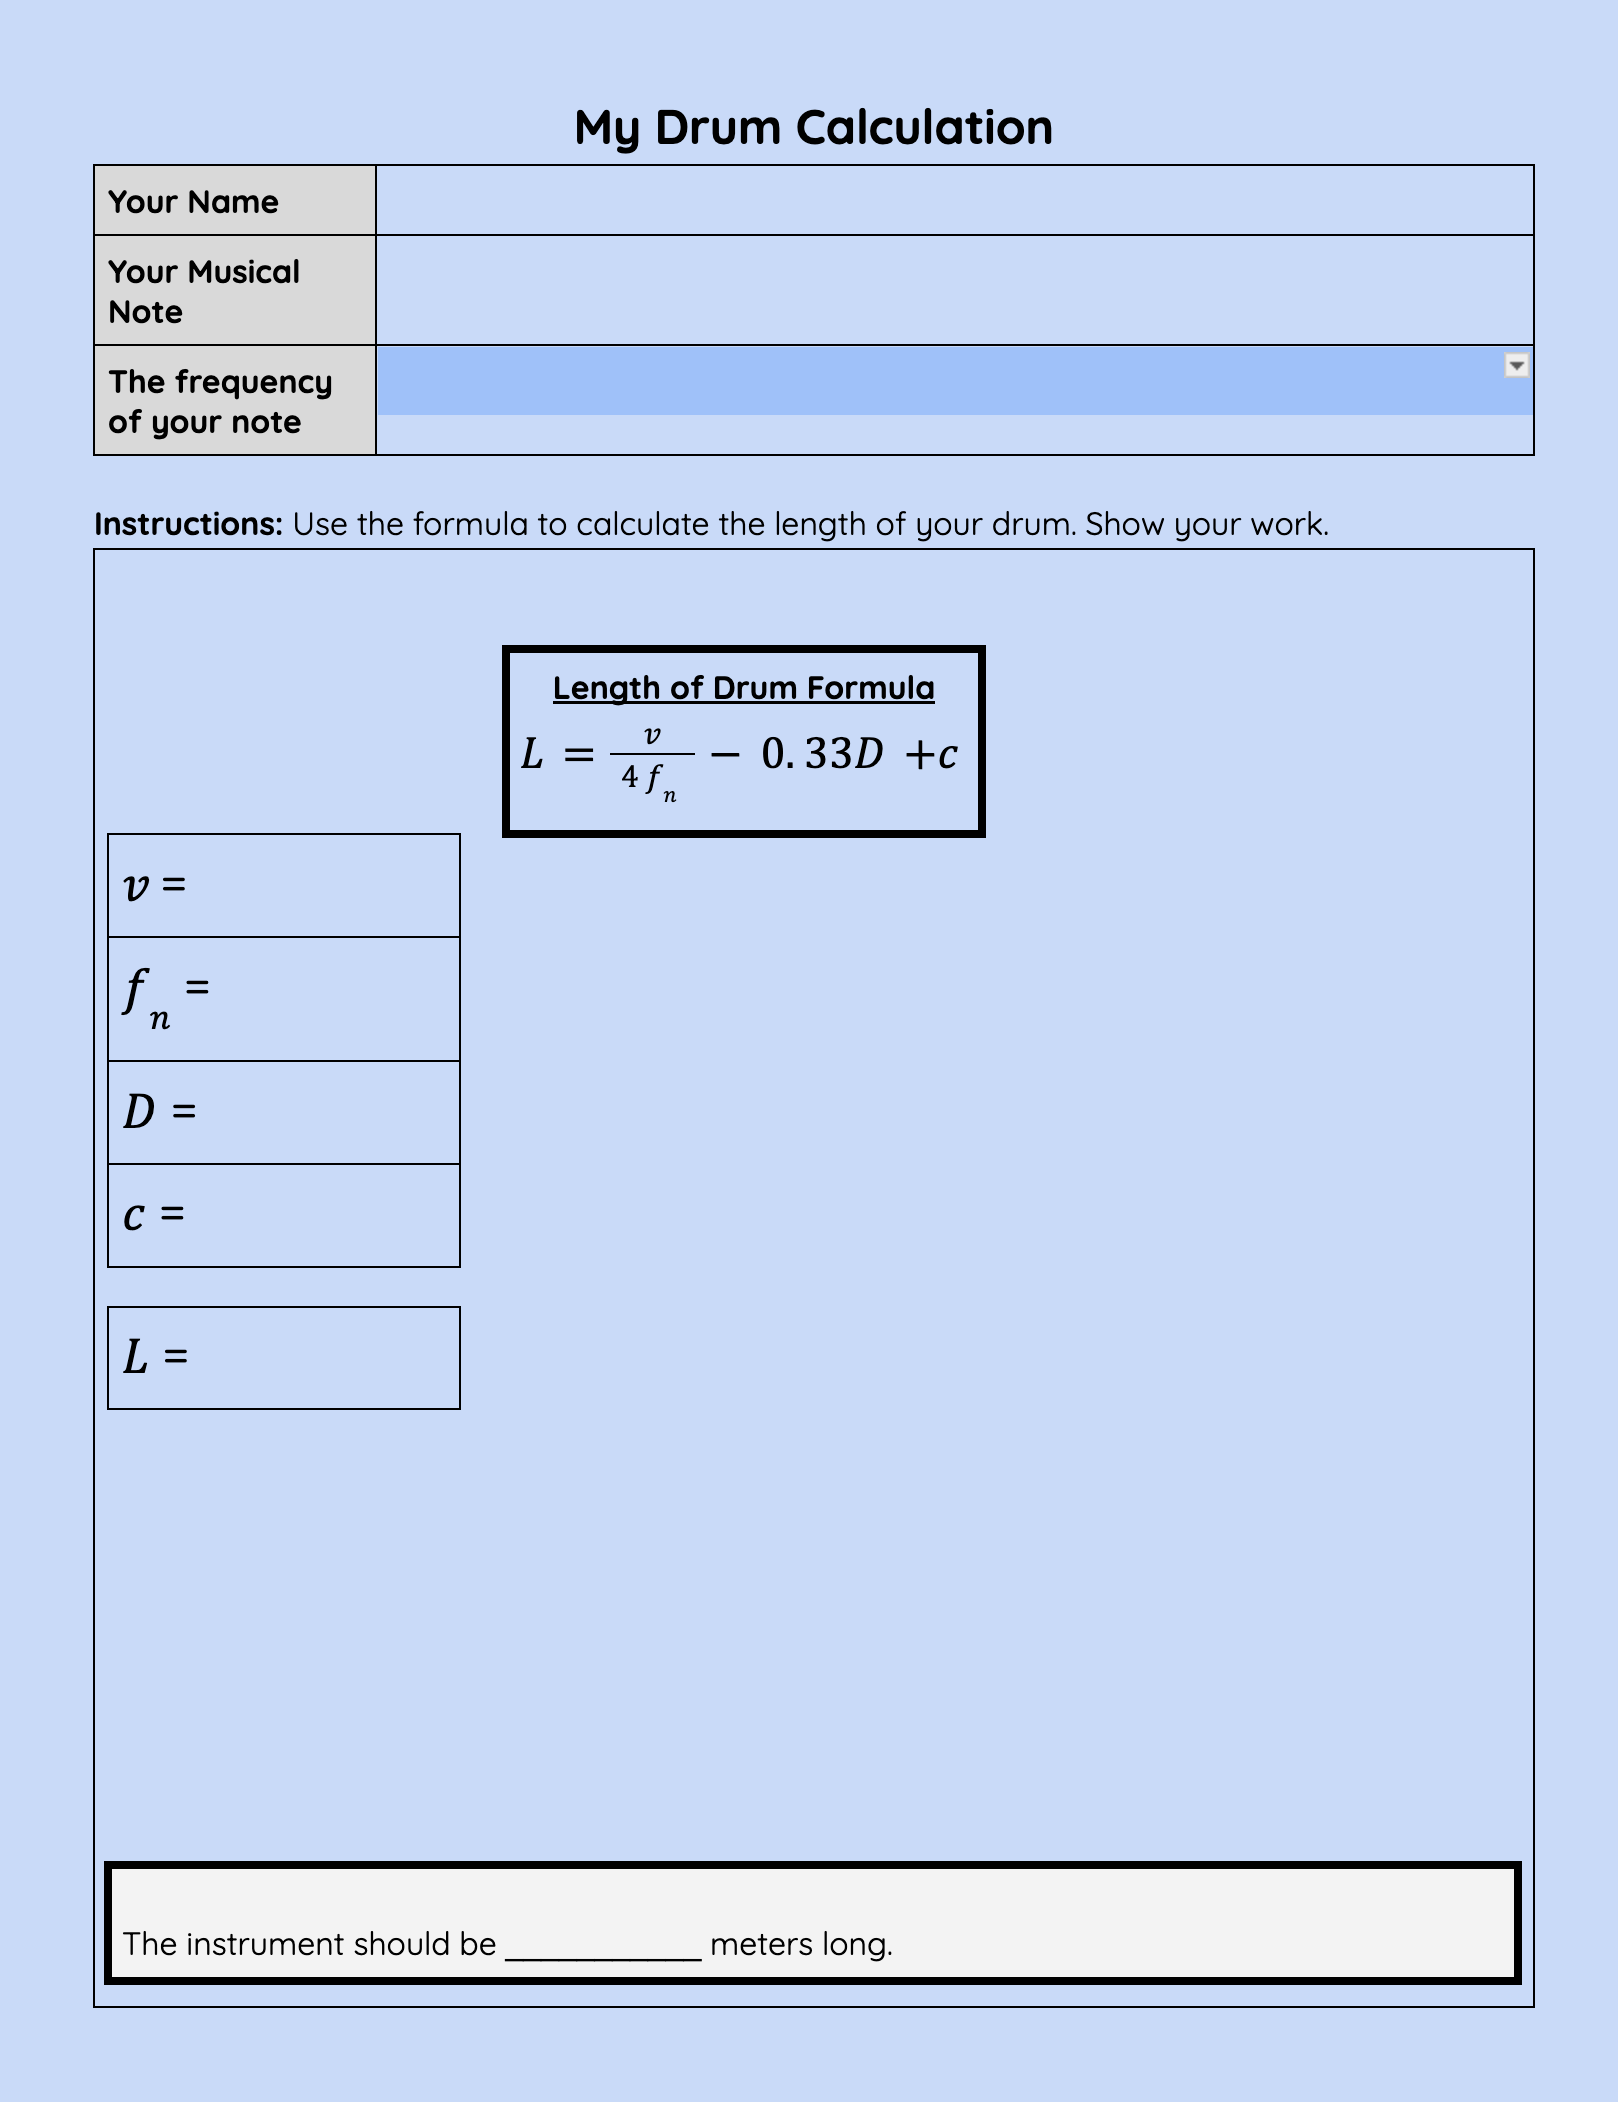
Note on formula used to calculate the drum length:
The math teacher, Megan Berdugo and I prototyped the drums during a workshop through The Beam Center. The prototyping workshop was facilitated by Kyle Luntz.
During the prototyping workshop, these two articles were used to develop the formula to calculate the drum length:
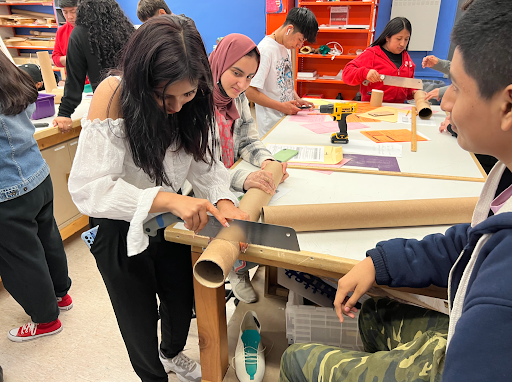
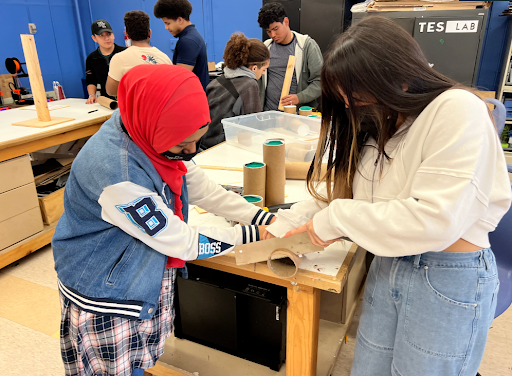
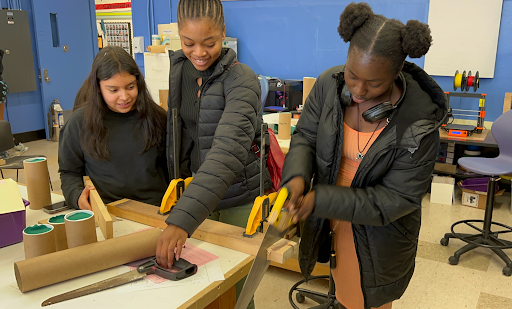
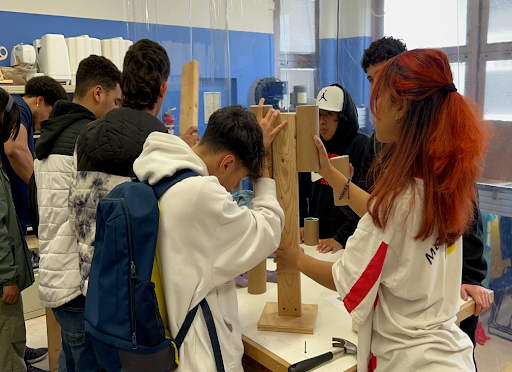
Part 2 - Building the Drum
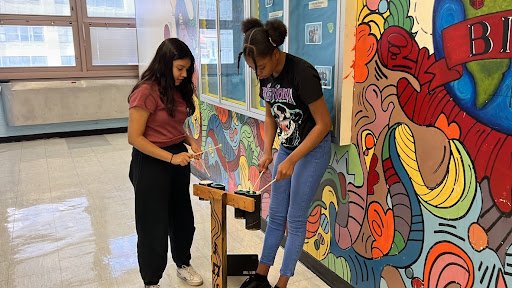
To create their drums, have students use the measurement from their calculations to cut their drum to the correct length.
Have students test the pitch of their drum using this online instrument tuner. If the drum does not produce the correct pitch, students need to one of two things:
First have students check the measurement they made on the drum.
If they measured the length of drum correctly then their calculation on the drum length needs revision.
To revise, students will have to either make their drum smaller or longer. Student drums that need to add length will need a new cardboard packing tube.
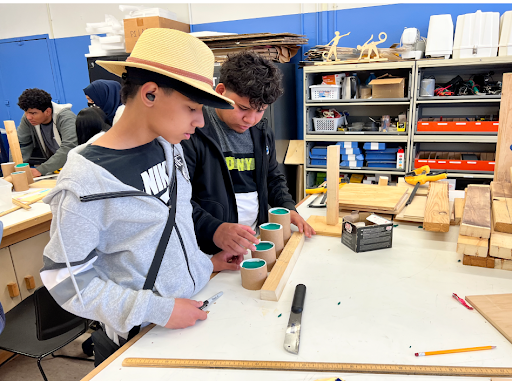
Have students place an end cap on their drum and test the pitch of their drum in a quiet space.
Have students write the musical note and pitch on the top of their drum end cap. Once complete, have students cut out a drum felt pad to place on top of their cap.
Have students use the wooden chopsticks and ball to create their mallet.
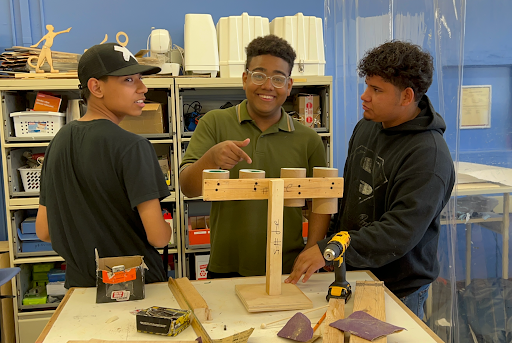
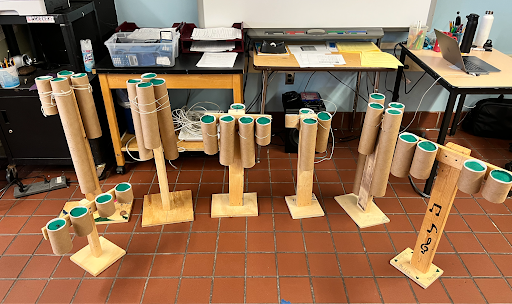
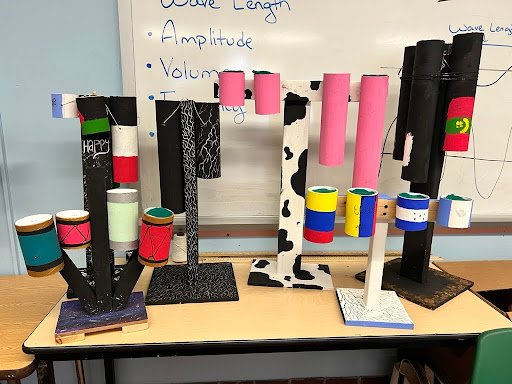
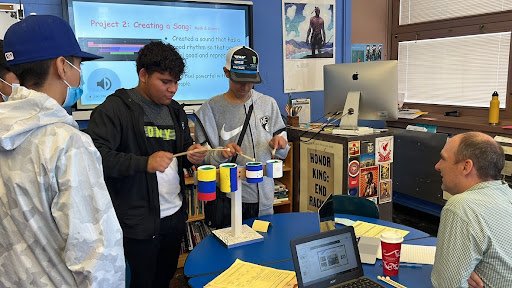
Once each student in the group has built their drum and it produces the correct musical note, have students build the frame to attach each of their musical drums.
Have students consider how they want to arrange the drums on the frame considering the notes of each drum.
Once built, have students paint the frame of their group drum.
Have students practice playing their drums. Ask students how they think the sound wave when they play their individual drum are similar and different from the other drums in their group.
Have students complete this Drum Sound Wave Comparison worksheet to compare the sound waves of their drum and the other people in their group. Here’s a picture with an example sound wave.
Consider having groups prepare a percussive drum performance with their drums for invited guests. Guests could then ask student questions about the drums where students will get the opportunity to discuss the science content and process of building their drums.

Drum Materials
Packing tubes that come with caps such as these.
For 85 students, I purchased 4 quantities of these 24-pack of tubes. This was just enough for my students and have extra for students to use new tubes to make revisions to their drums.
Saws to cut the packing tubes to the calculated length of their musical note.
To make the drum mallets:
Felt - to cover plast cap head to create a more pleasant drum sound
To build the frame for students to attach their individual drums:
Plywood
Hammer & Nails
Paint for the group to decorate their drum.