
Cookbook Project

Project Overview
In this biology project, students created a cookbook using healthy recipes from their home countries.
The student recipes included an edible plant they conducted experiments on in class in order to identify the ideal conditions to germinate the seeds of their plant.
Copies of the cookbook were donated to local community gardens and a local elementary school with a garden.
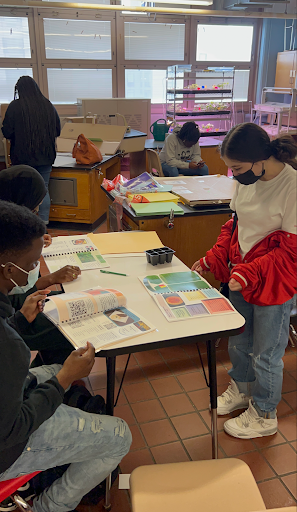
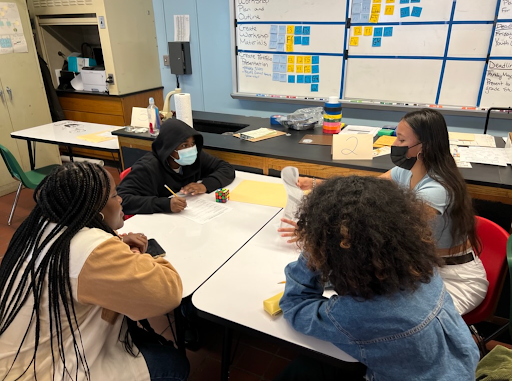
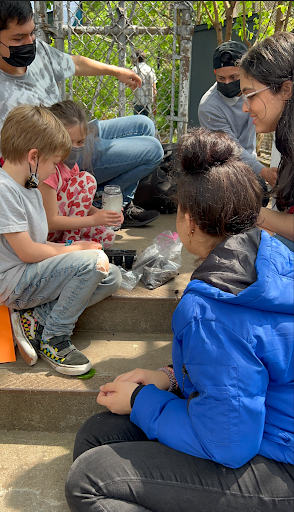
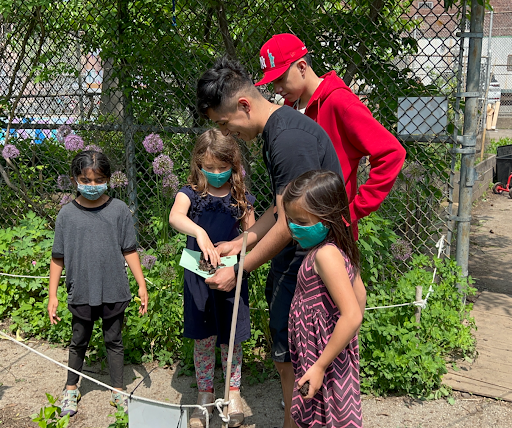
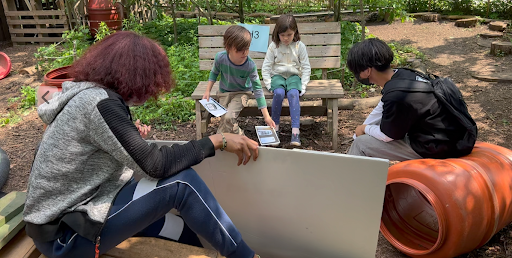
The project culminated with students facilitating workshops they designed for the students at the elementary school.
Biology Content
In order to do the work of the project, students learned about experimental design, plant vs. animal cells, photosynthesis, cellular respiration, the flow of energy, and food justice.
NGSS:
LS 1-6: Construct a scientific explanation based on evidence for the role of photosynthesis in the cycling of matter and flow of energy into and out of organism.
LS 1-7: Develop a model to describe how food is rearranged through chemical reactions forming new molecules that support growth and/or release energy as this matter moves through an organism.
LS 2-3: Develop a model to describe the cycling of matter and flow of energy among living and nonliving parts of an ecosystem.
About the Cookbook
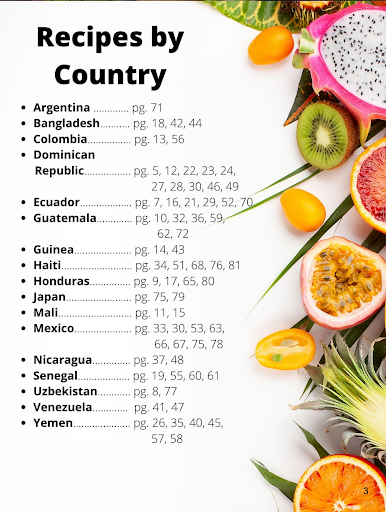
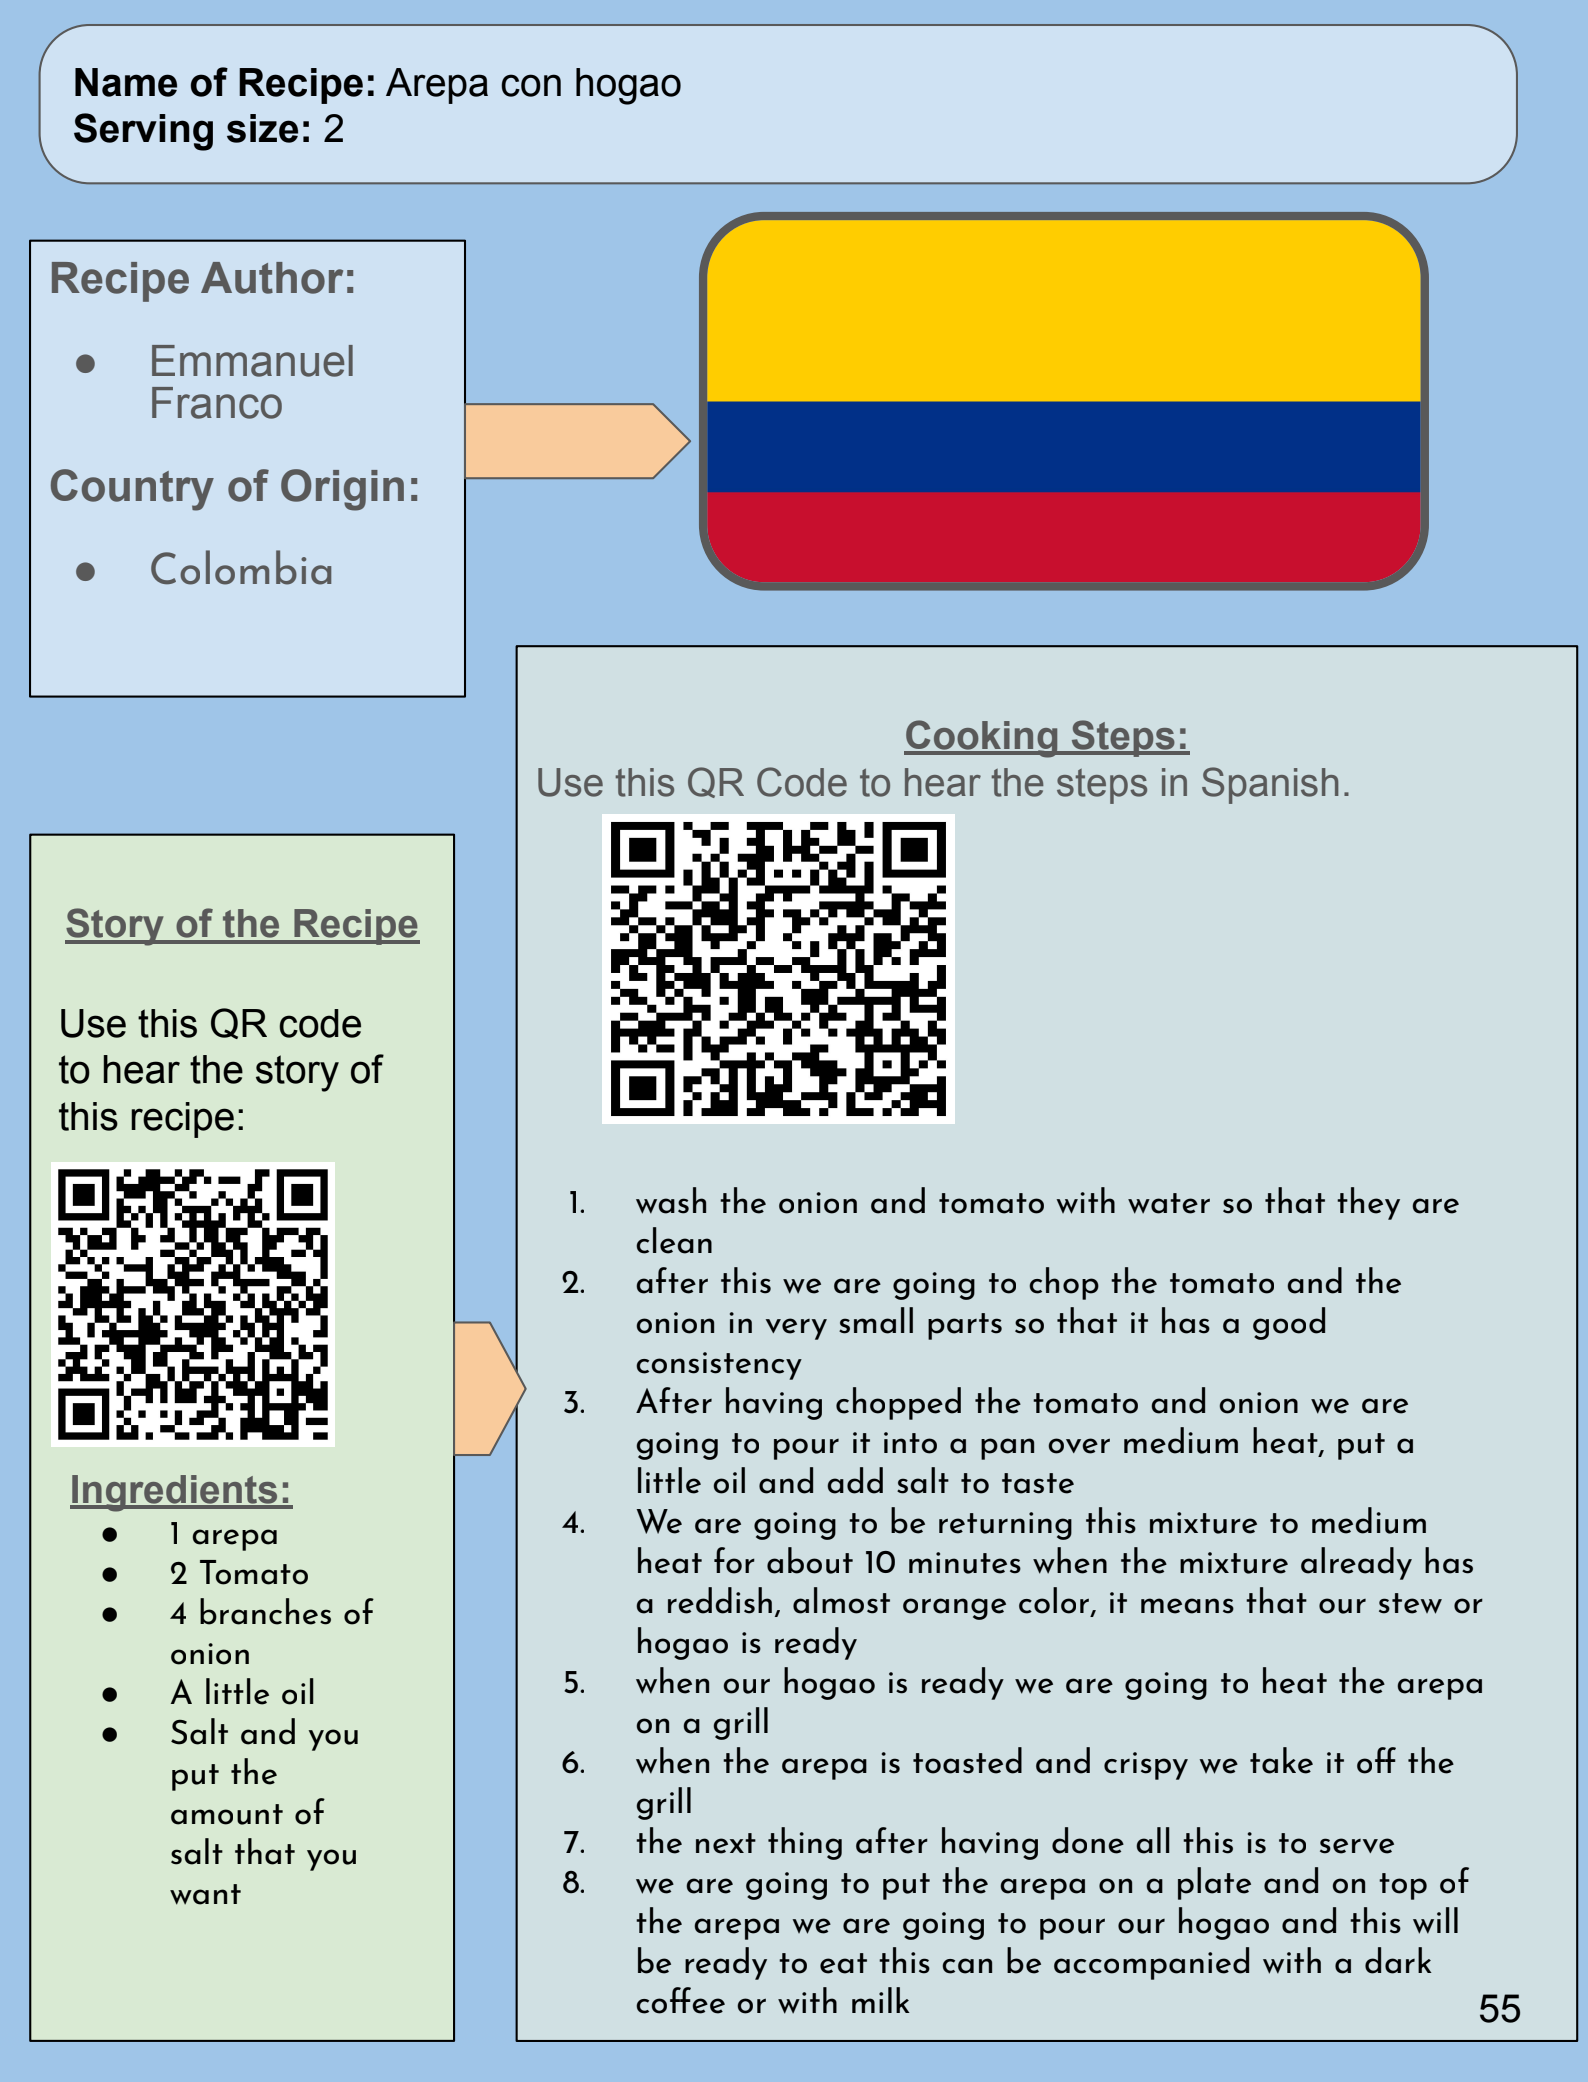
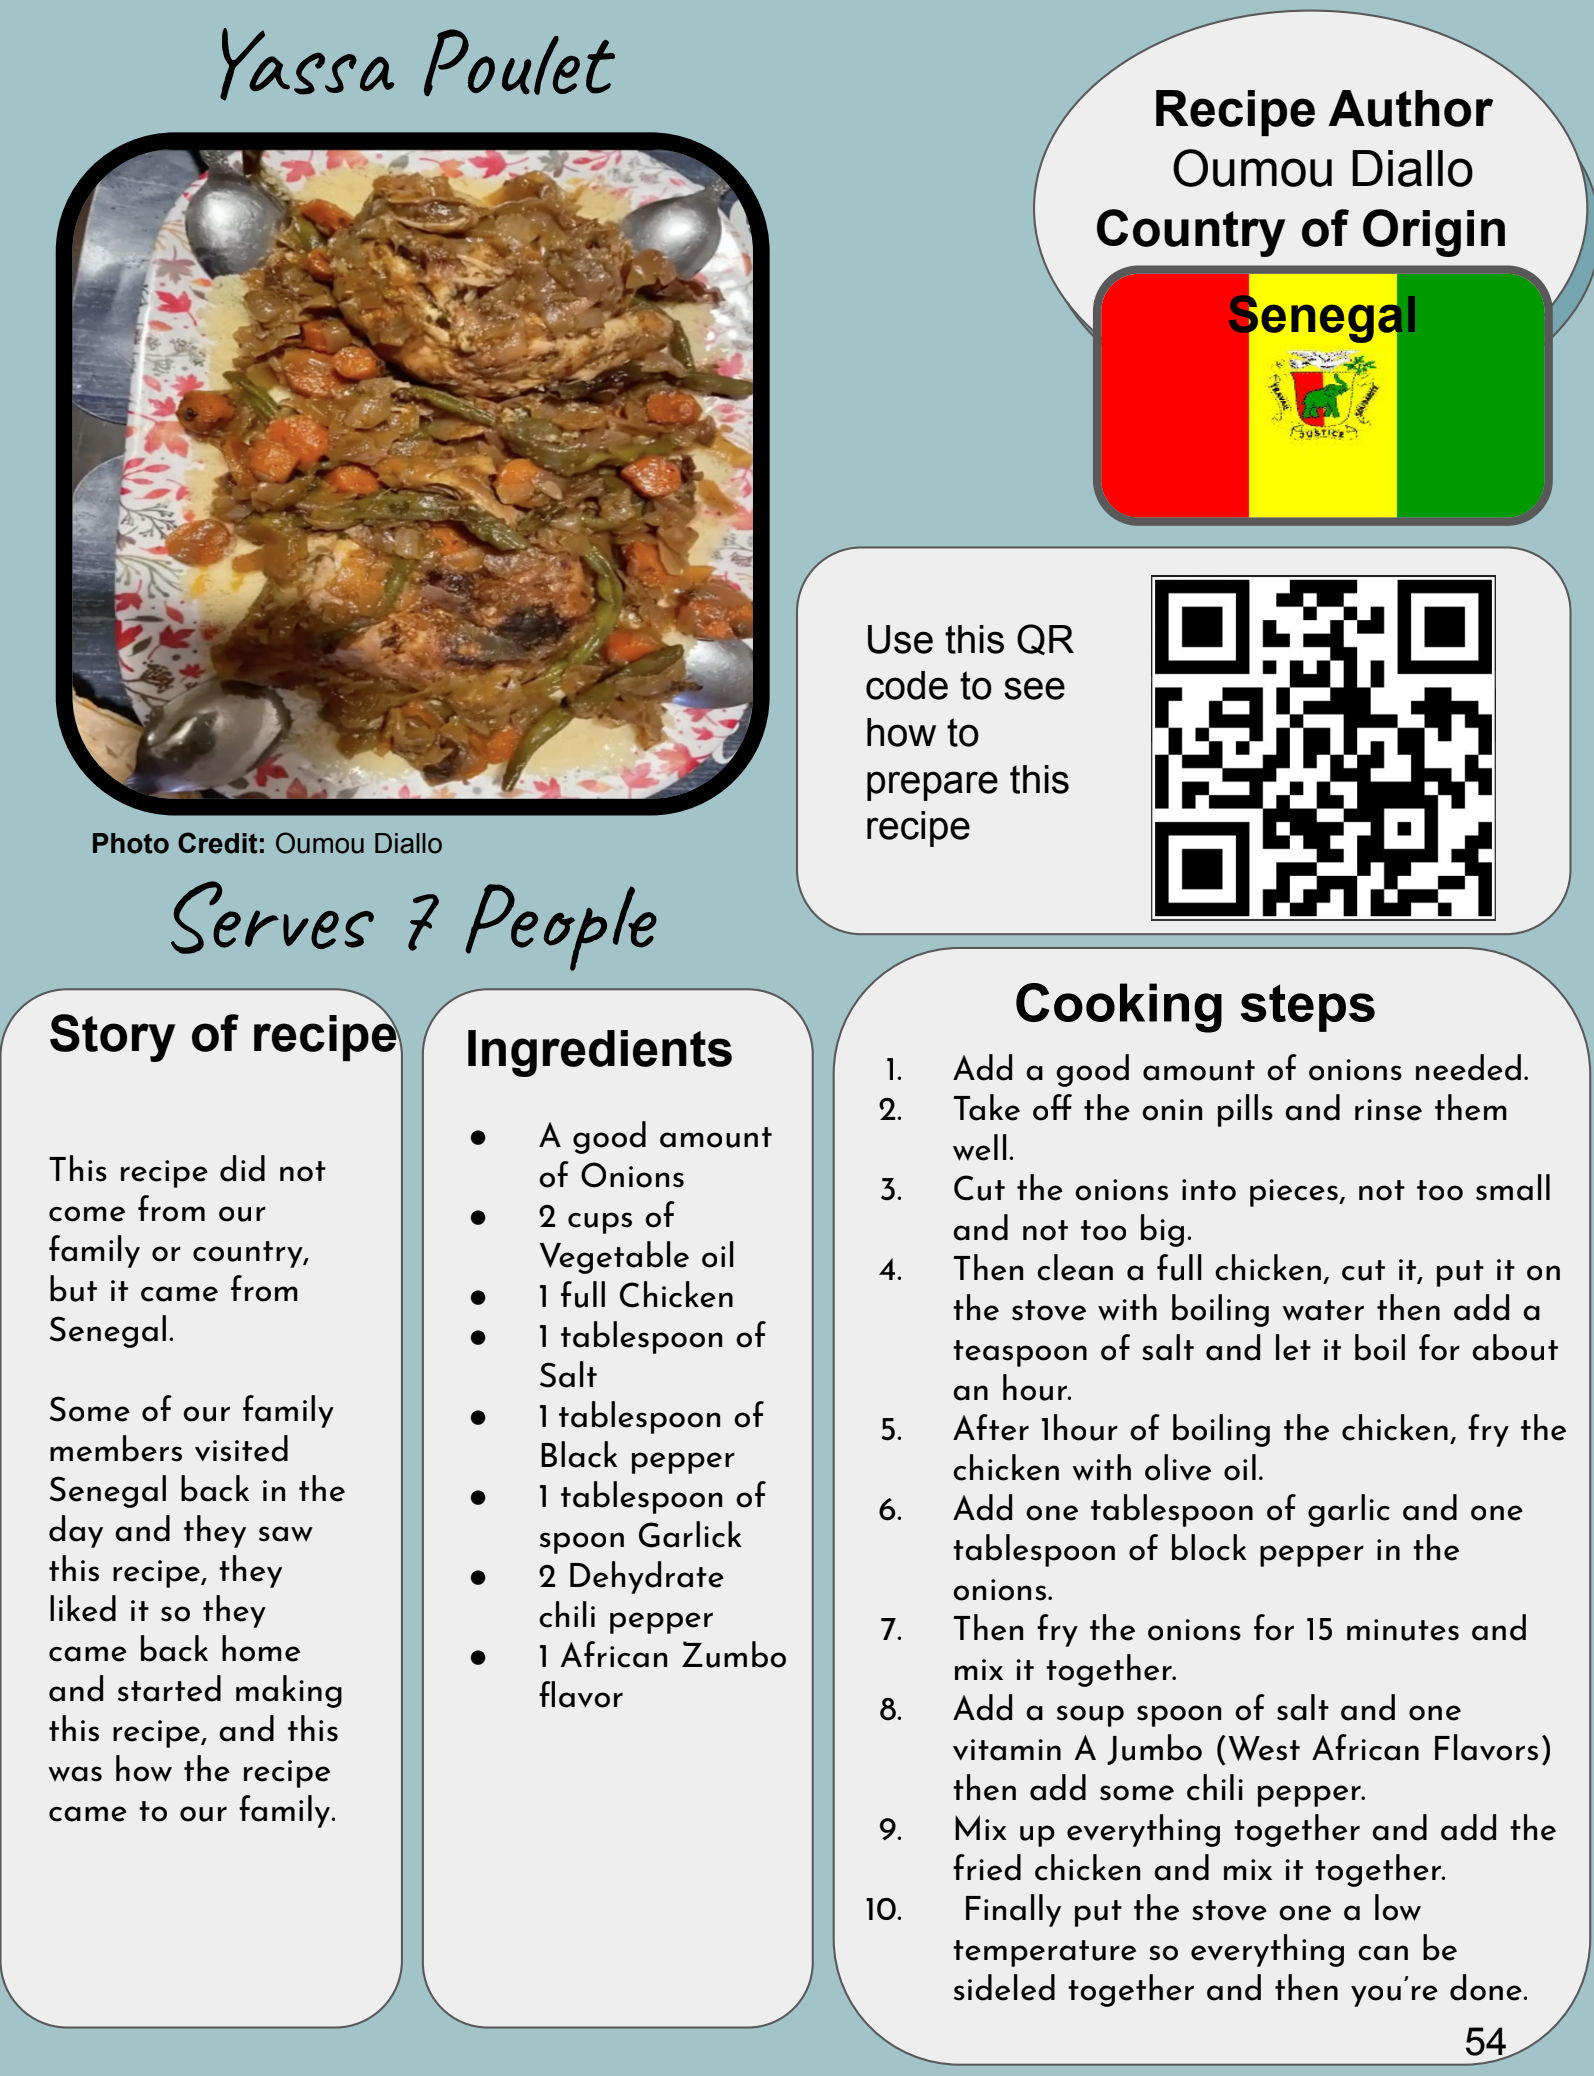
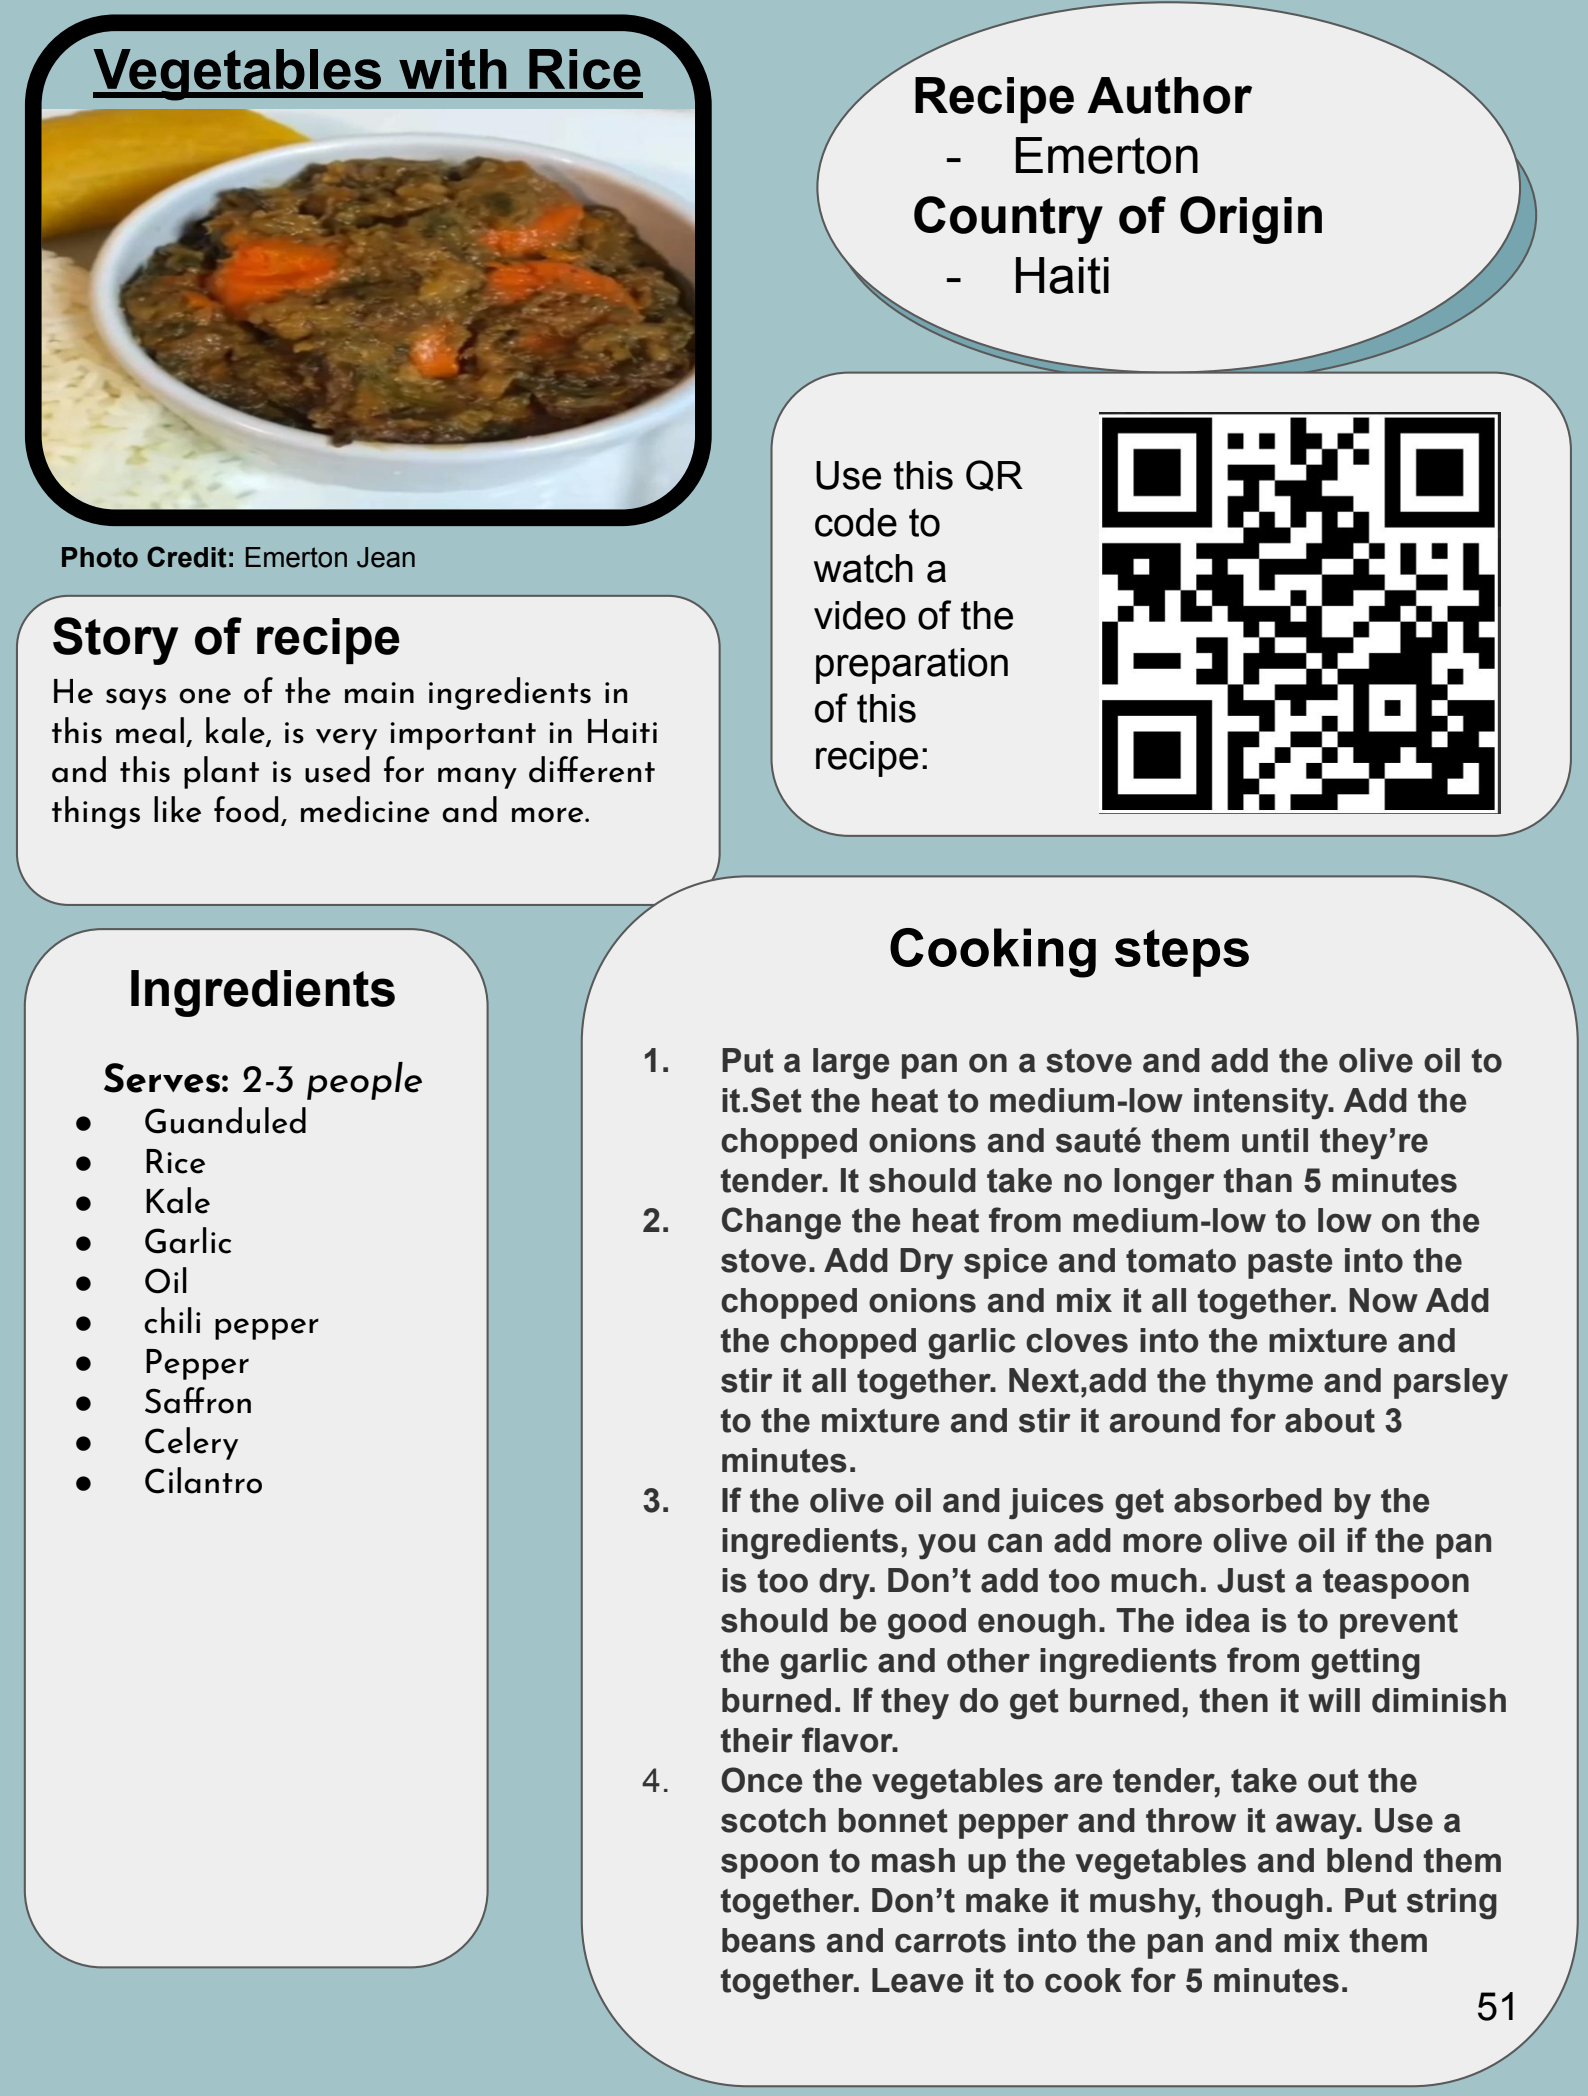
The intended use of the cookbook is for students to share recipes from their cultures and countries and to help people grow their own edible plants at home.
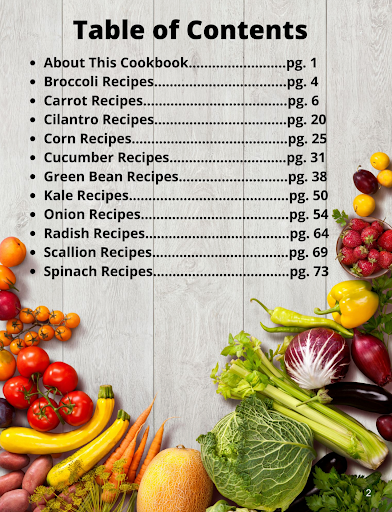
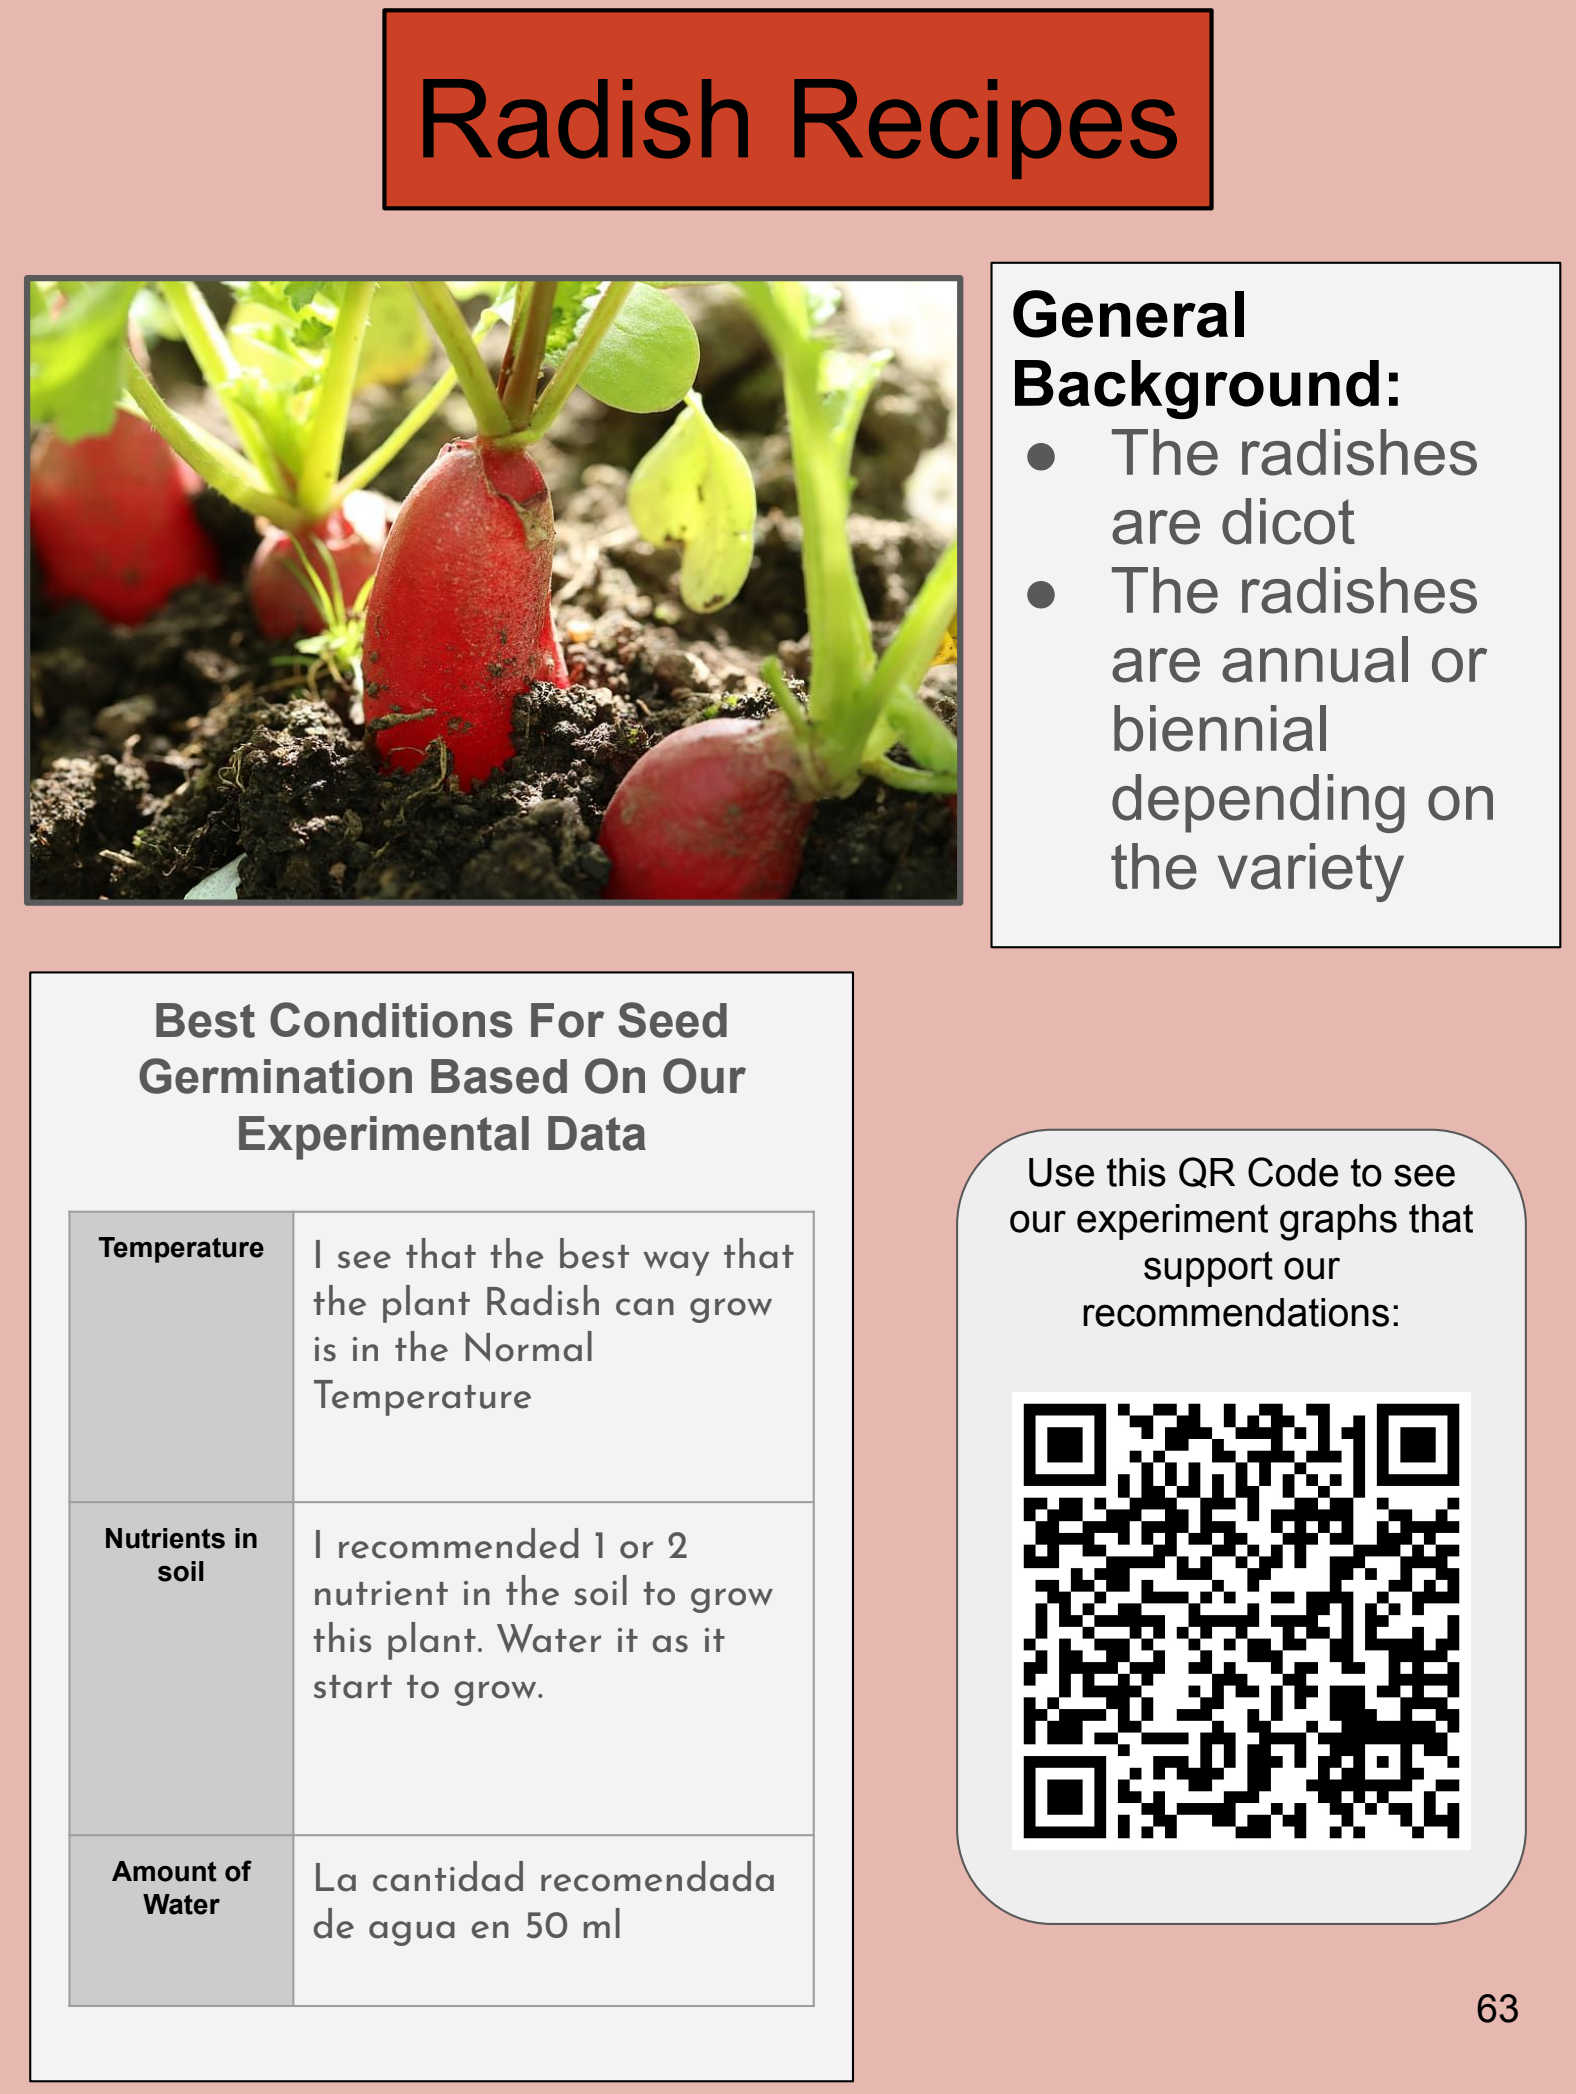
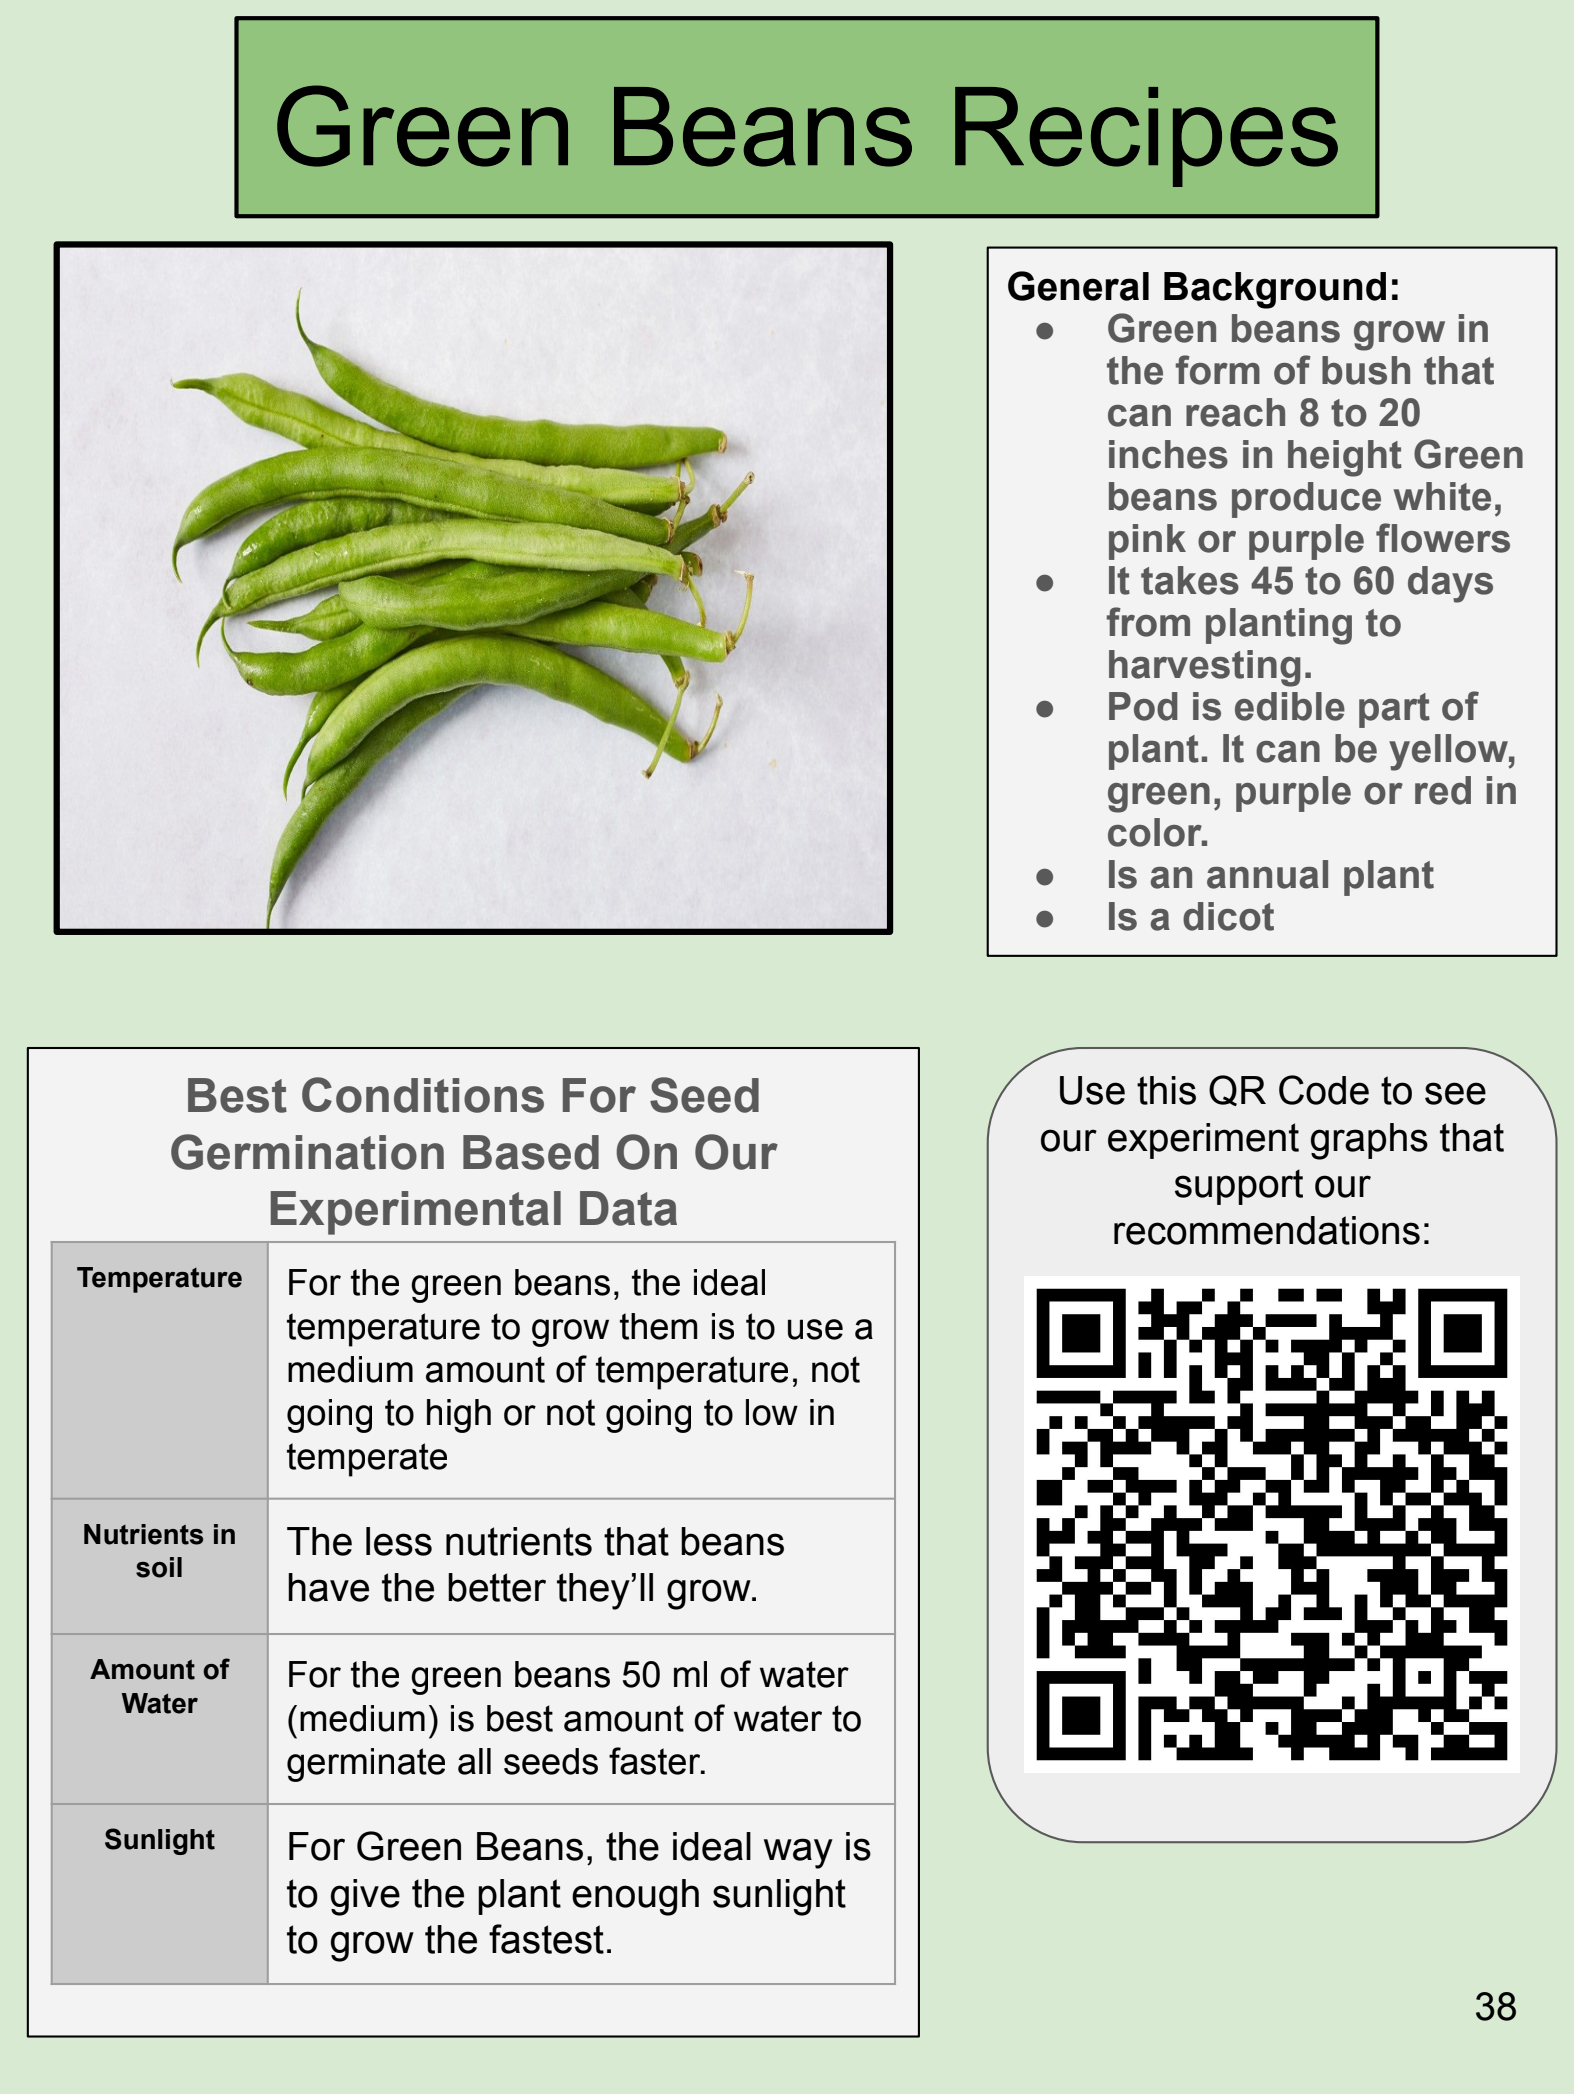
The chapters of the cookbook represent the edible plants that students grew in class.
The digital cookbook can be found here.
The QR codes throughout the cookbook go to:
experimental data that supports their plant growth recommendations.
audio of student native language interviews about their recipe.
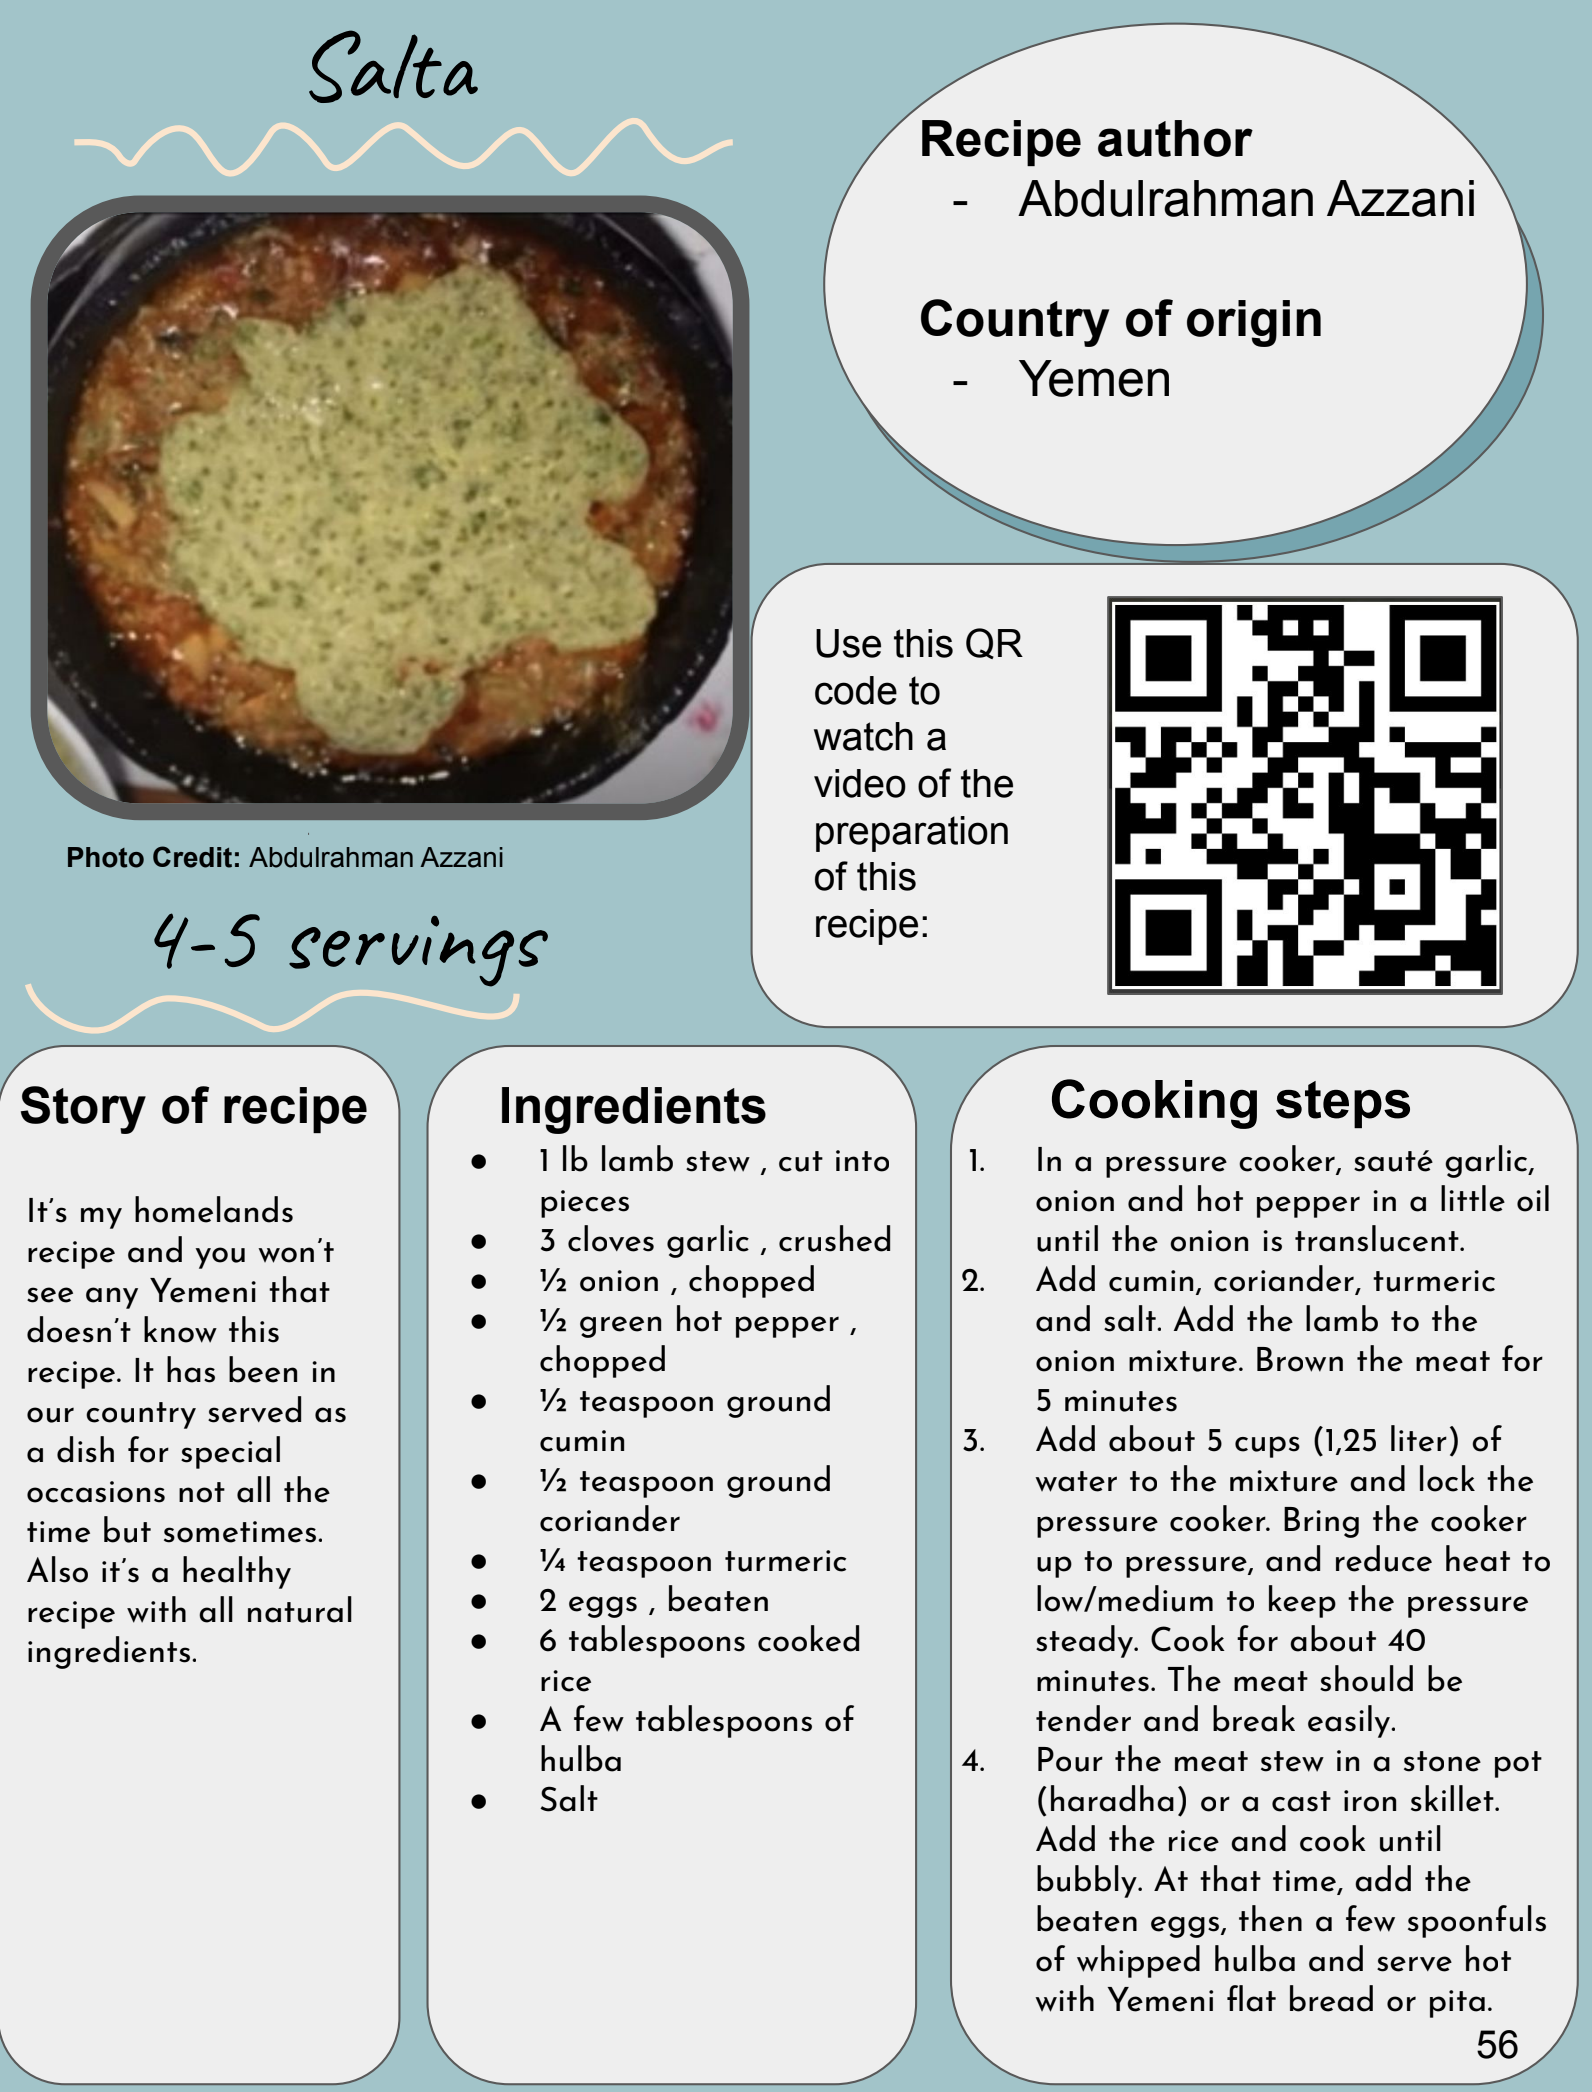
how-to videos of students preparing the meal.
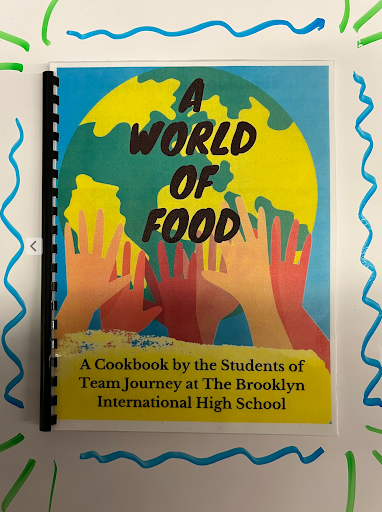


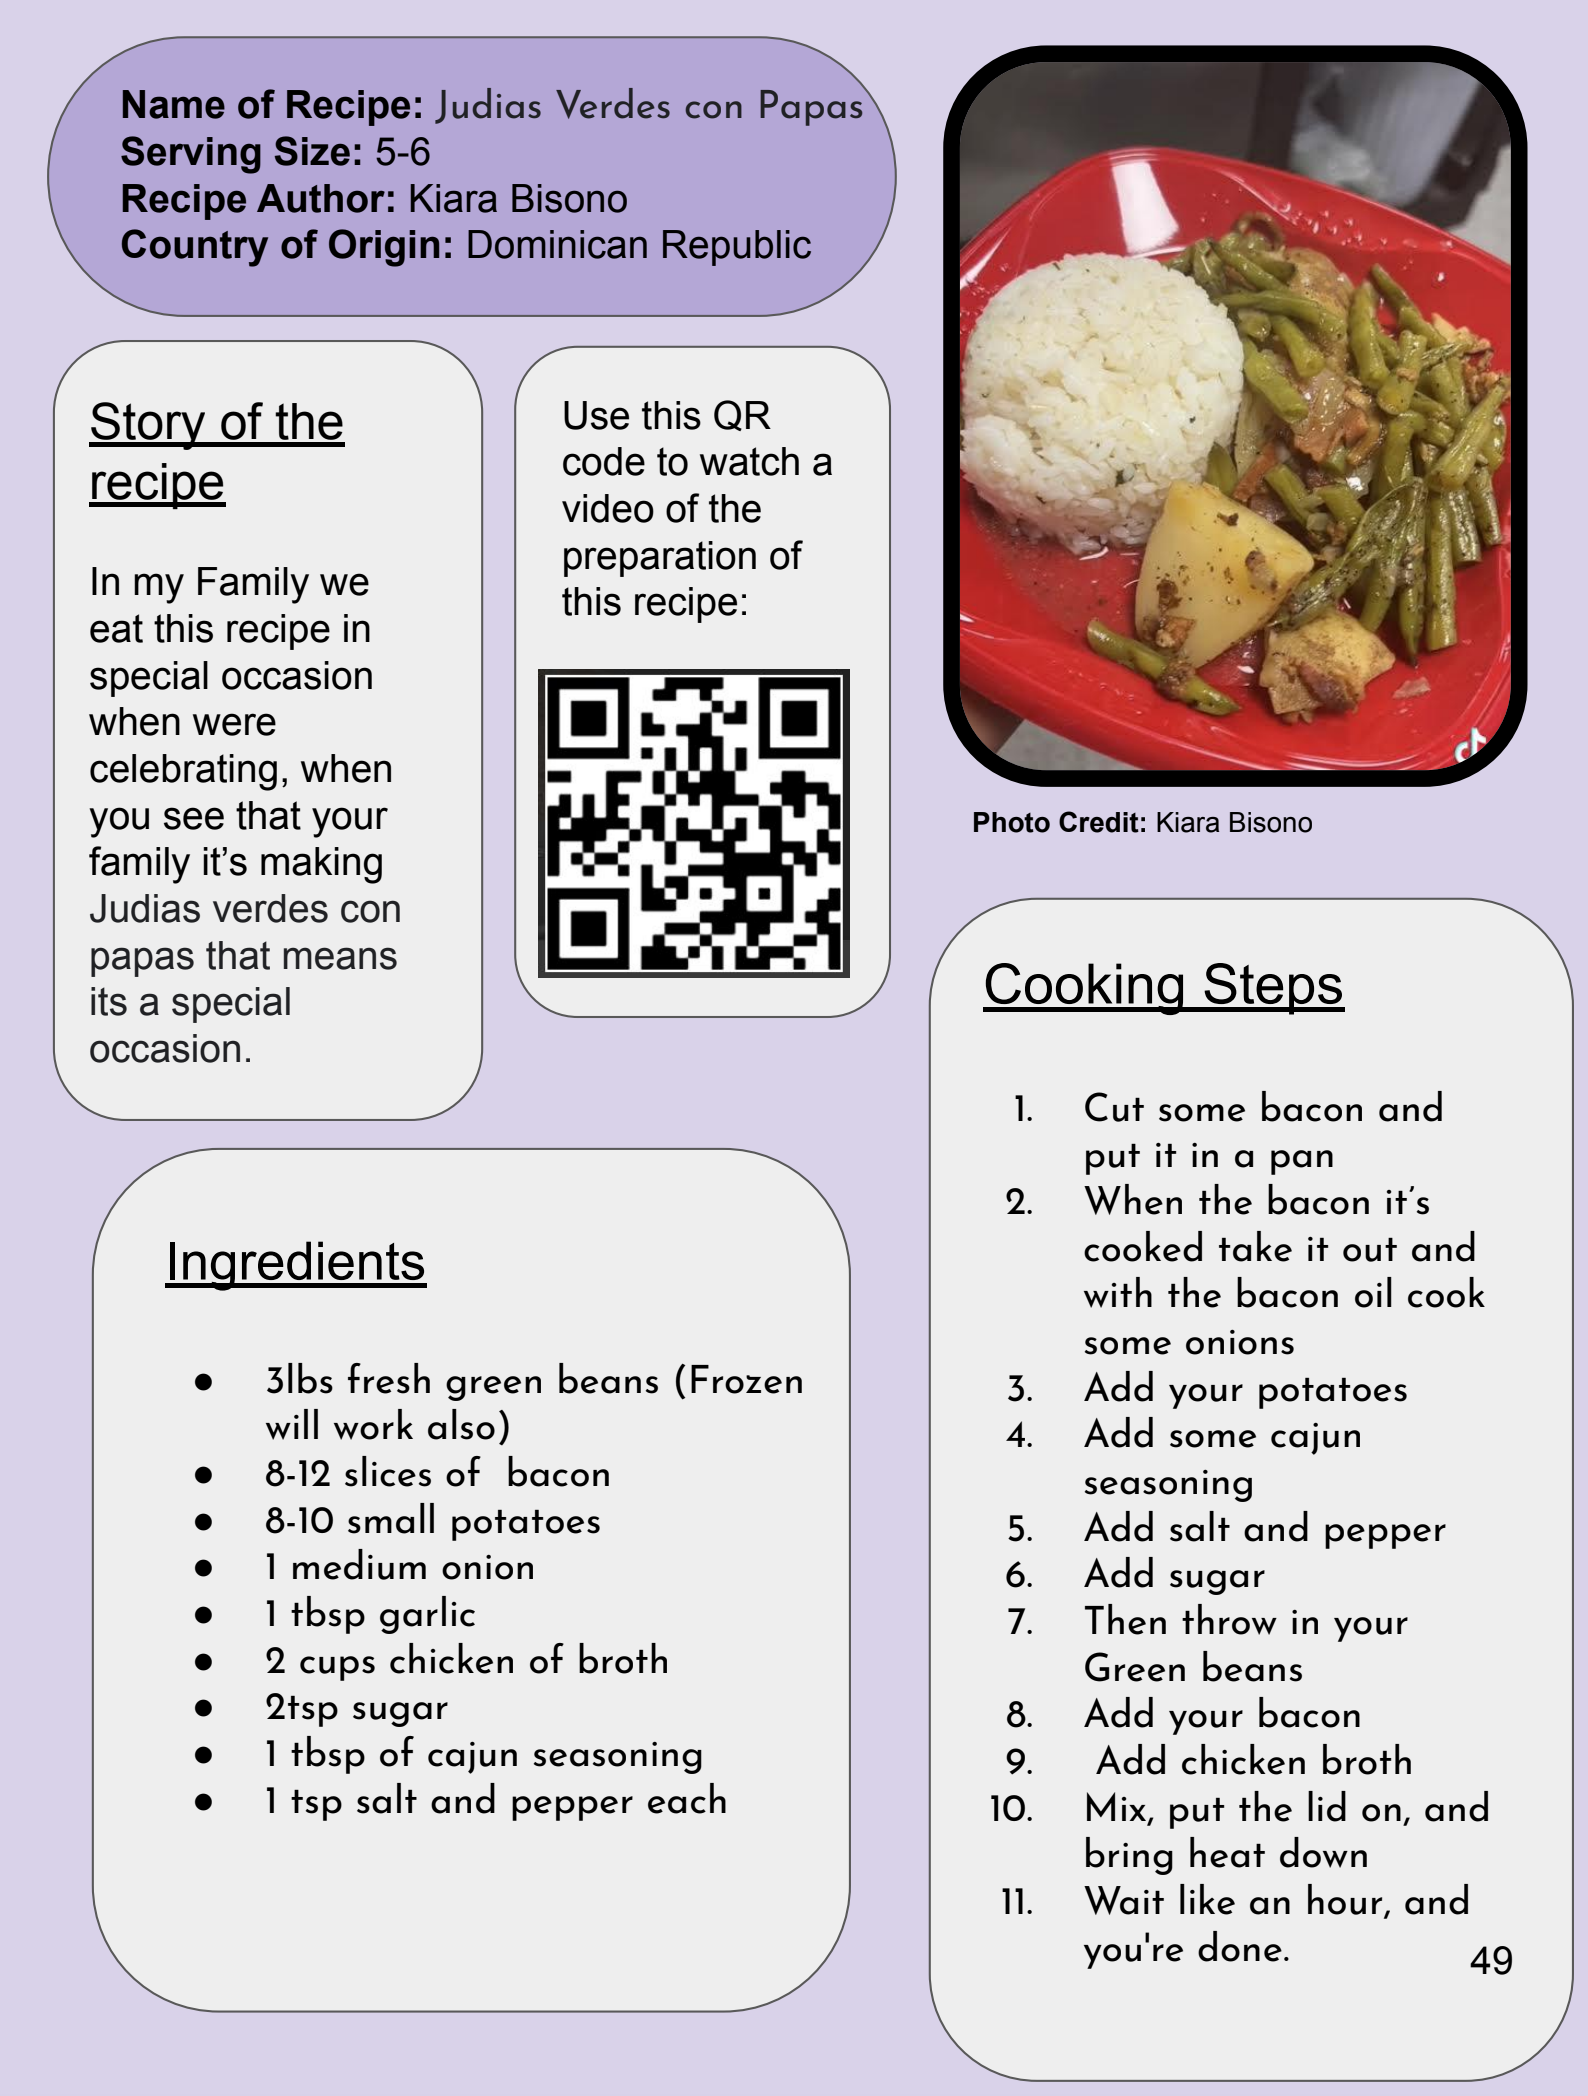
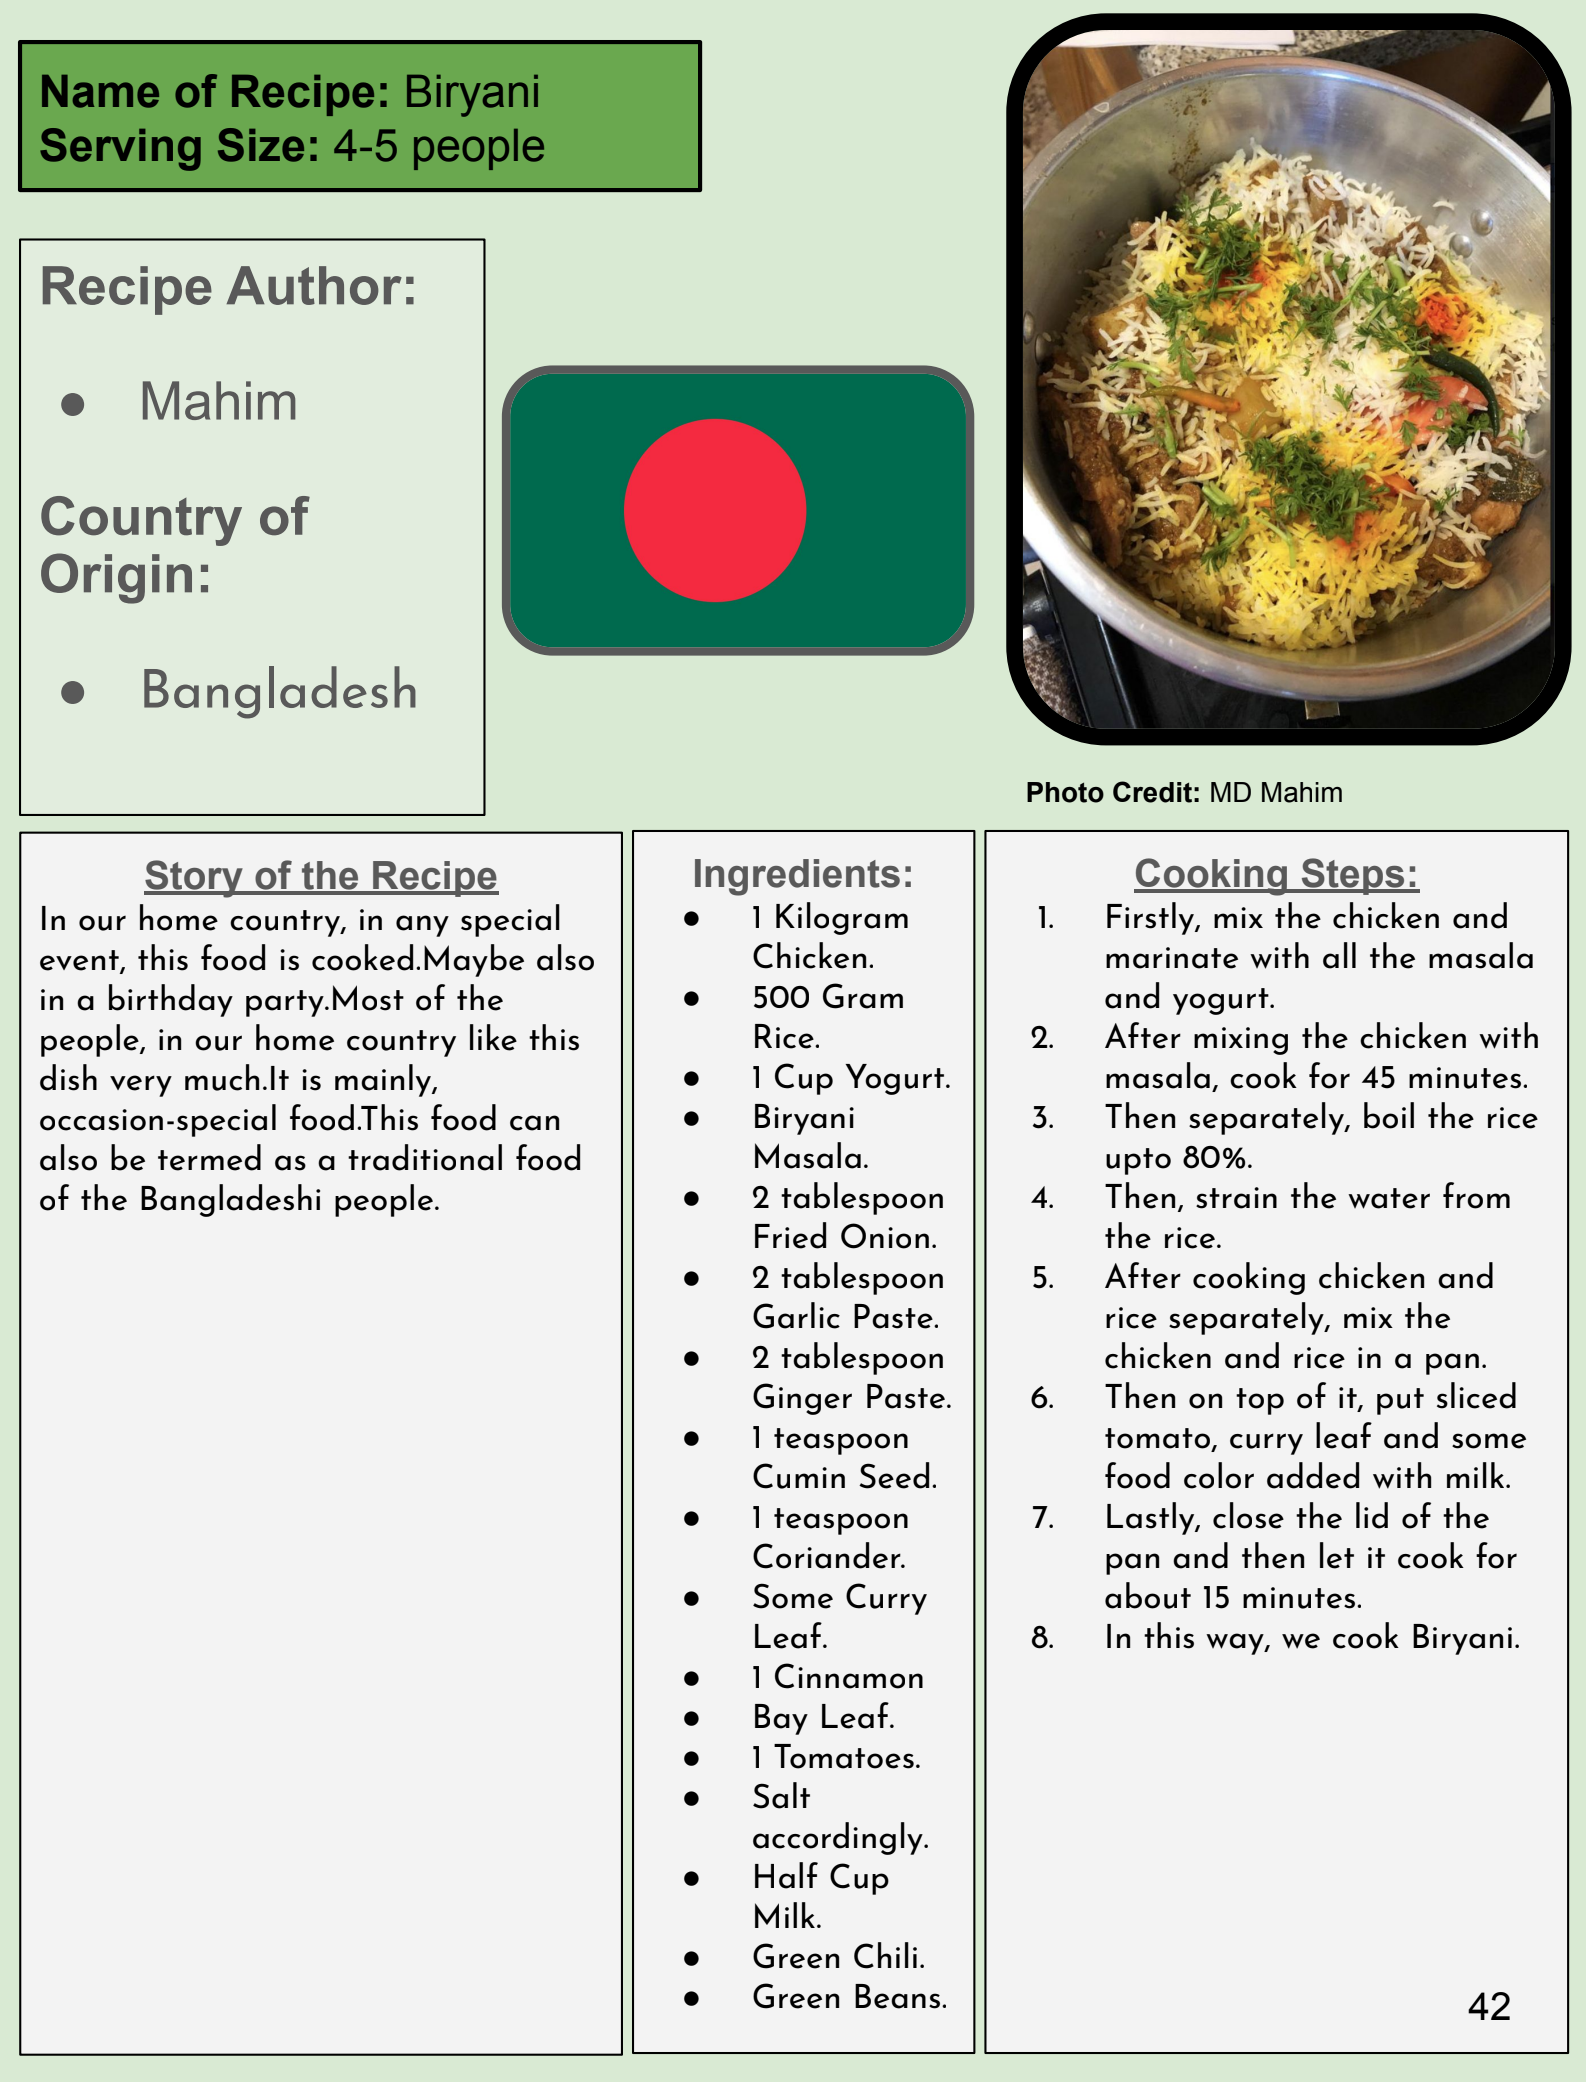
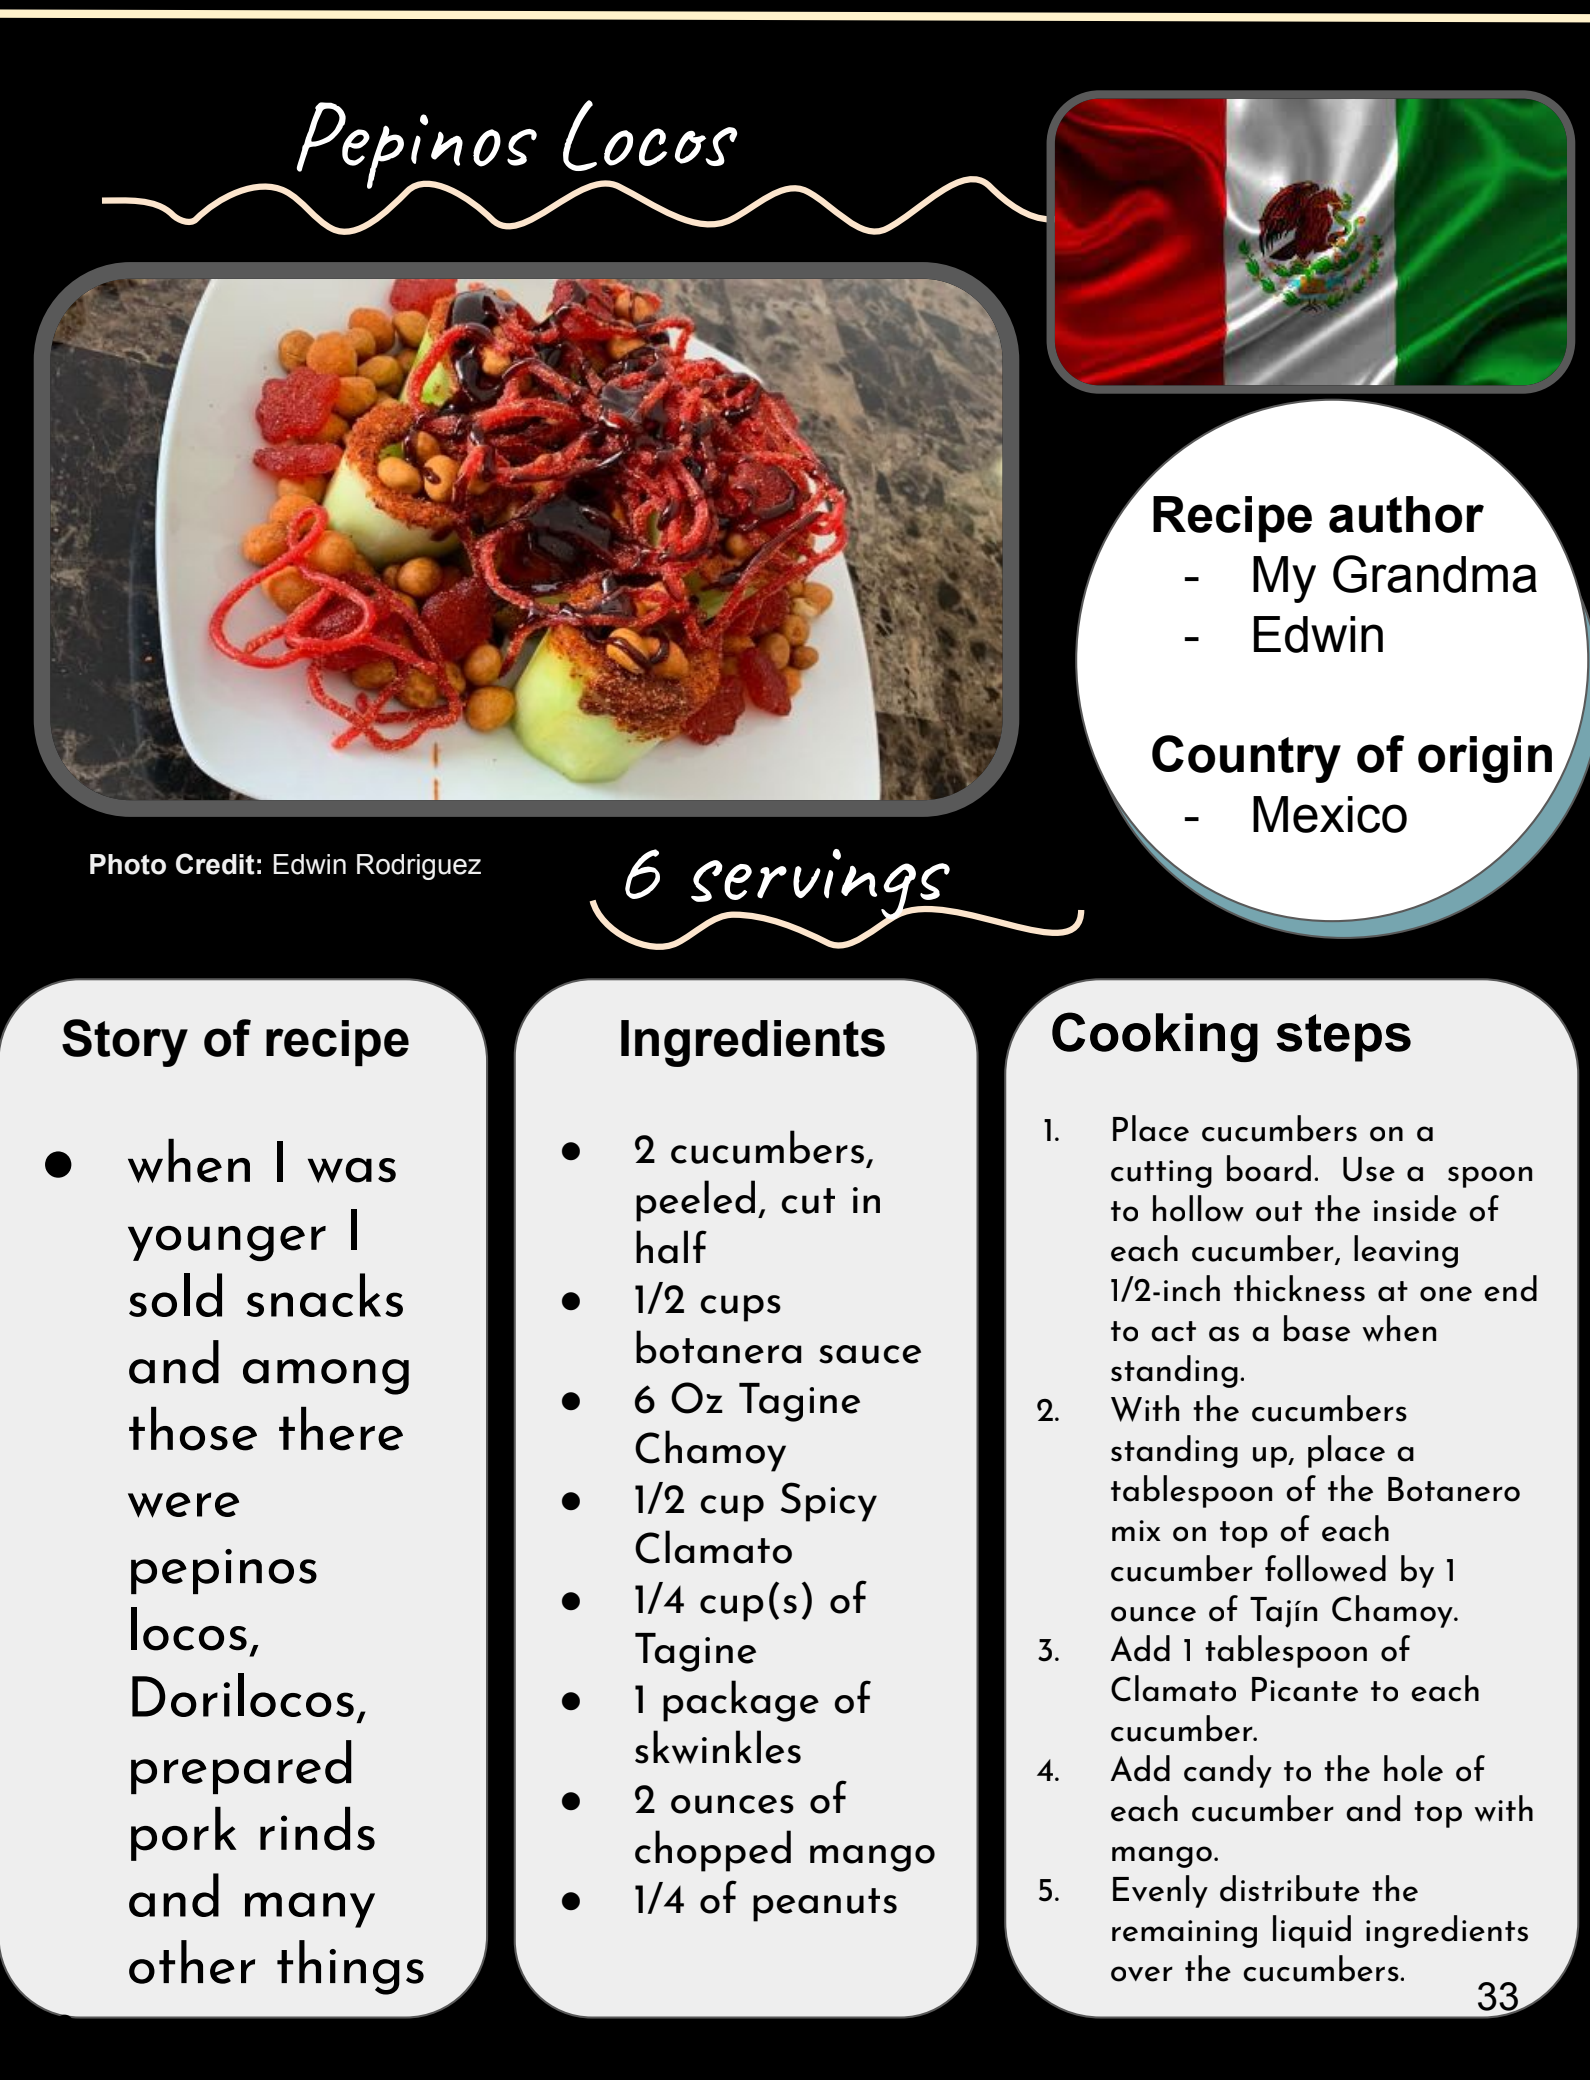
Note: The cookbook was designed by the students. All photos are from meals prepared by the students
Project Facilitation Resources

To support students as they collaborate with their team, consider having students develop a team collaboration contract. Go here to see student-facing materials and read about how I use the restorative practice of talking circles to have student groups create their collaboration contract.

Consider having students use a Kanban Board to collaboratively manage their work together to develop their cookbook. Go here to read how I implement Kanban Boards during a project.
Project Facilitation Guide
Note: The guide describes how to have students use the content to create their cookbook. It does not detail the workshop my students facilitated with the elementary students.
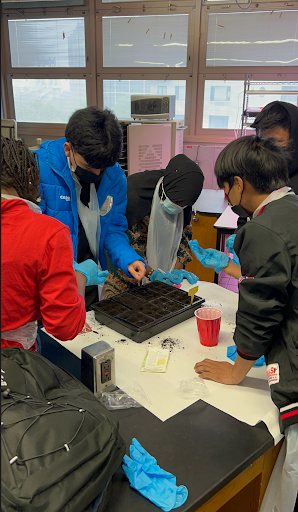
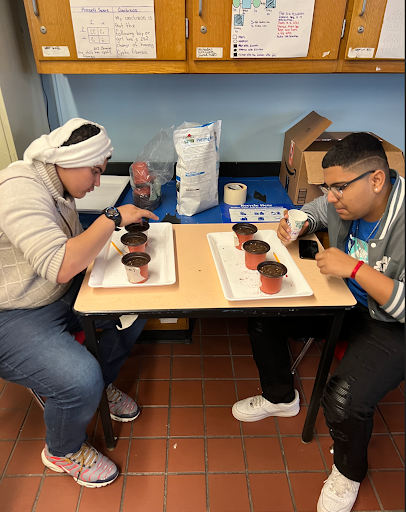
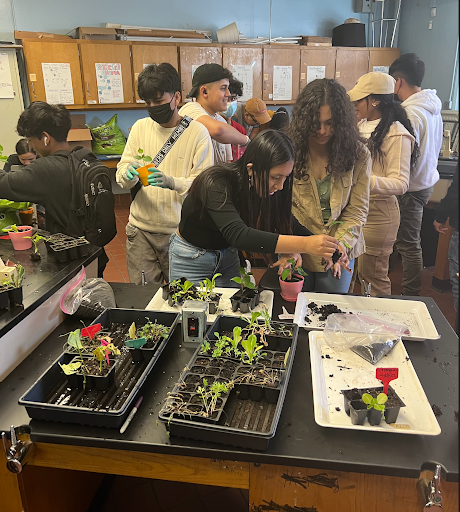
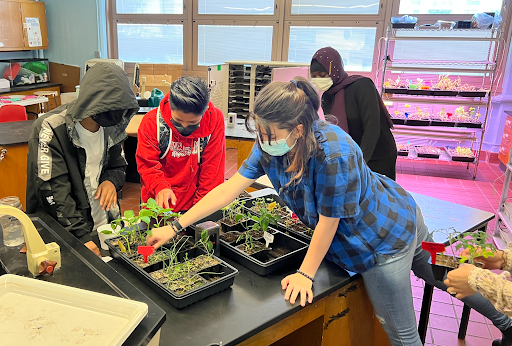
Part 1 - Seed Germination Experimental Design
The images below depict the student-facing materials linked in this section
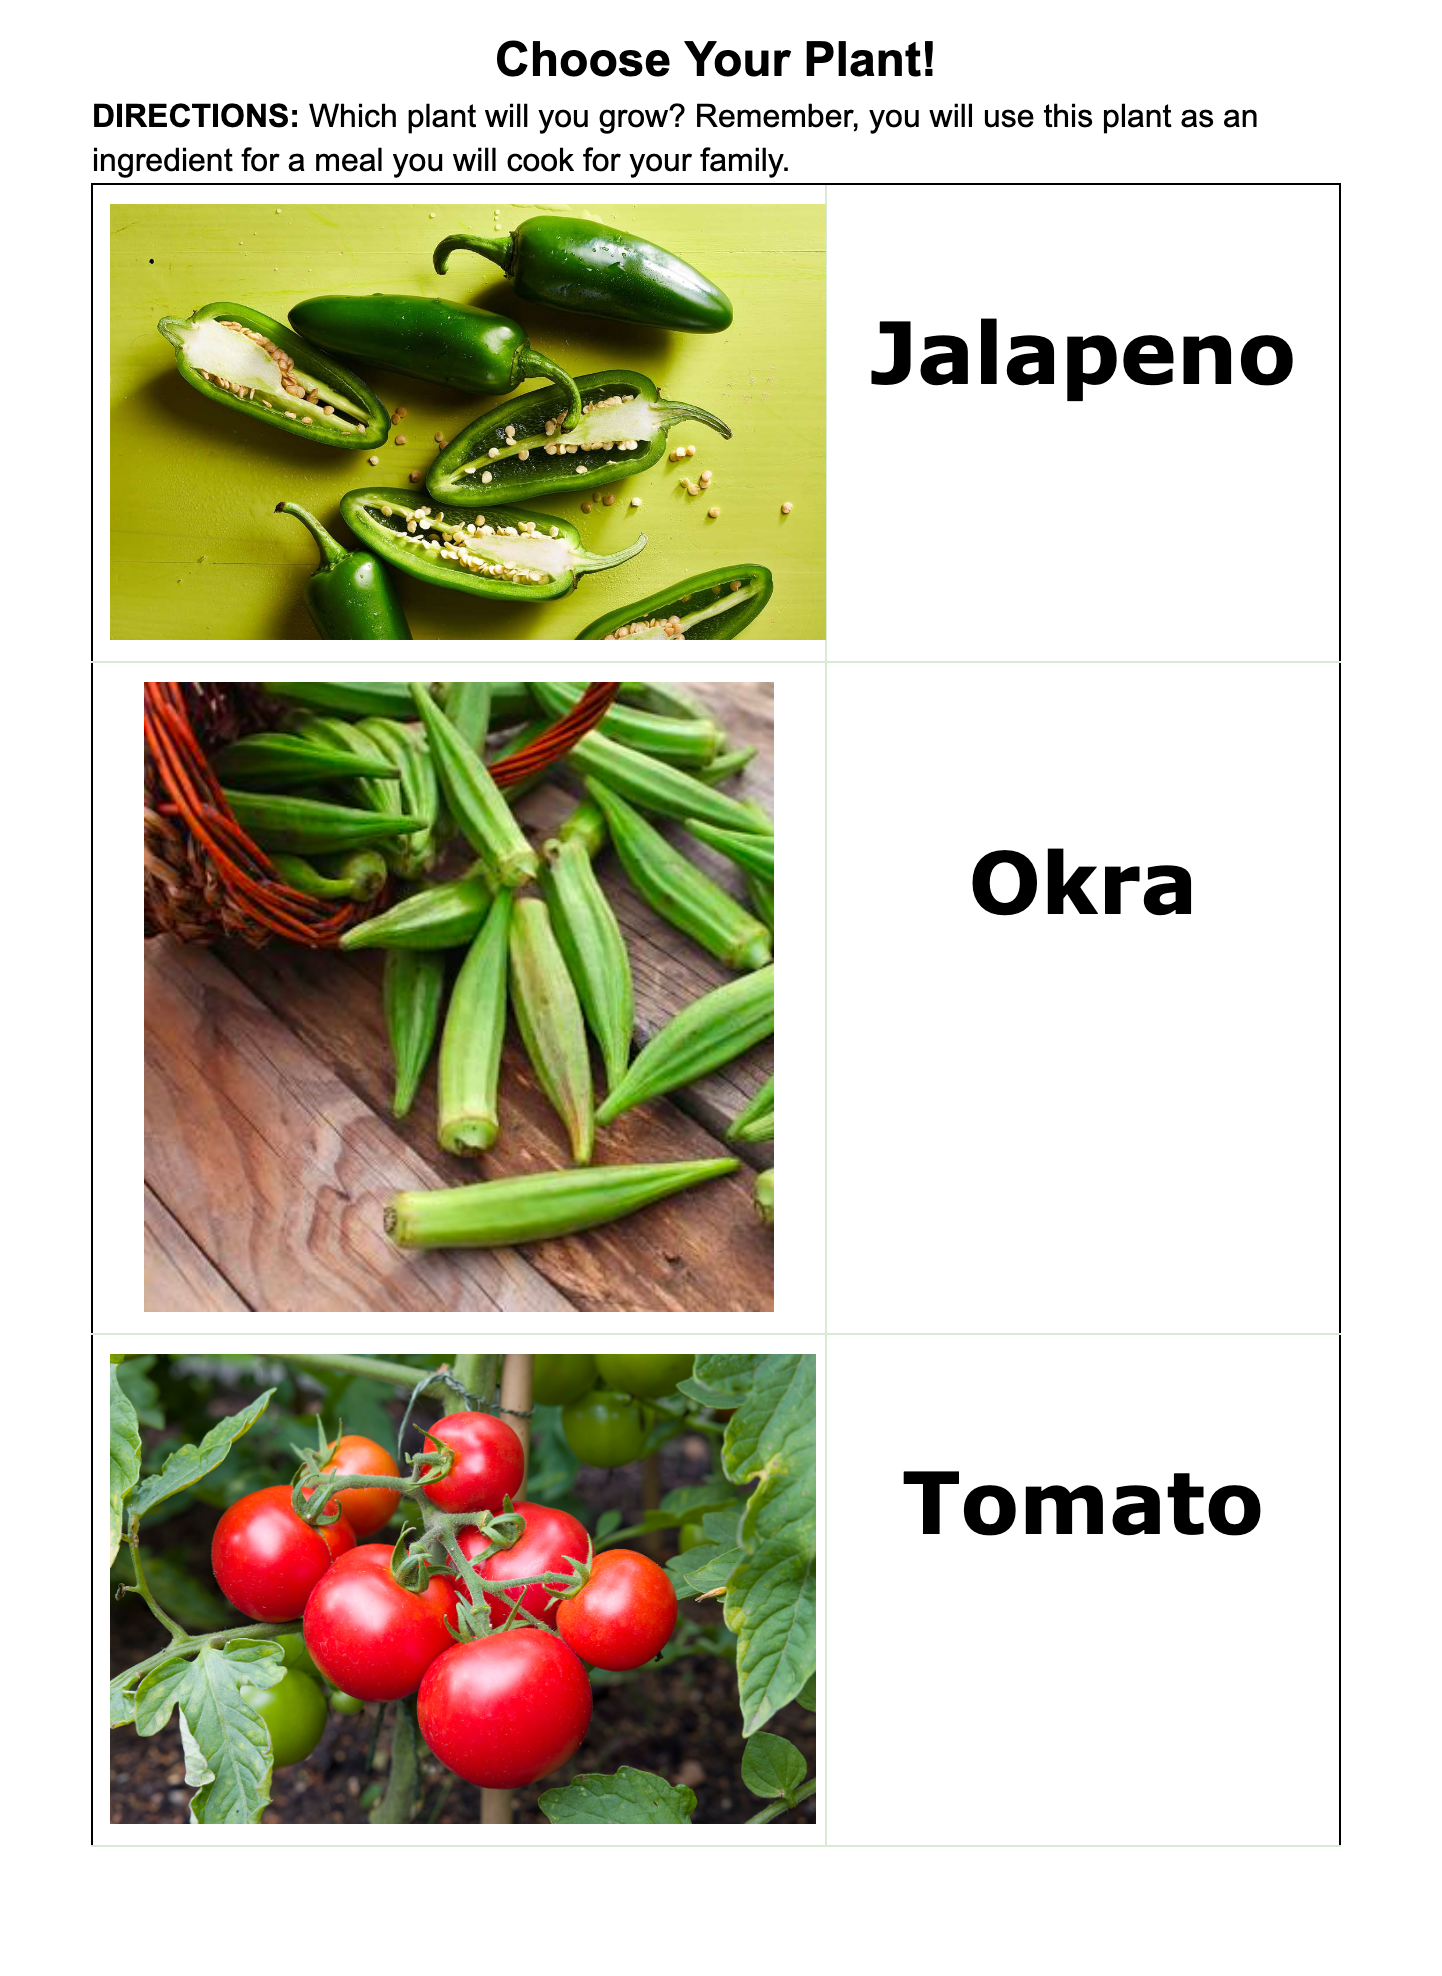
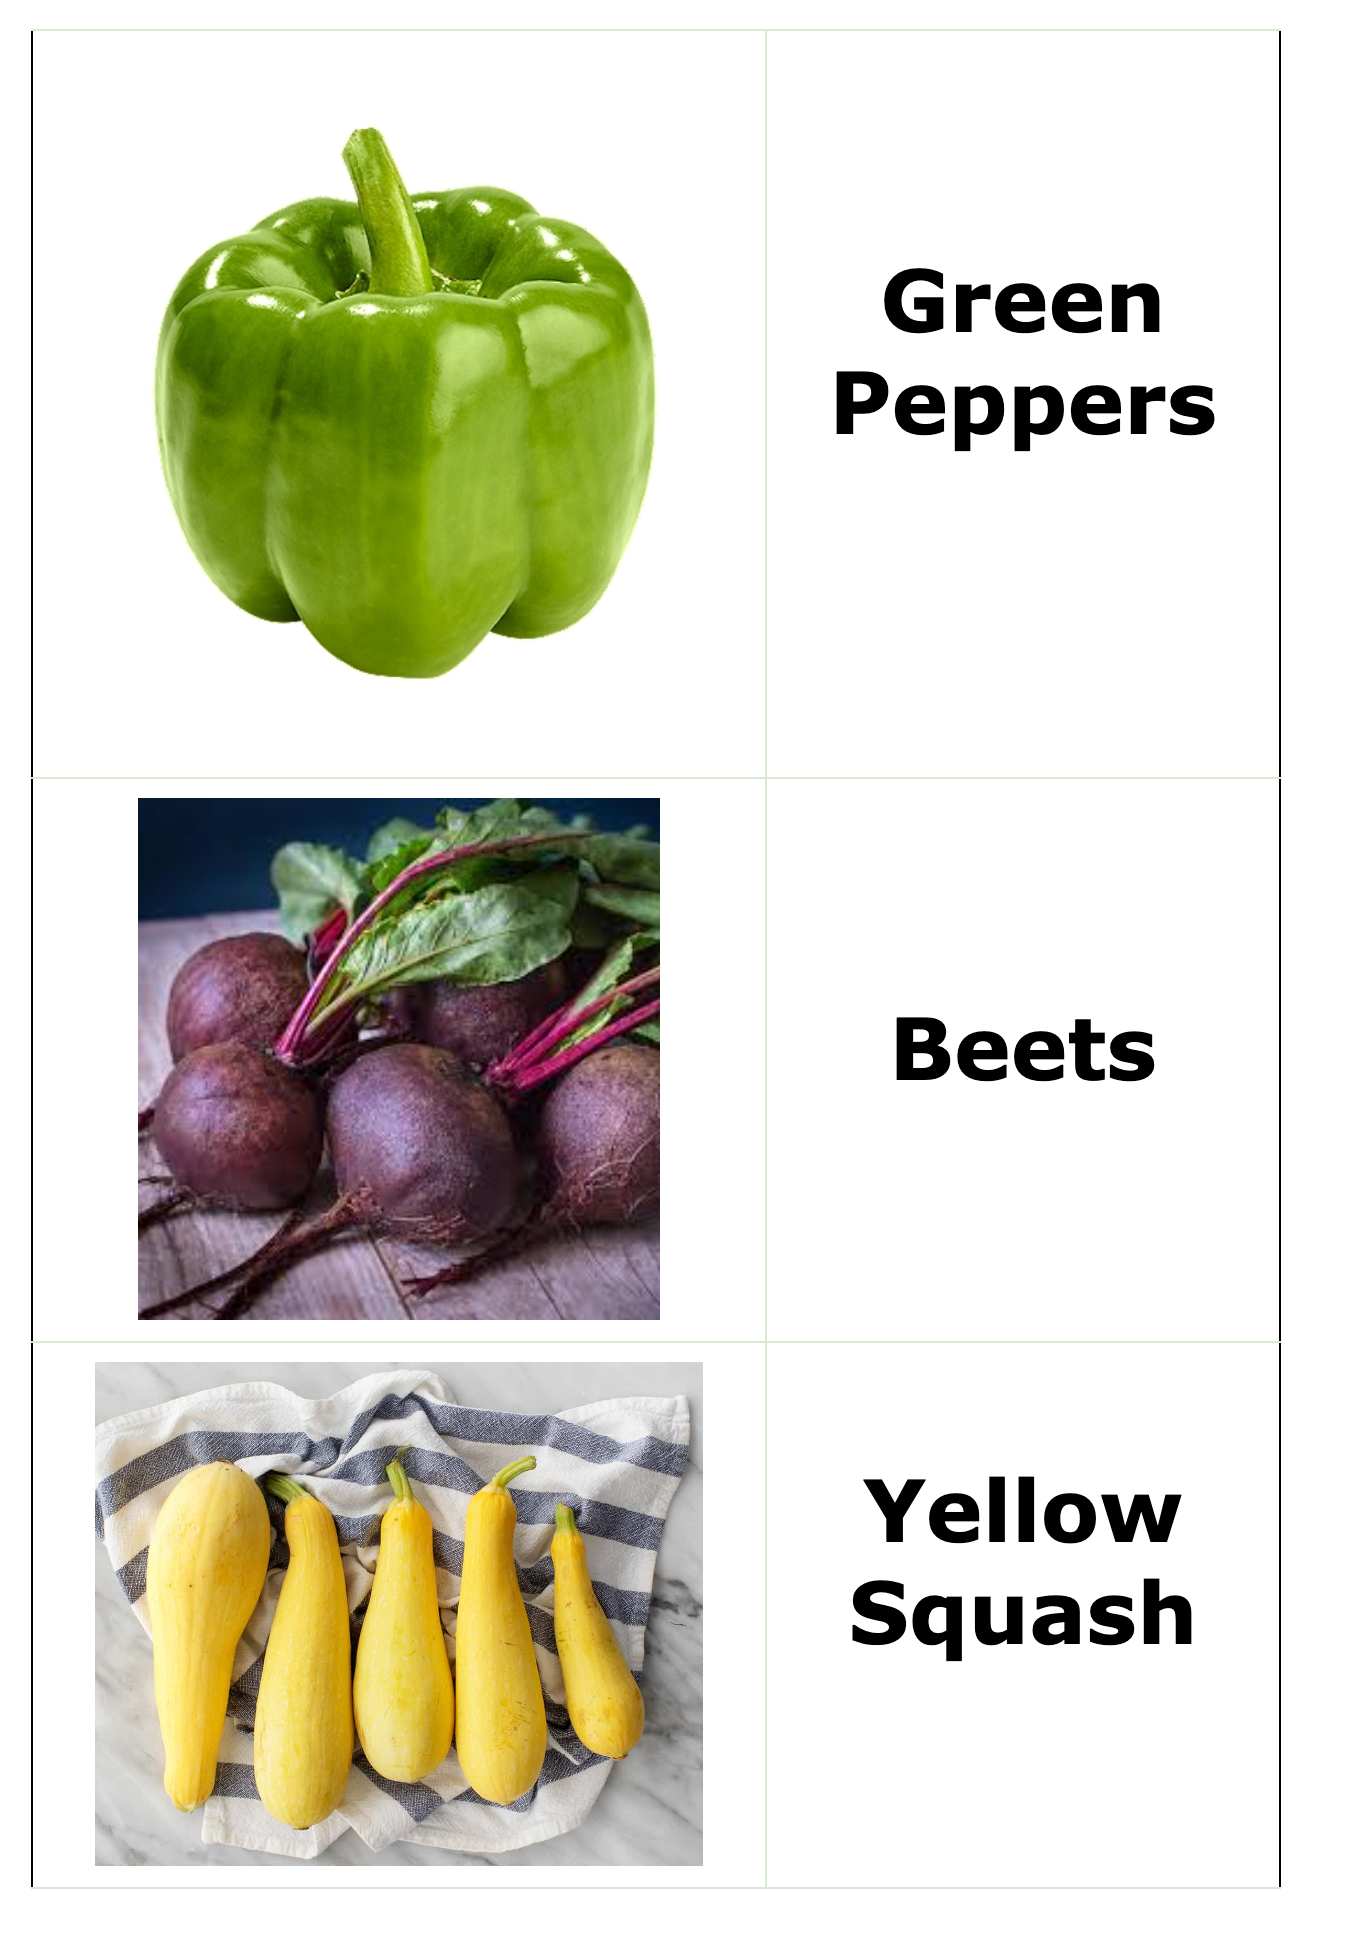
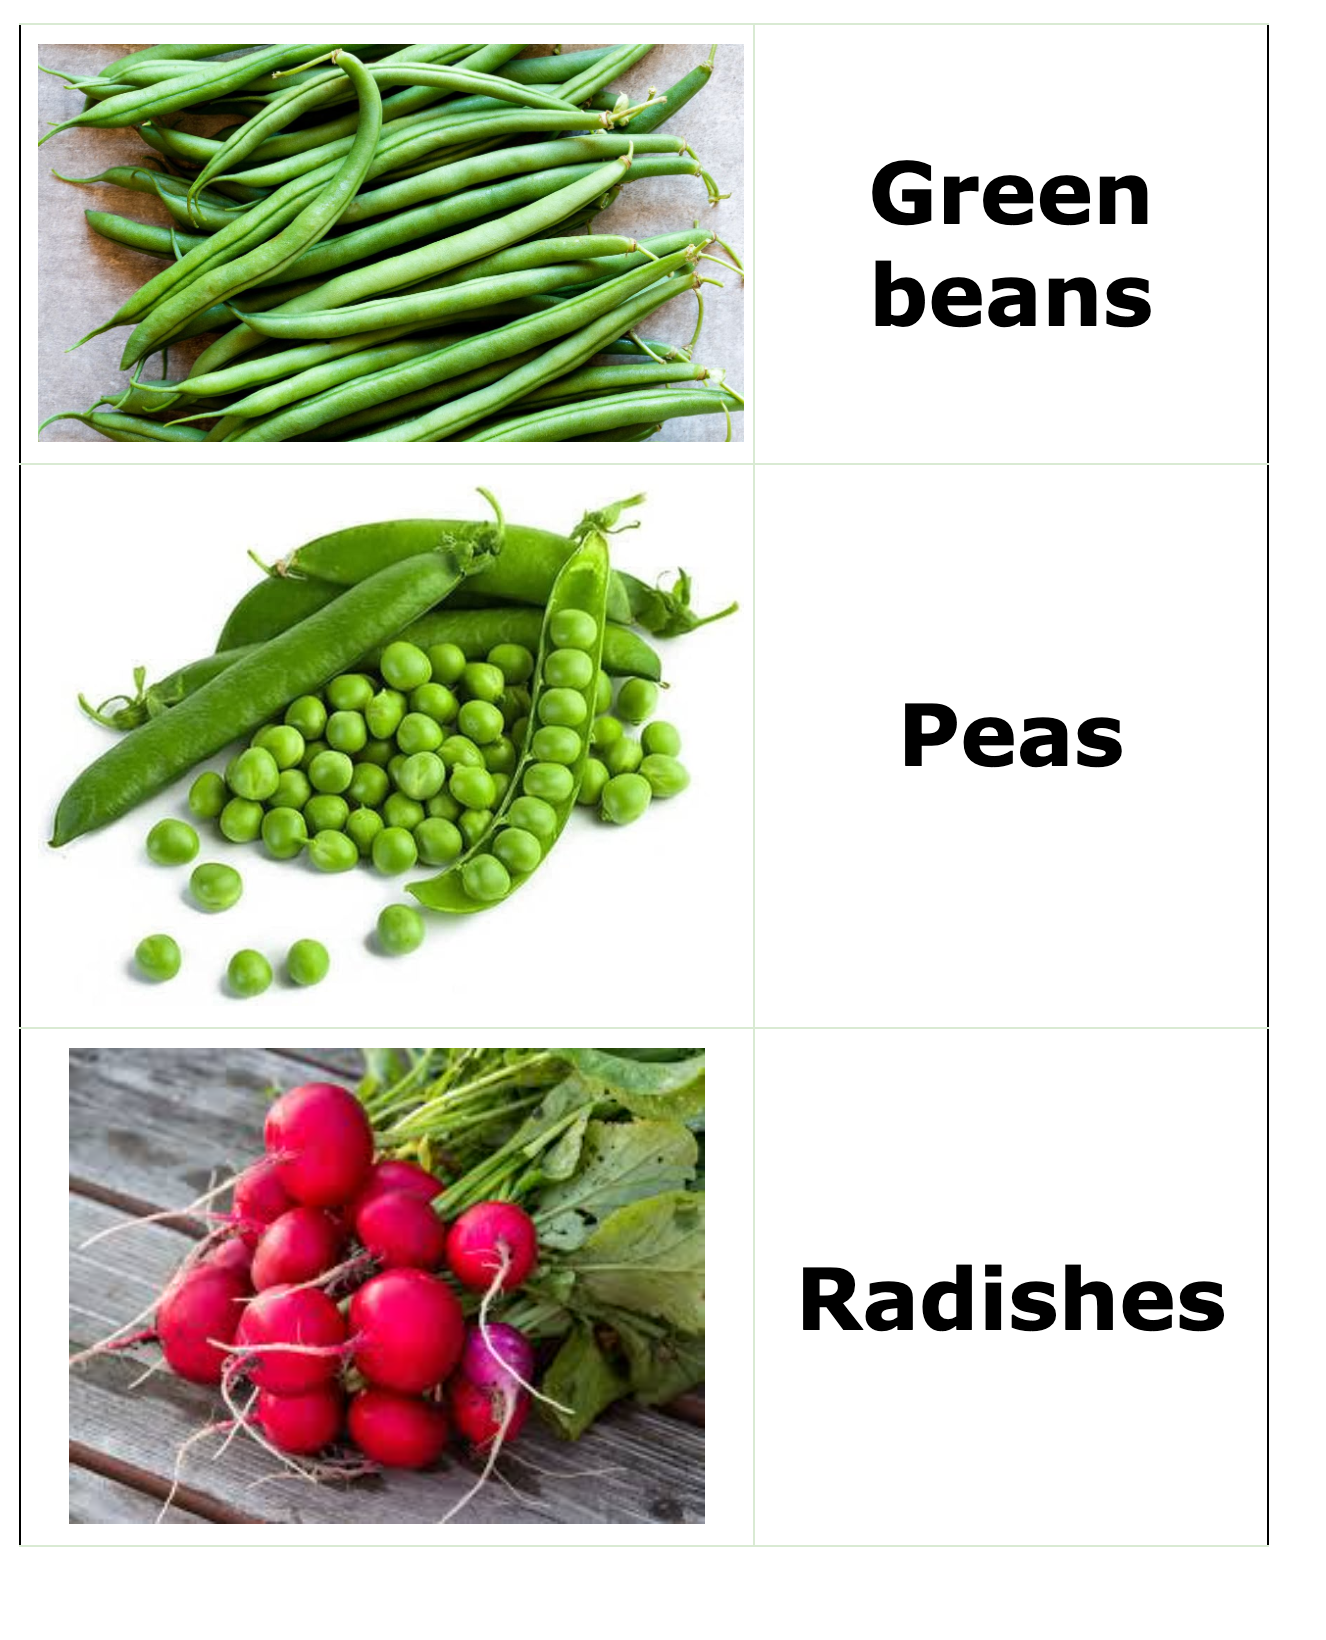
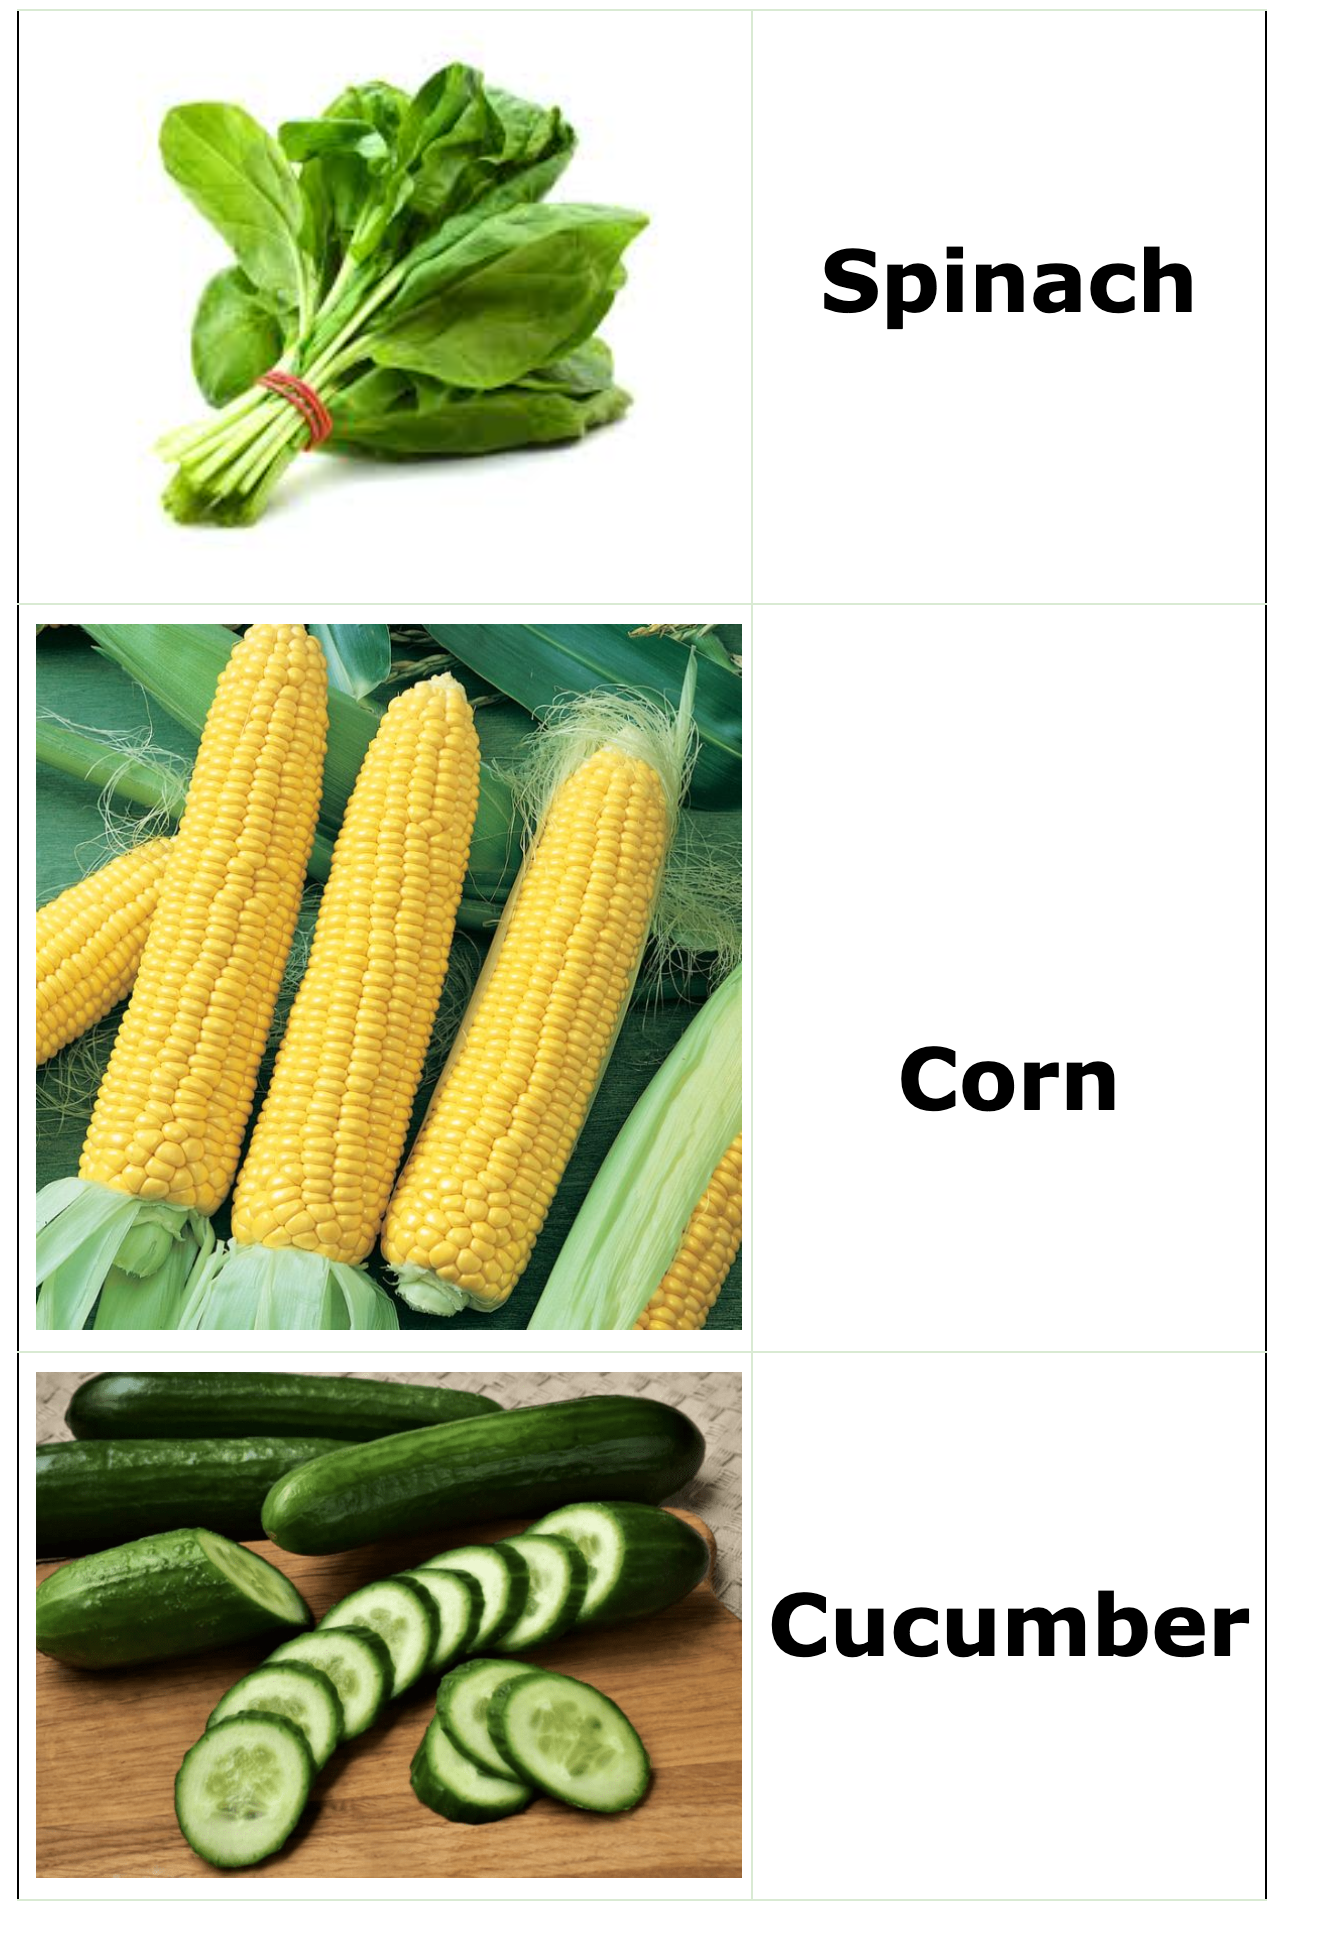
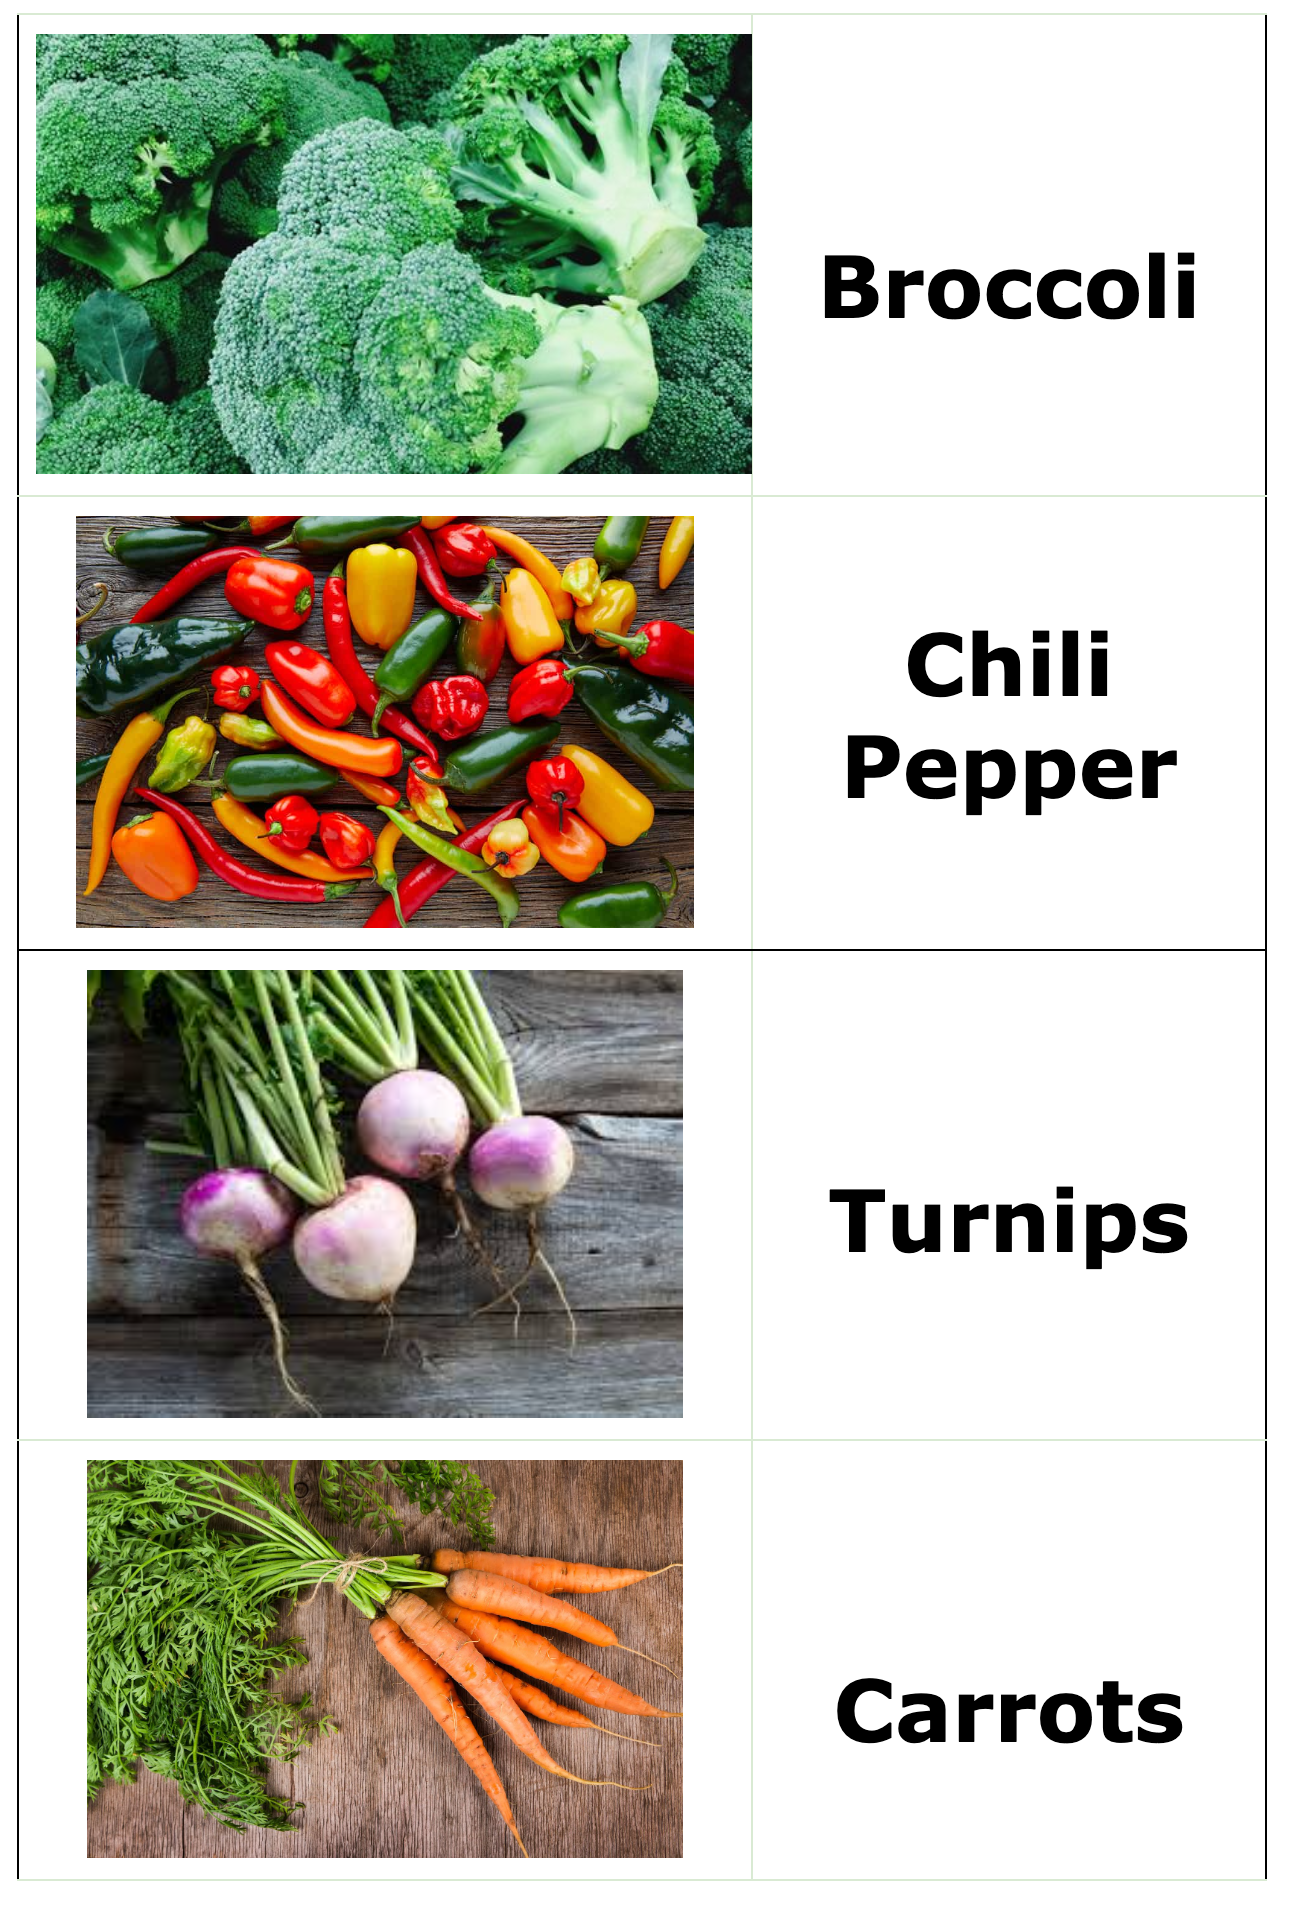
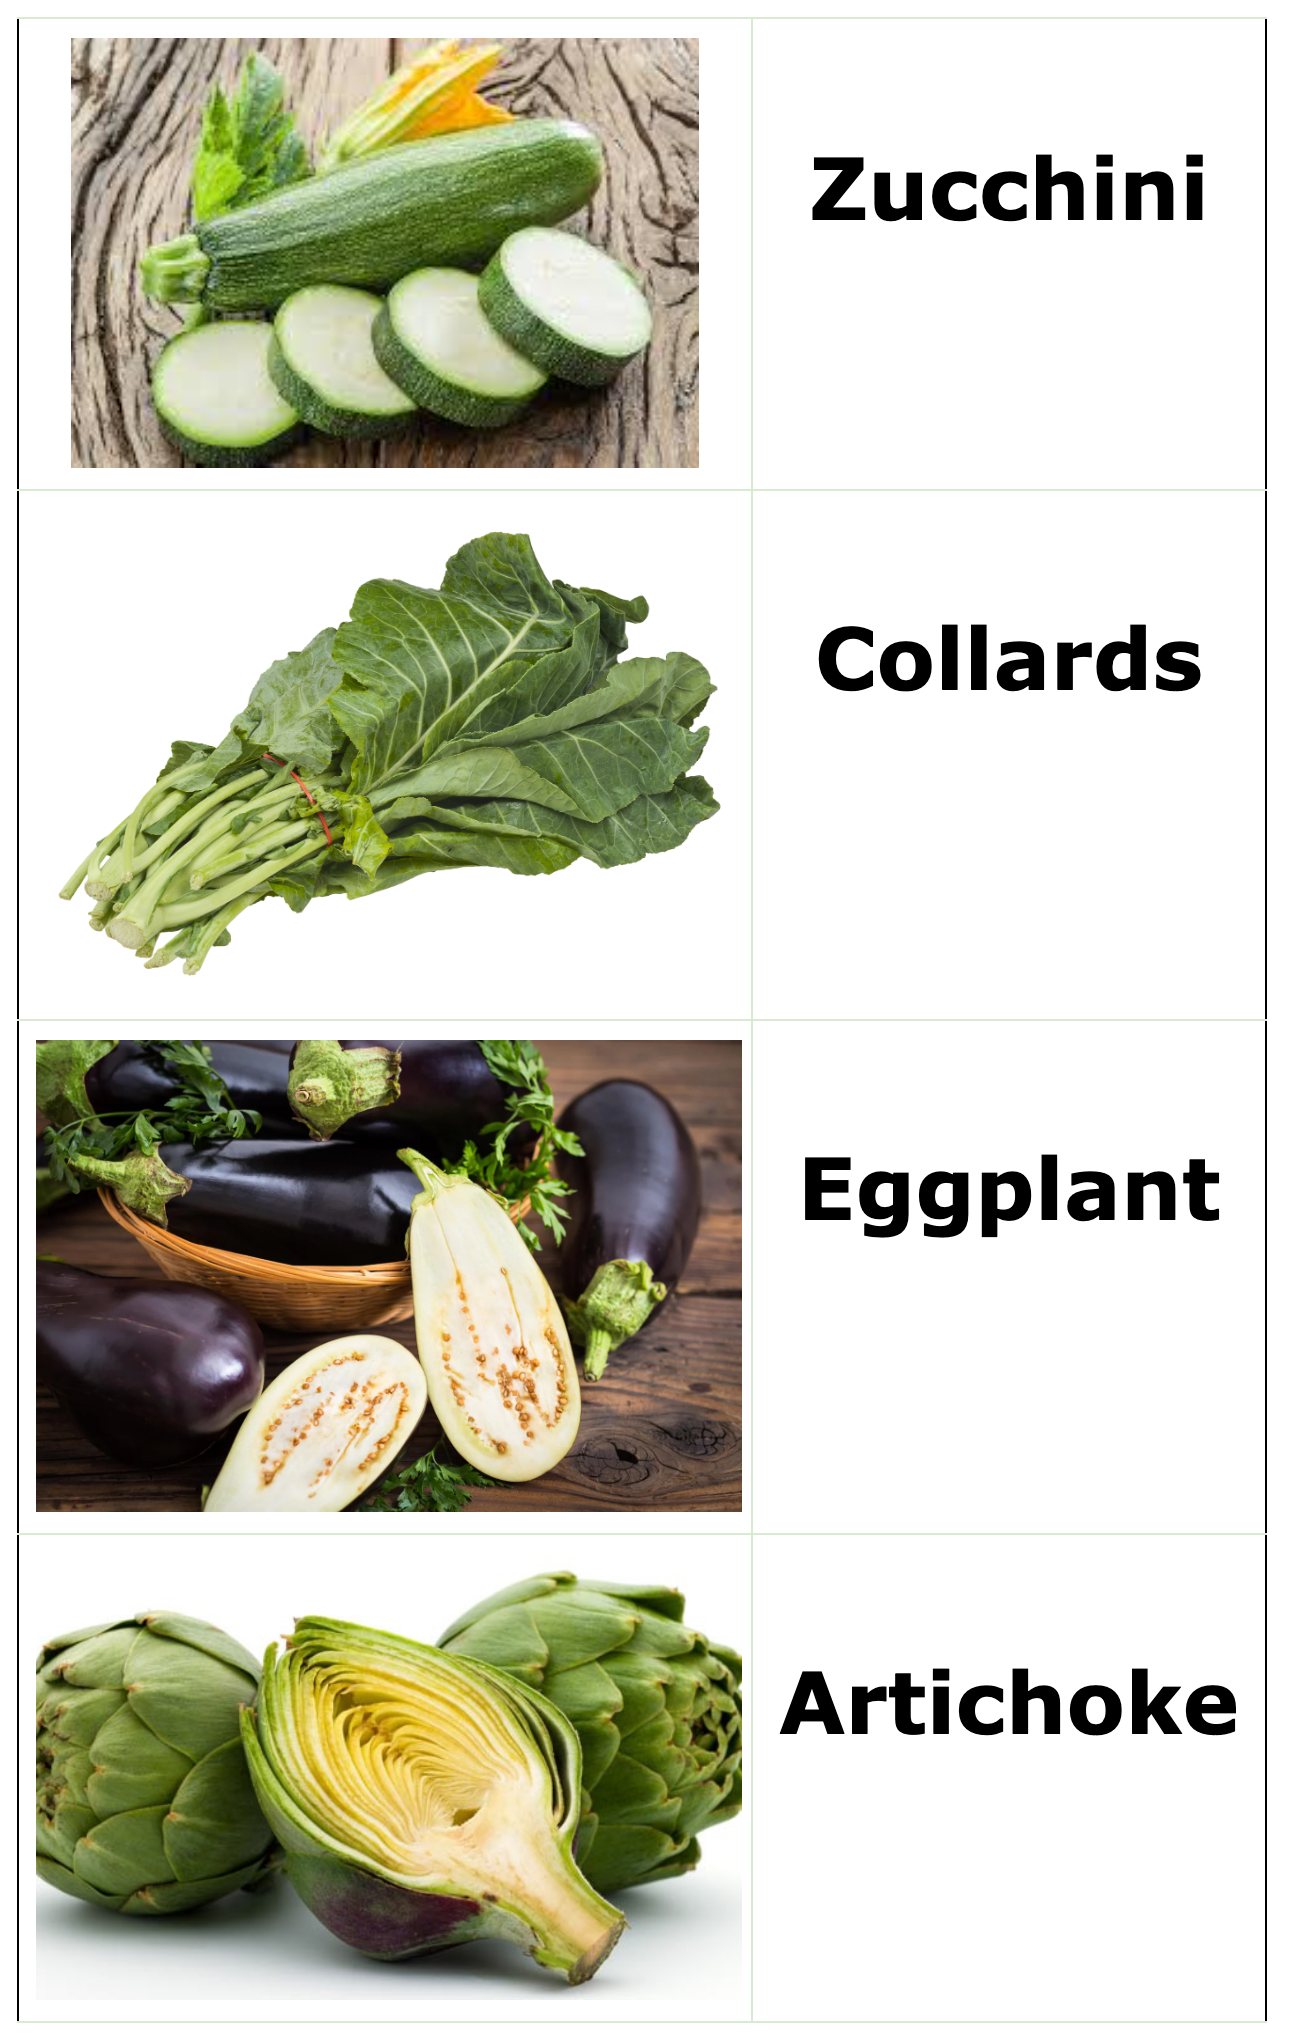


Introduce project with students sharing their favorite meals from their country, students are placed in groups, and each group selects an edible plant to focus on for their experiment and cookbook recipe. Here is a list of edible plants that students in my class selected from. Make sure that each group selects a different plant.
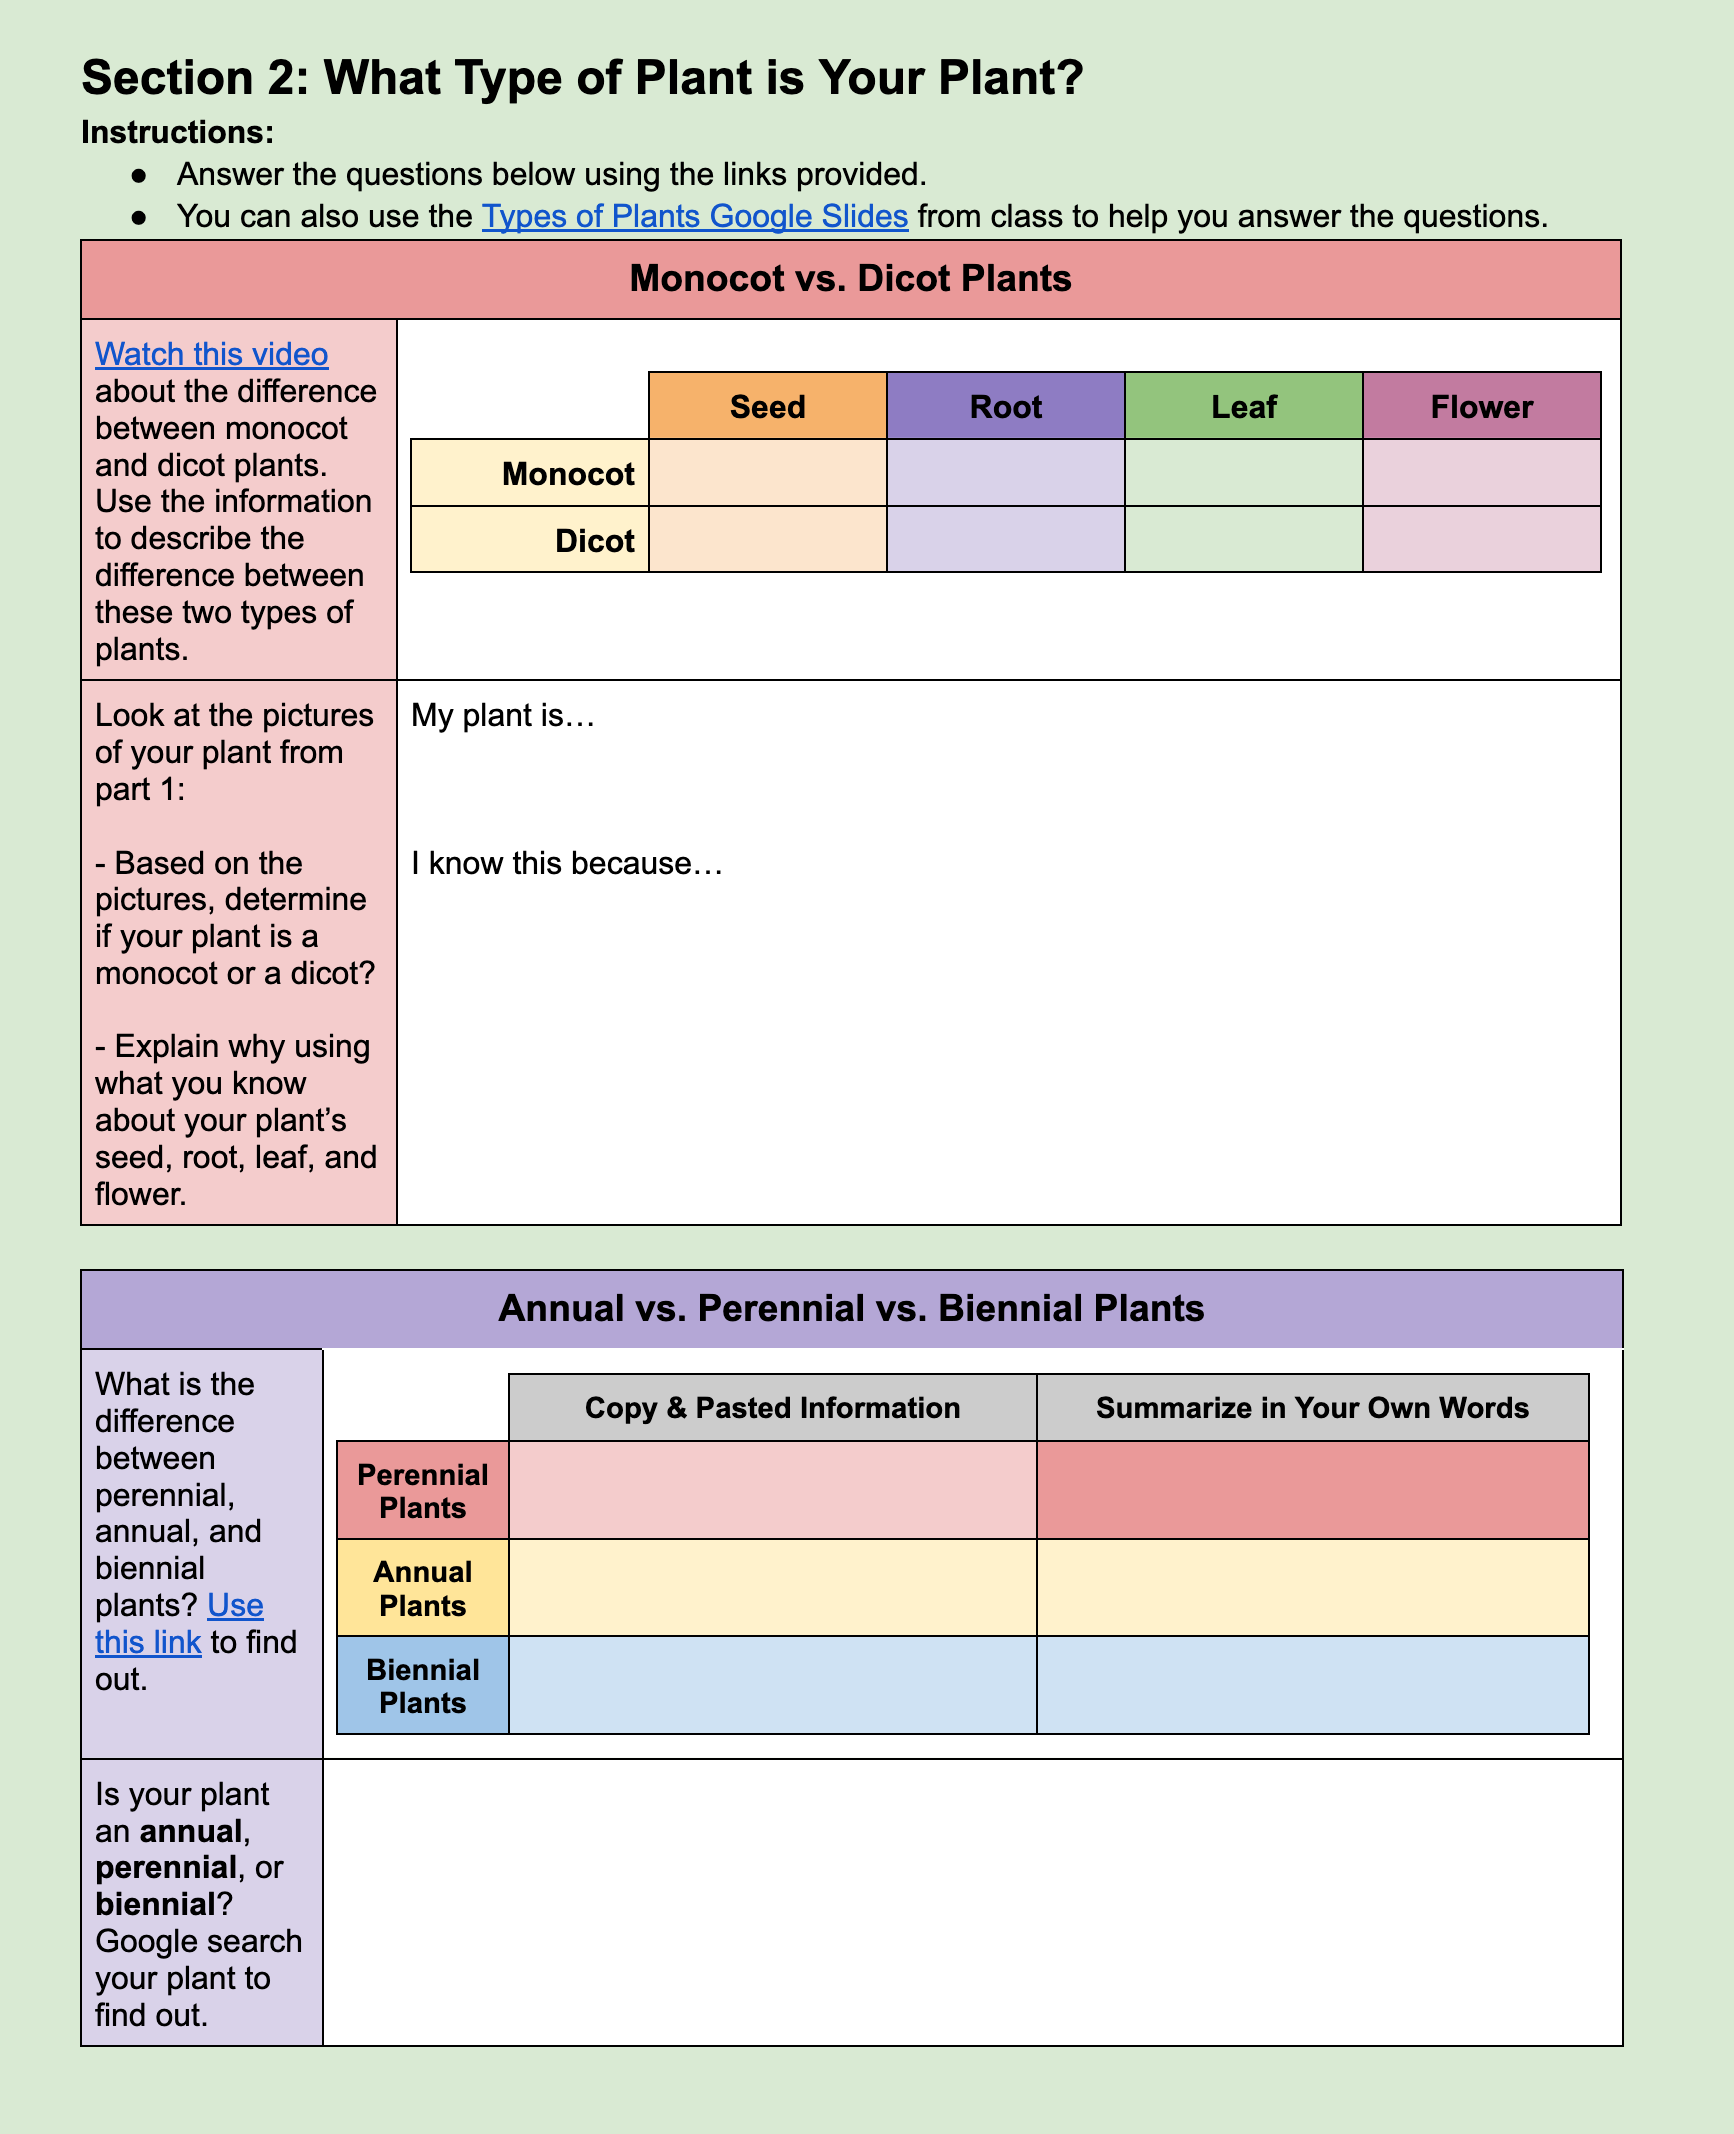
Introduce different types of plants to students using these slides. Have students use the edible plant they selected to use the content from the slides to consider their plant by completing this Type of Plants worksheet. Here is a student completed example. This information will be used as background information in their Experiment Lab Reports
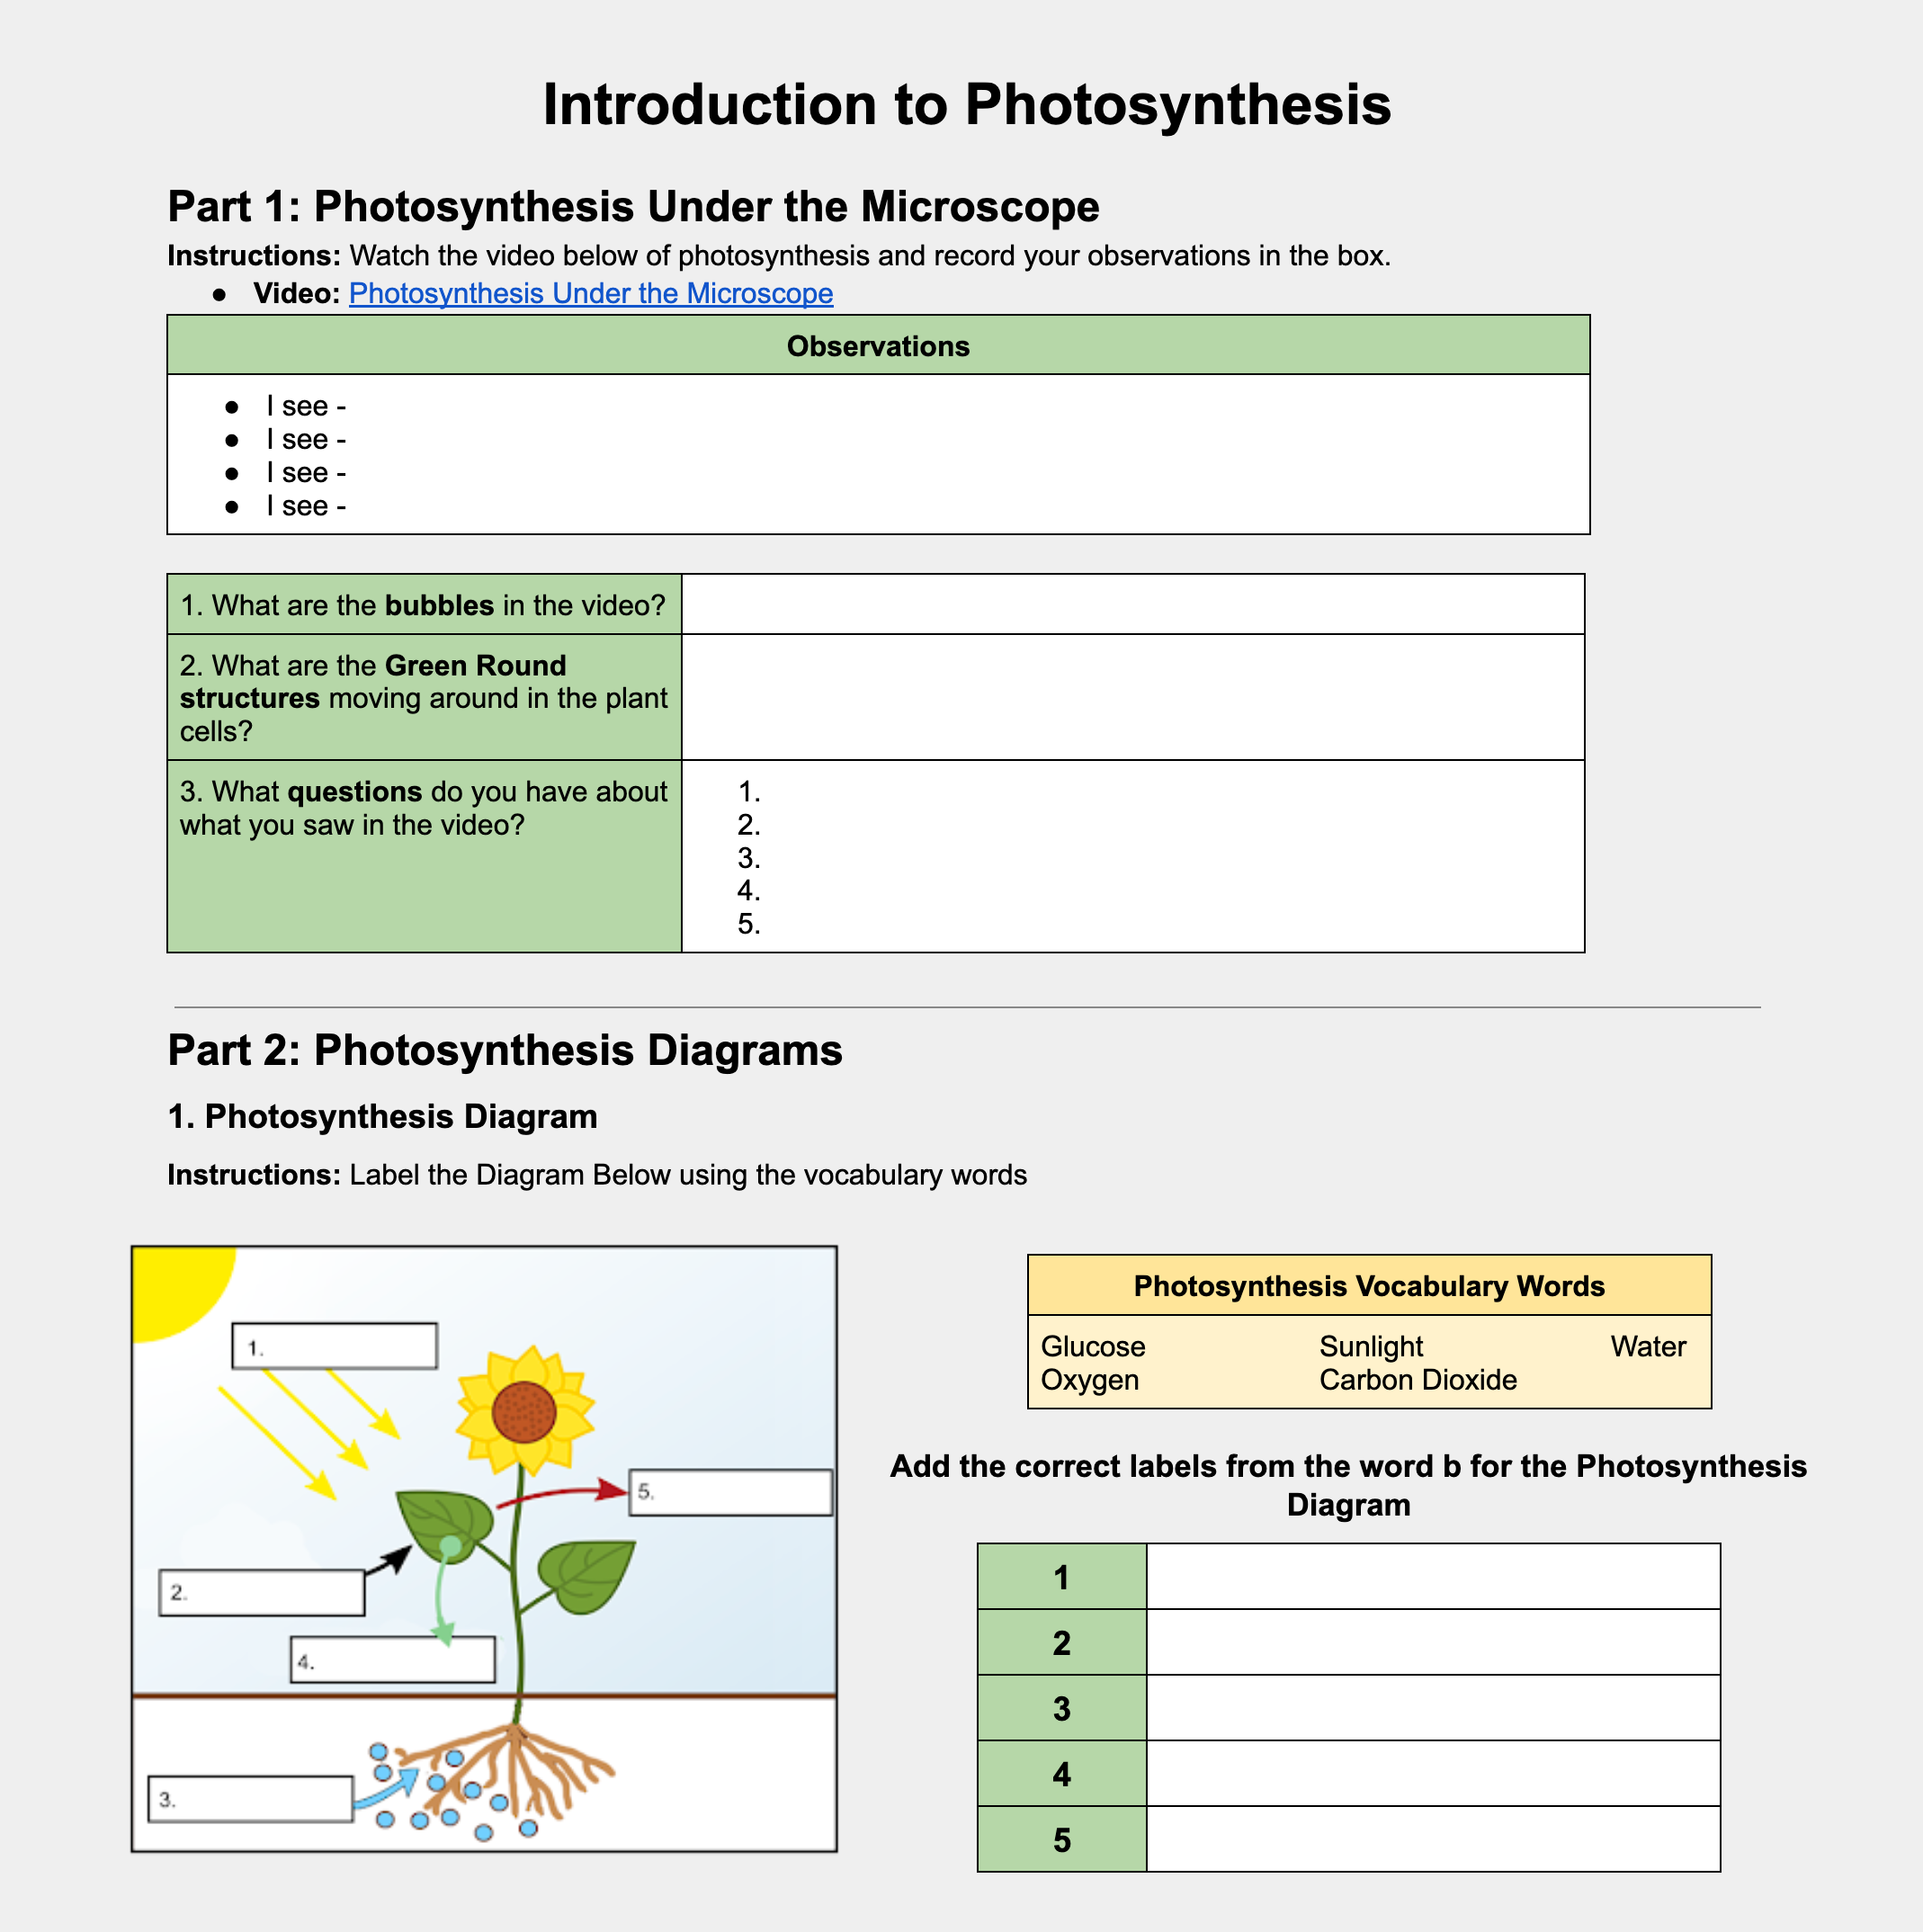
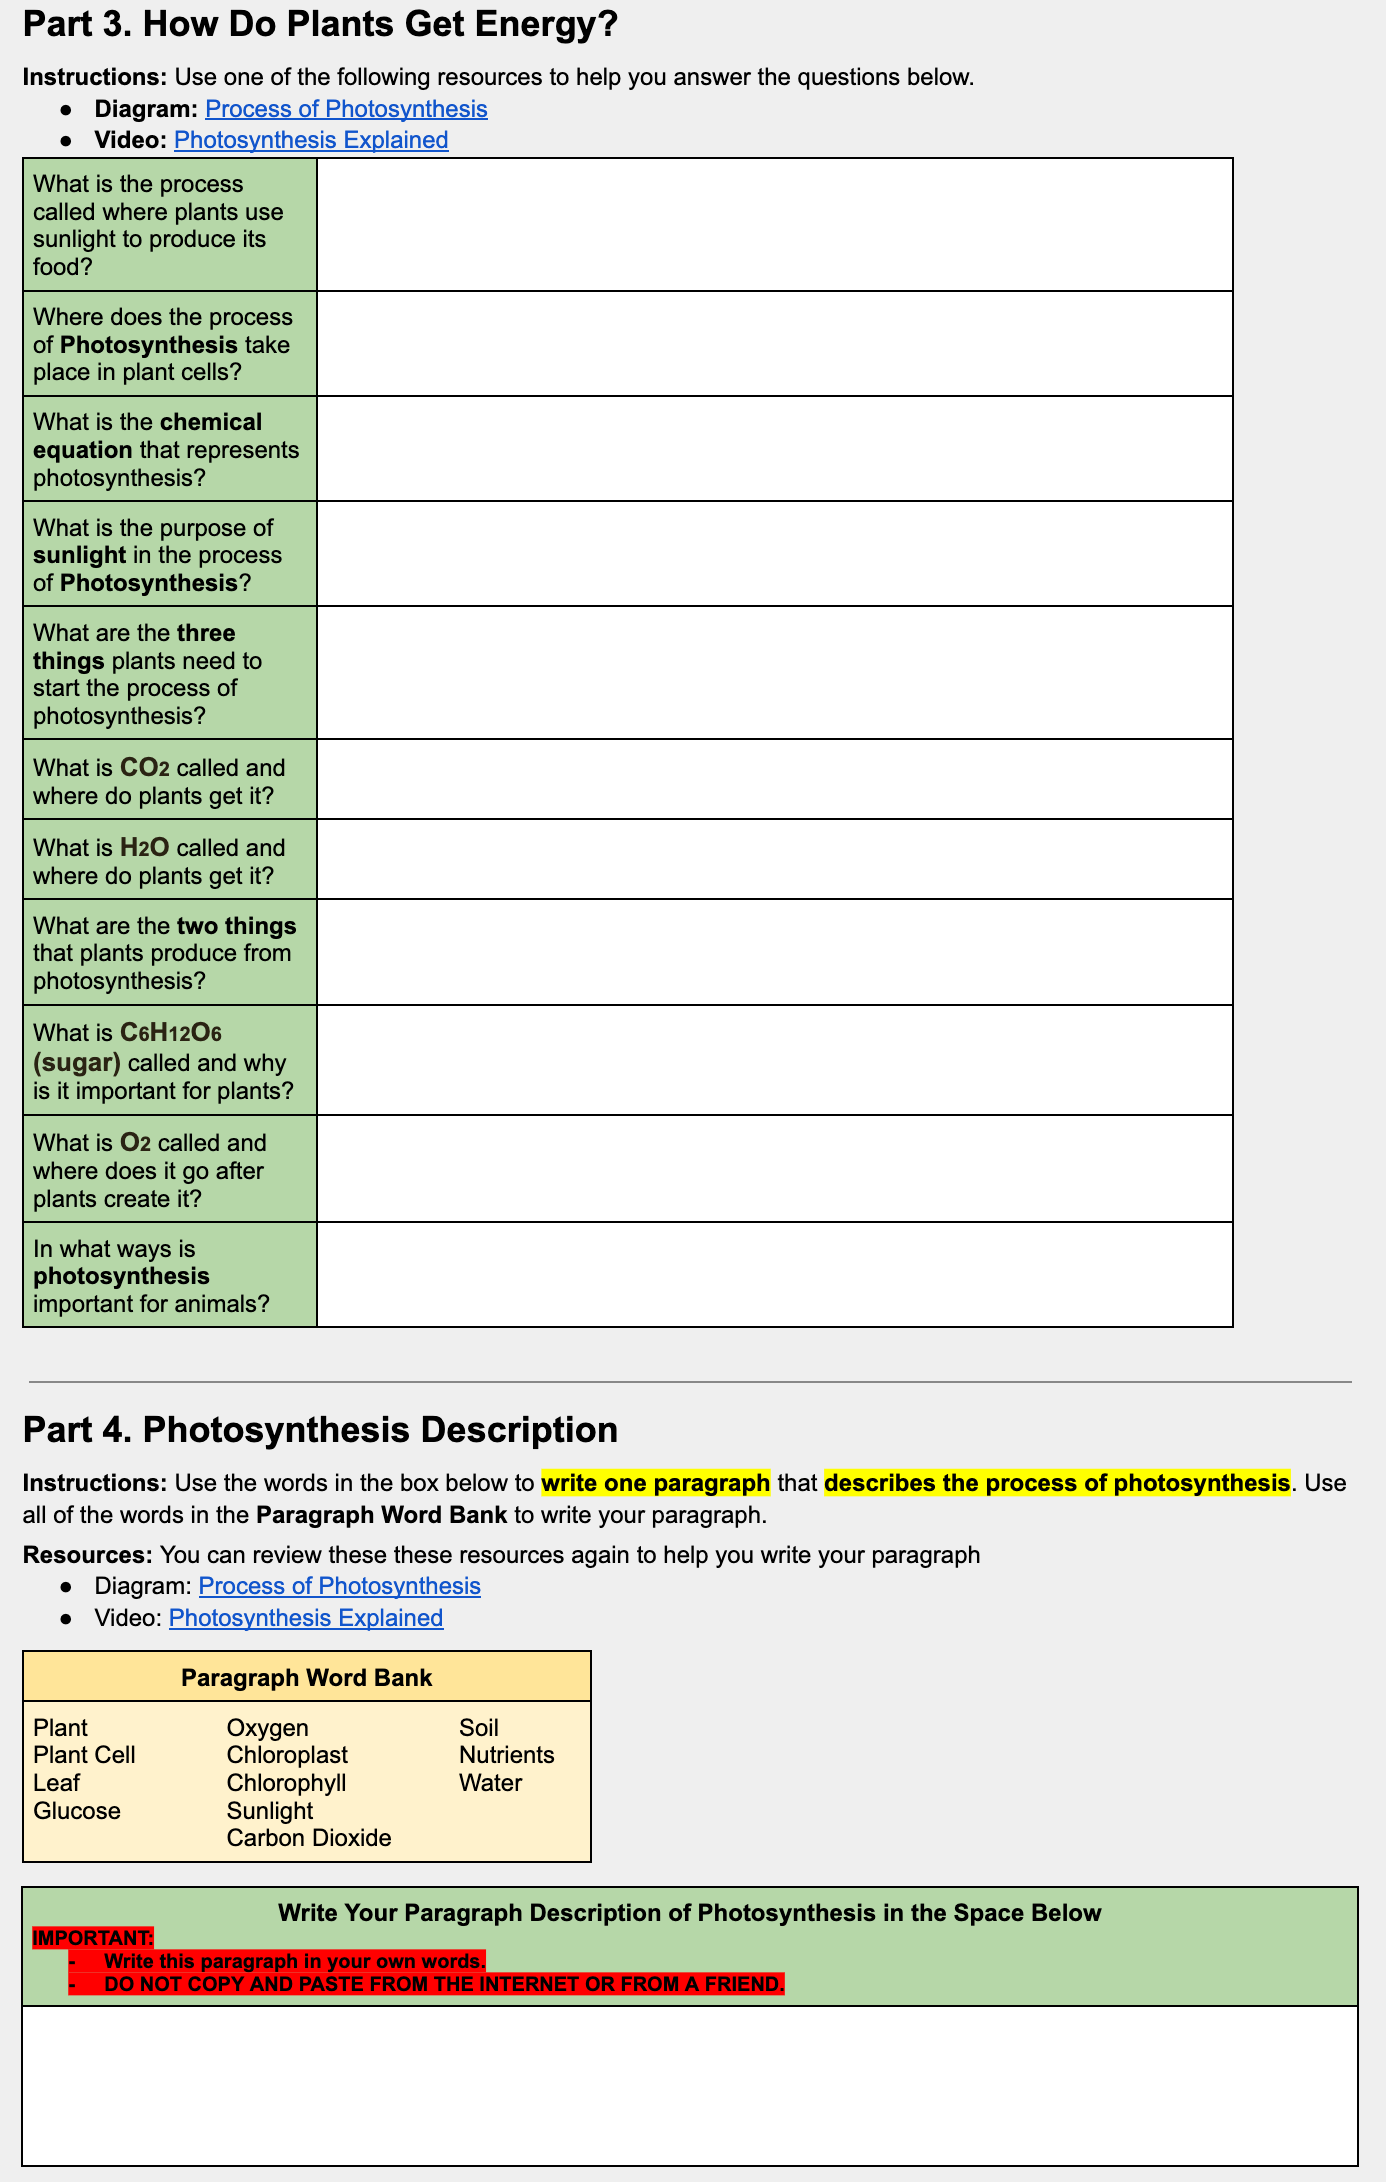
As background research to set up their seed germination experiments, students learn about photosynthesis.
Have students move through a See, Think, Wonder routine as the observe these two photos.
Have students move through this worksheet to learn about photosynthesis. Here is a student completed example.
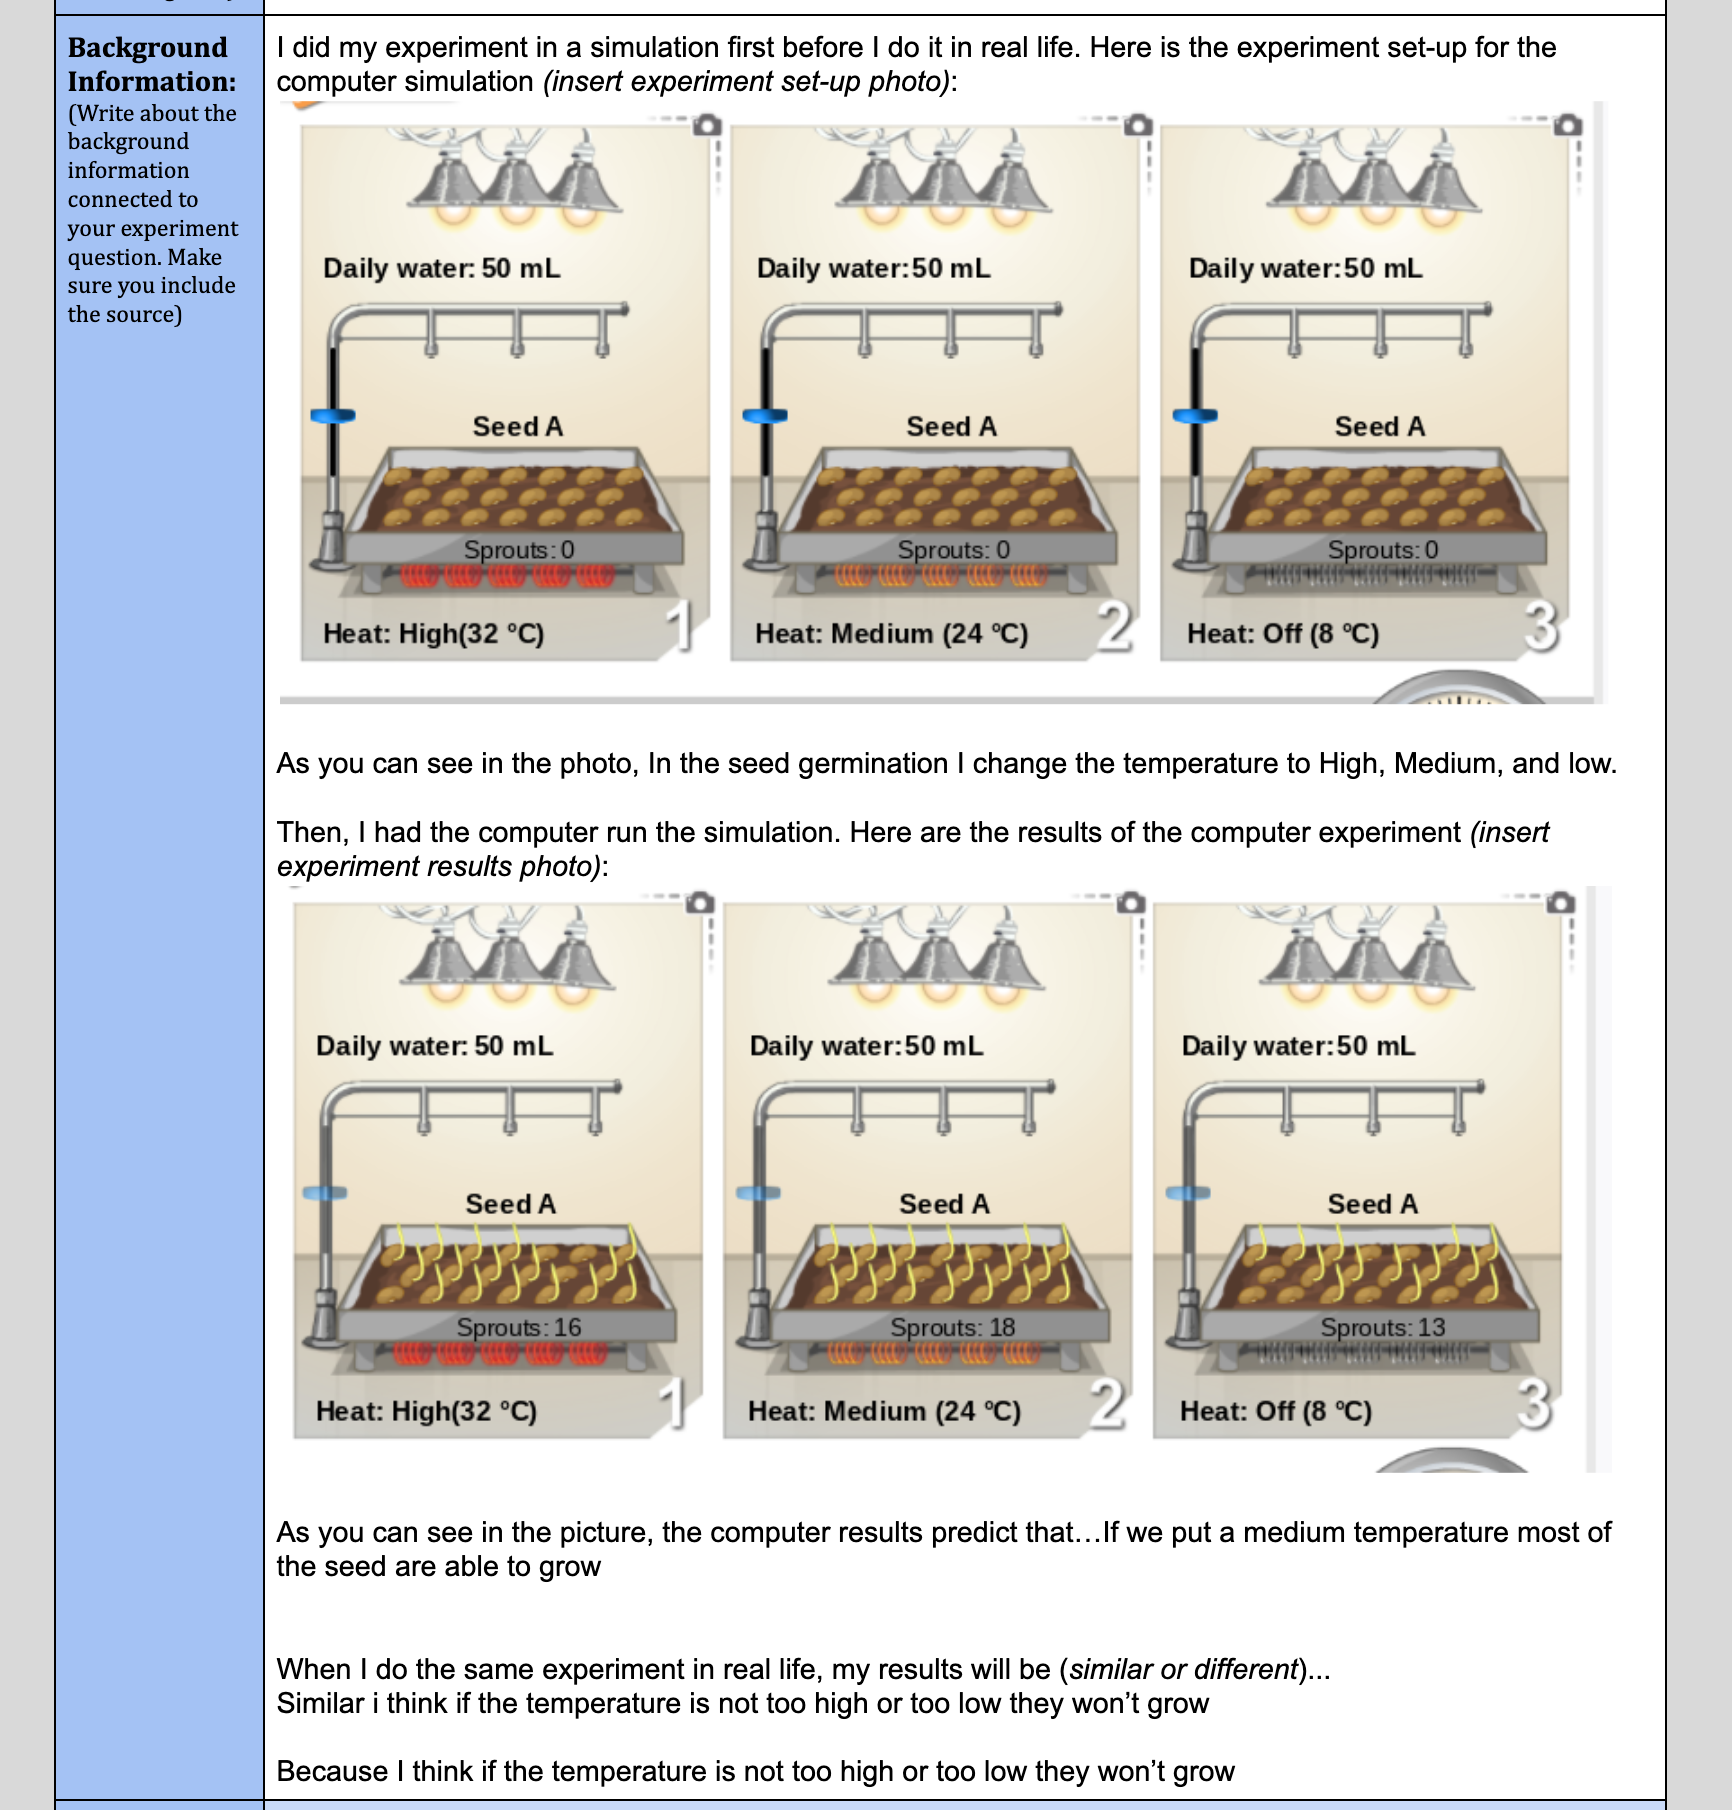
Have students move through a See, Think, Wonder routine using this Seed Germination simulation.
Have students identify the independent variables that can be manipulated in the simulation (temperature, water, light) and the dependent variable (number of sprouts).
Have students set up the simulation to test one of the Independent Variables. Use this simulation to review how the independent variable changes with the different test groups in order to see how it affects seed germination. Have students practice a variety of independent variable test set ups.
Ask students to share out other Independent Variables that could impact seed germination (fertilizer, soil salinity, soil pH).
Note: When students select their independent variable, direct students who can work more independently towards these variables as they can’t use the simulation to support their experiment.
Tell students the purpose of their experiment is to figure identify the ideal growing conditions of their edible plant.
Introduce the purpose of the experiment to students:
To find out the best conditions to germinate the seeds of their edible plant. Each student in the group will select a different independent variable to measure its effect on seed germination.
As a group they will be able to use their data to make recommendations in the class cookbook about the best way to germinate the seeds of the plant.
They will use their data to grow their own plant to take care of the rest of the year.
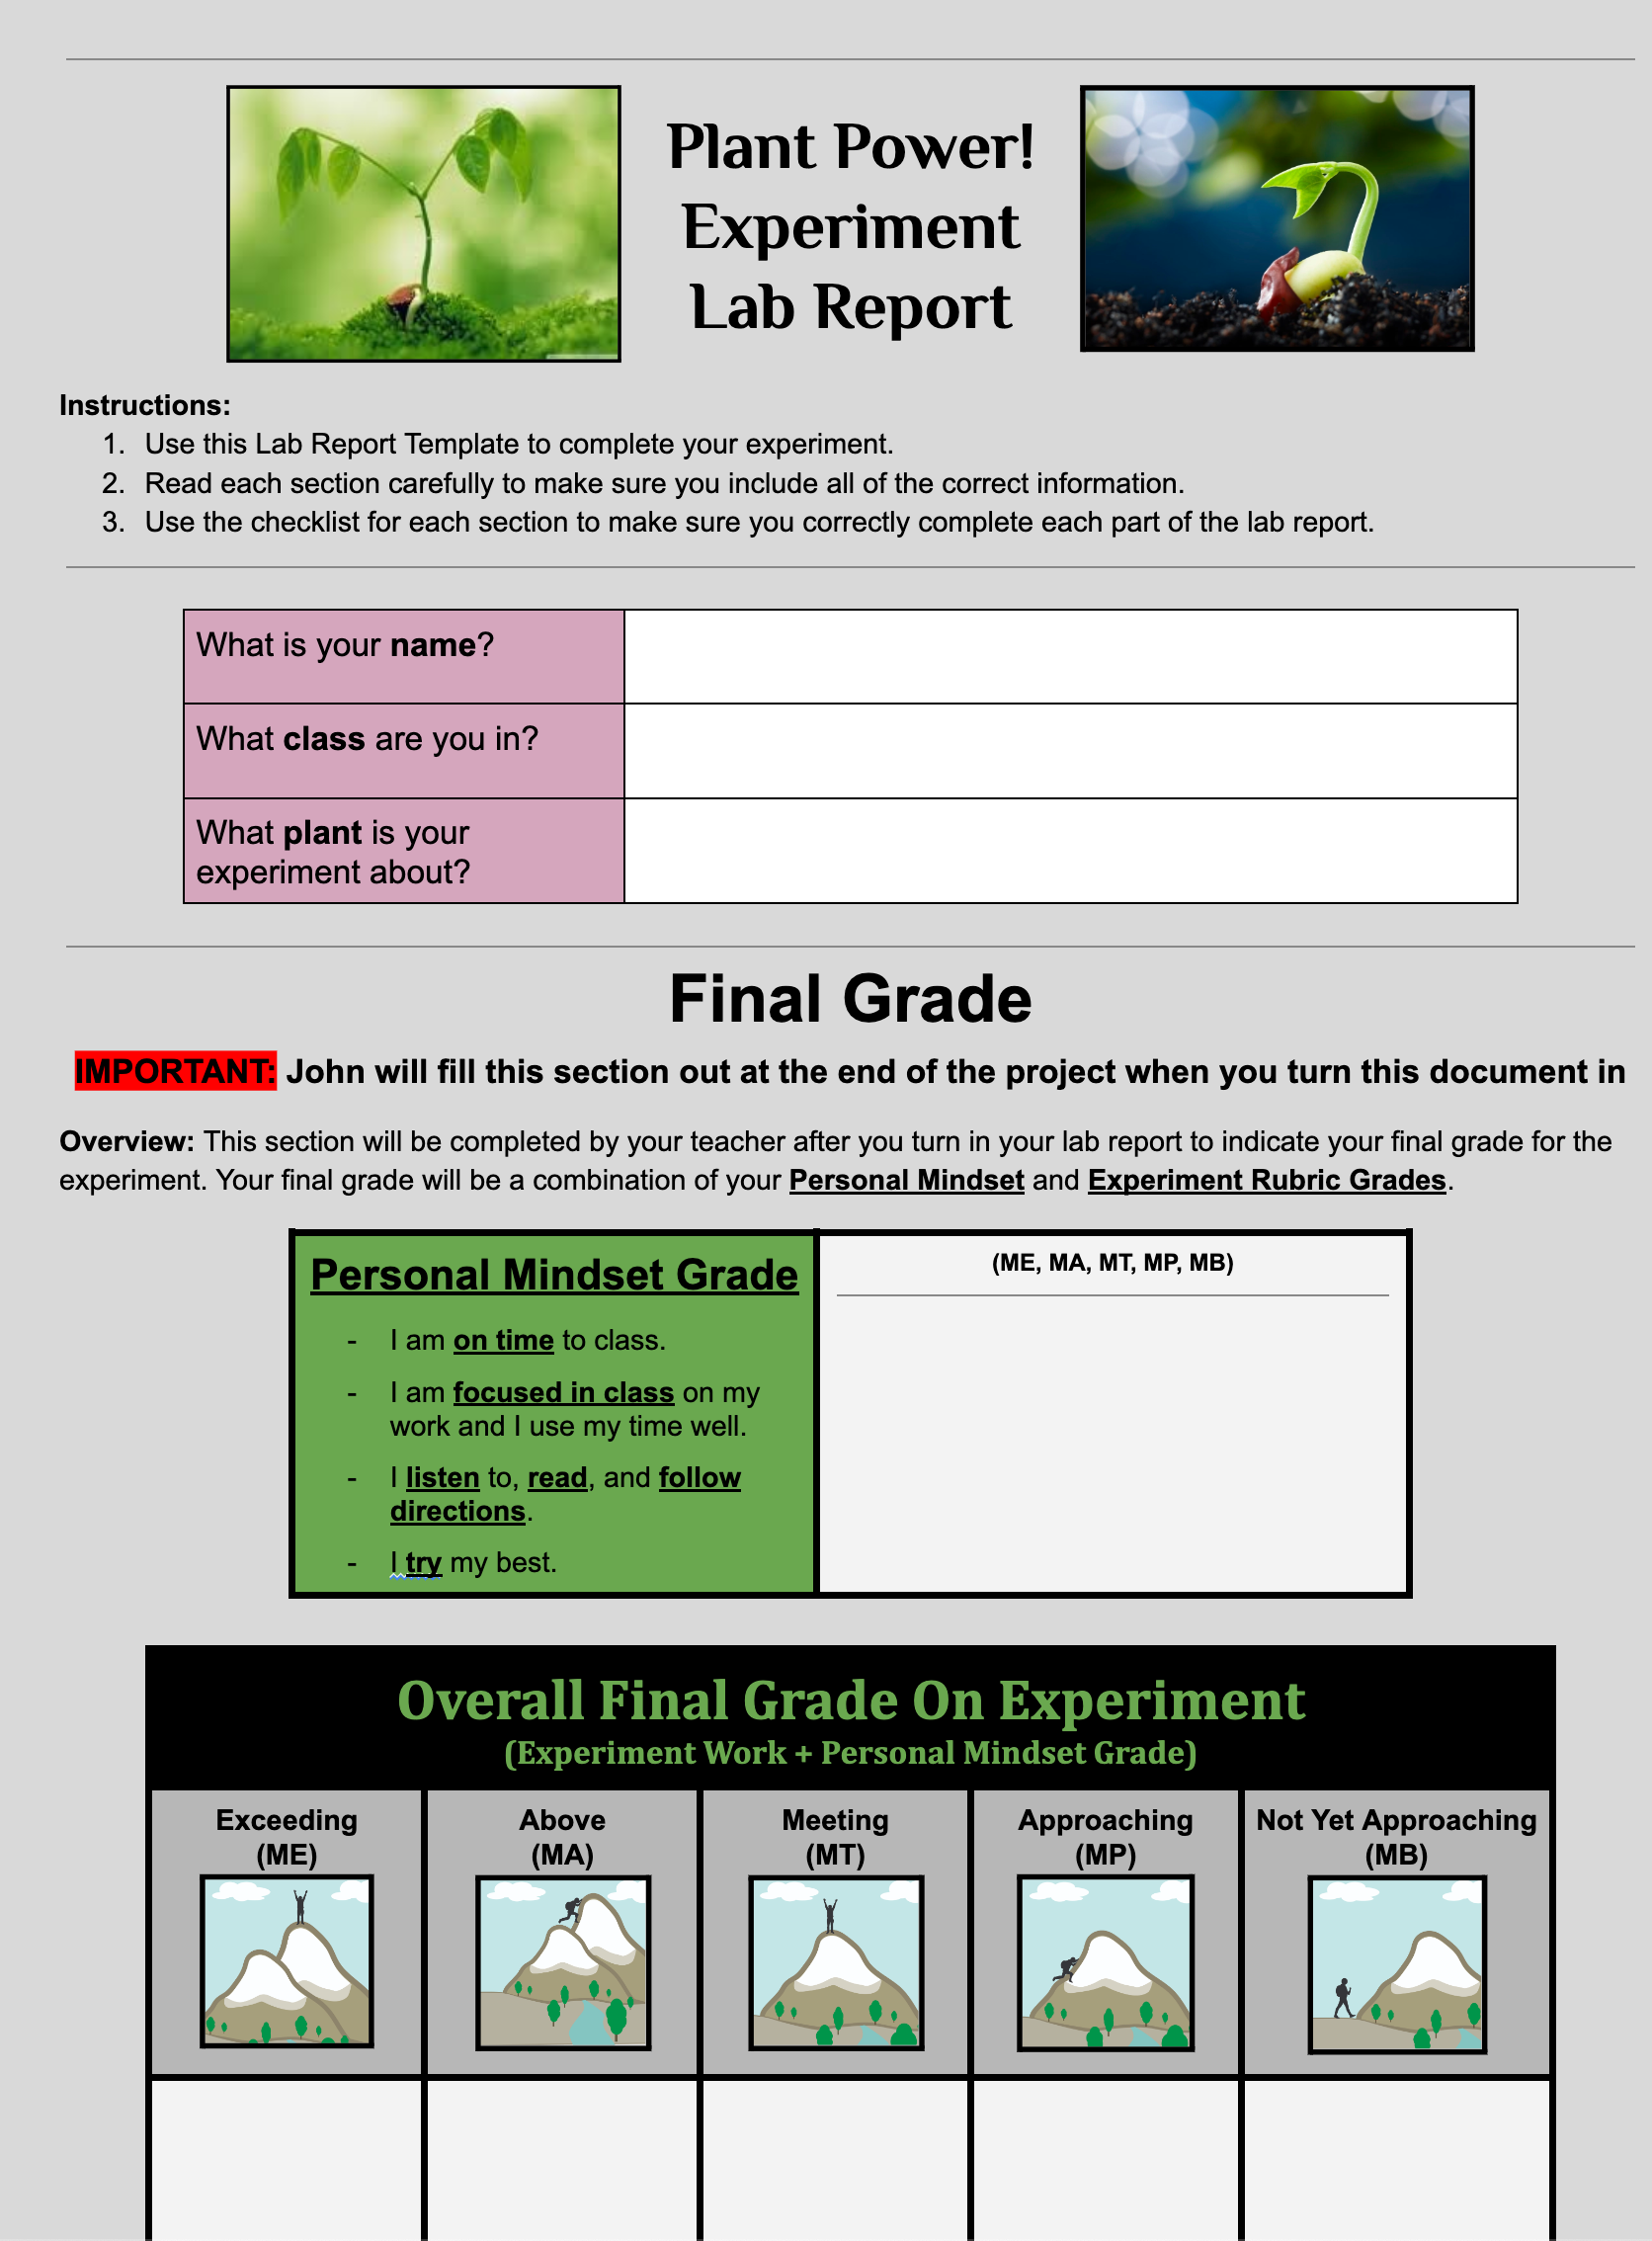
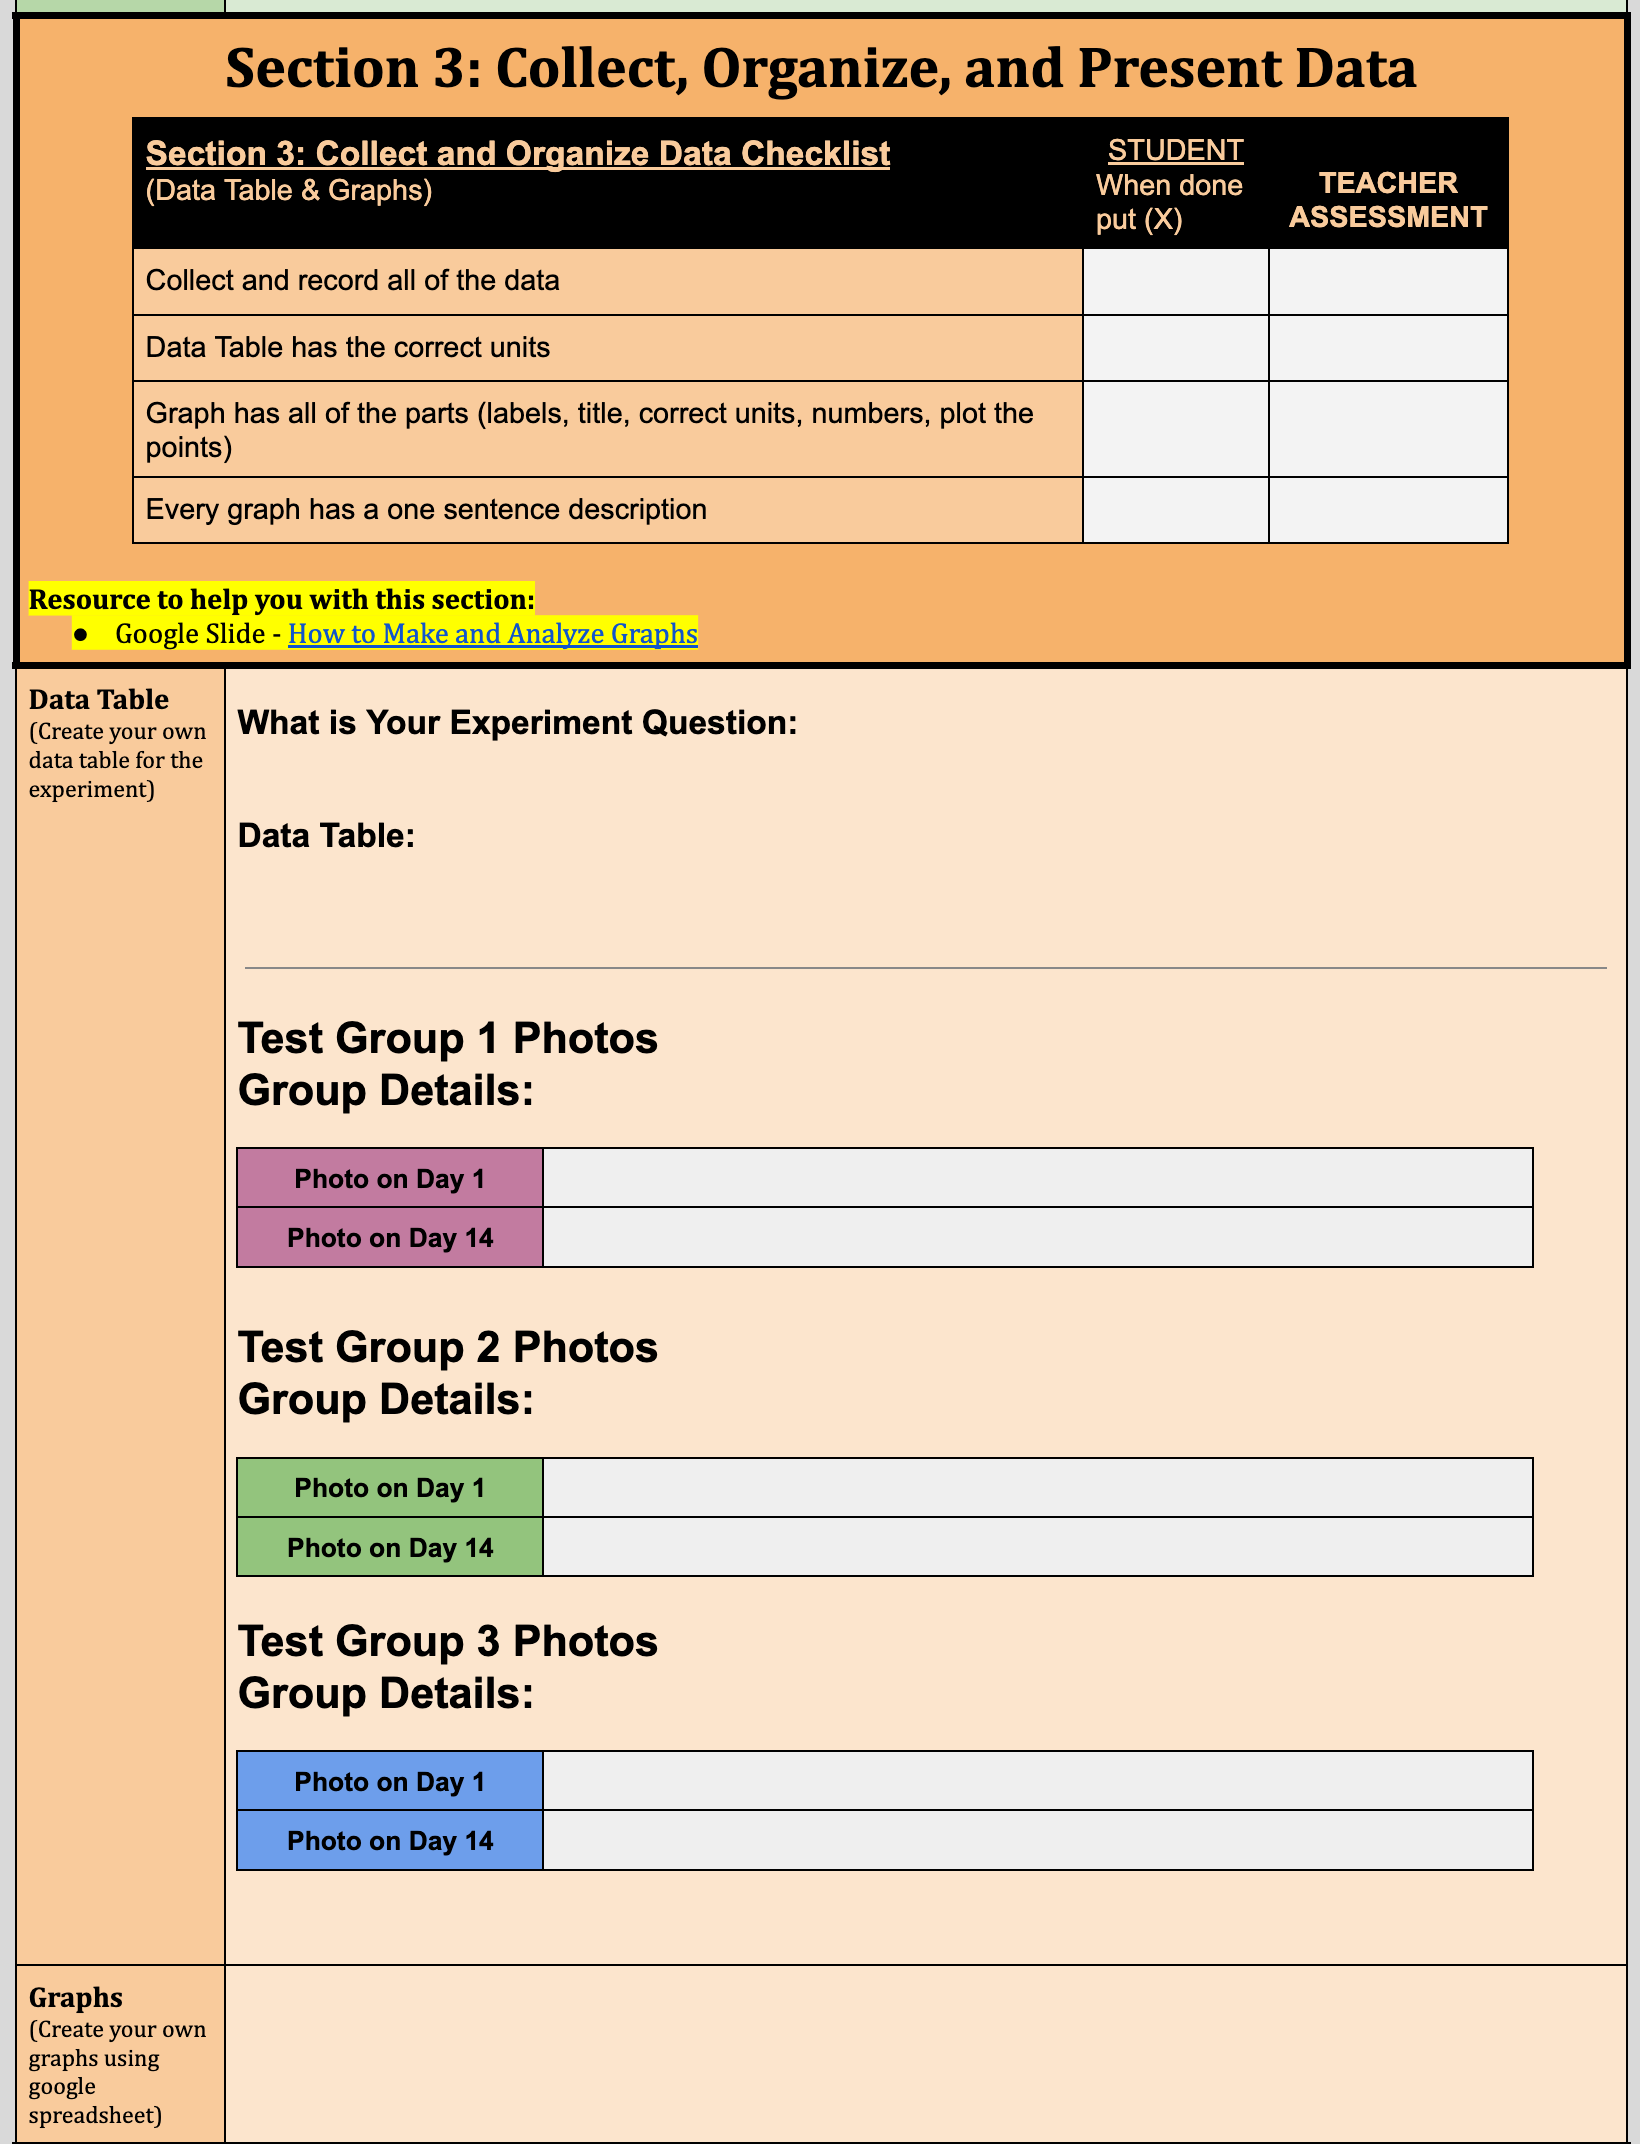
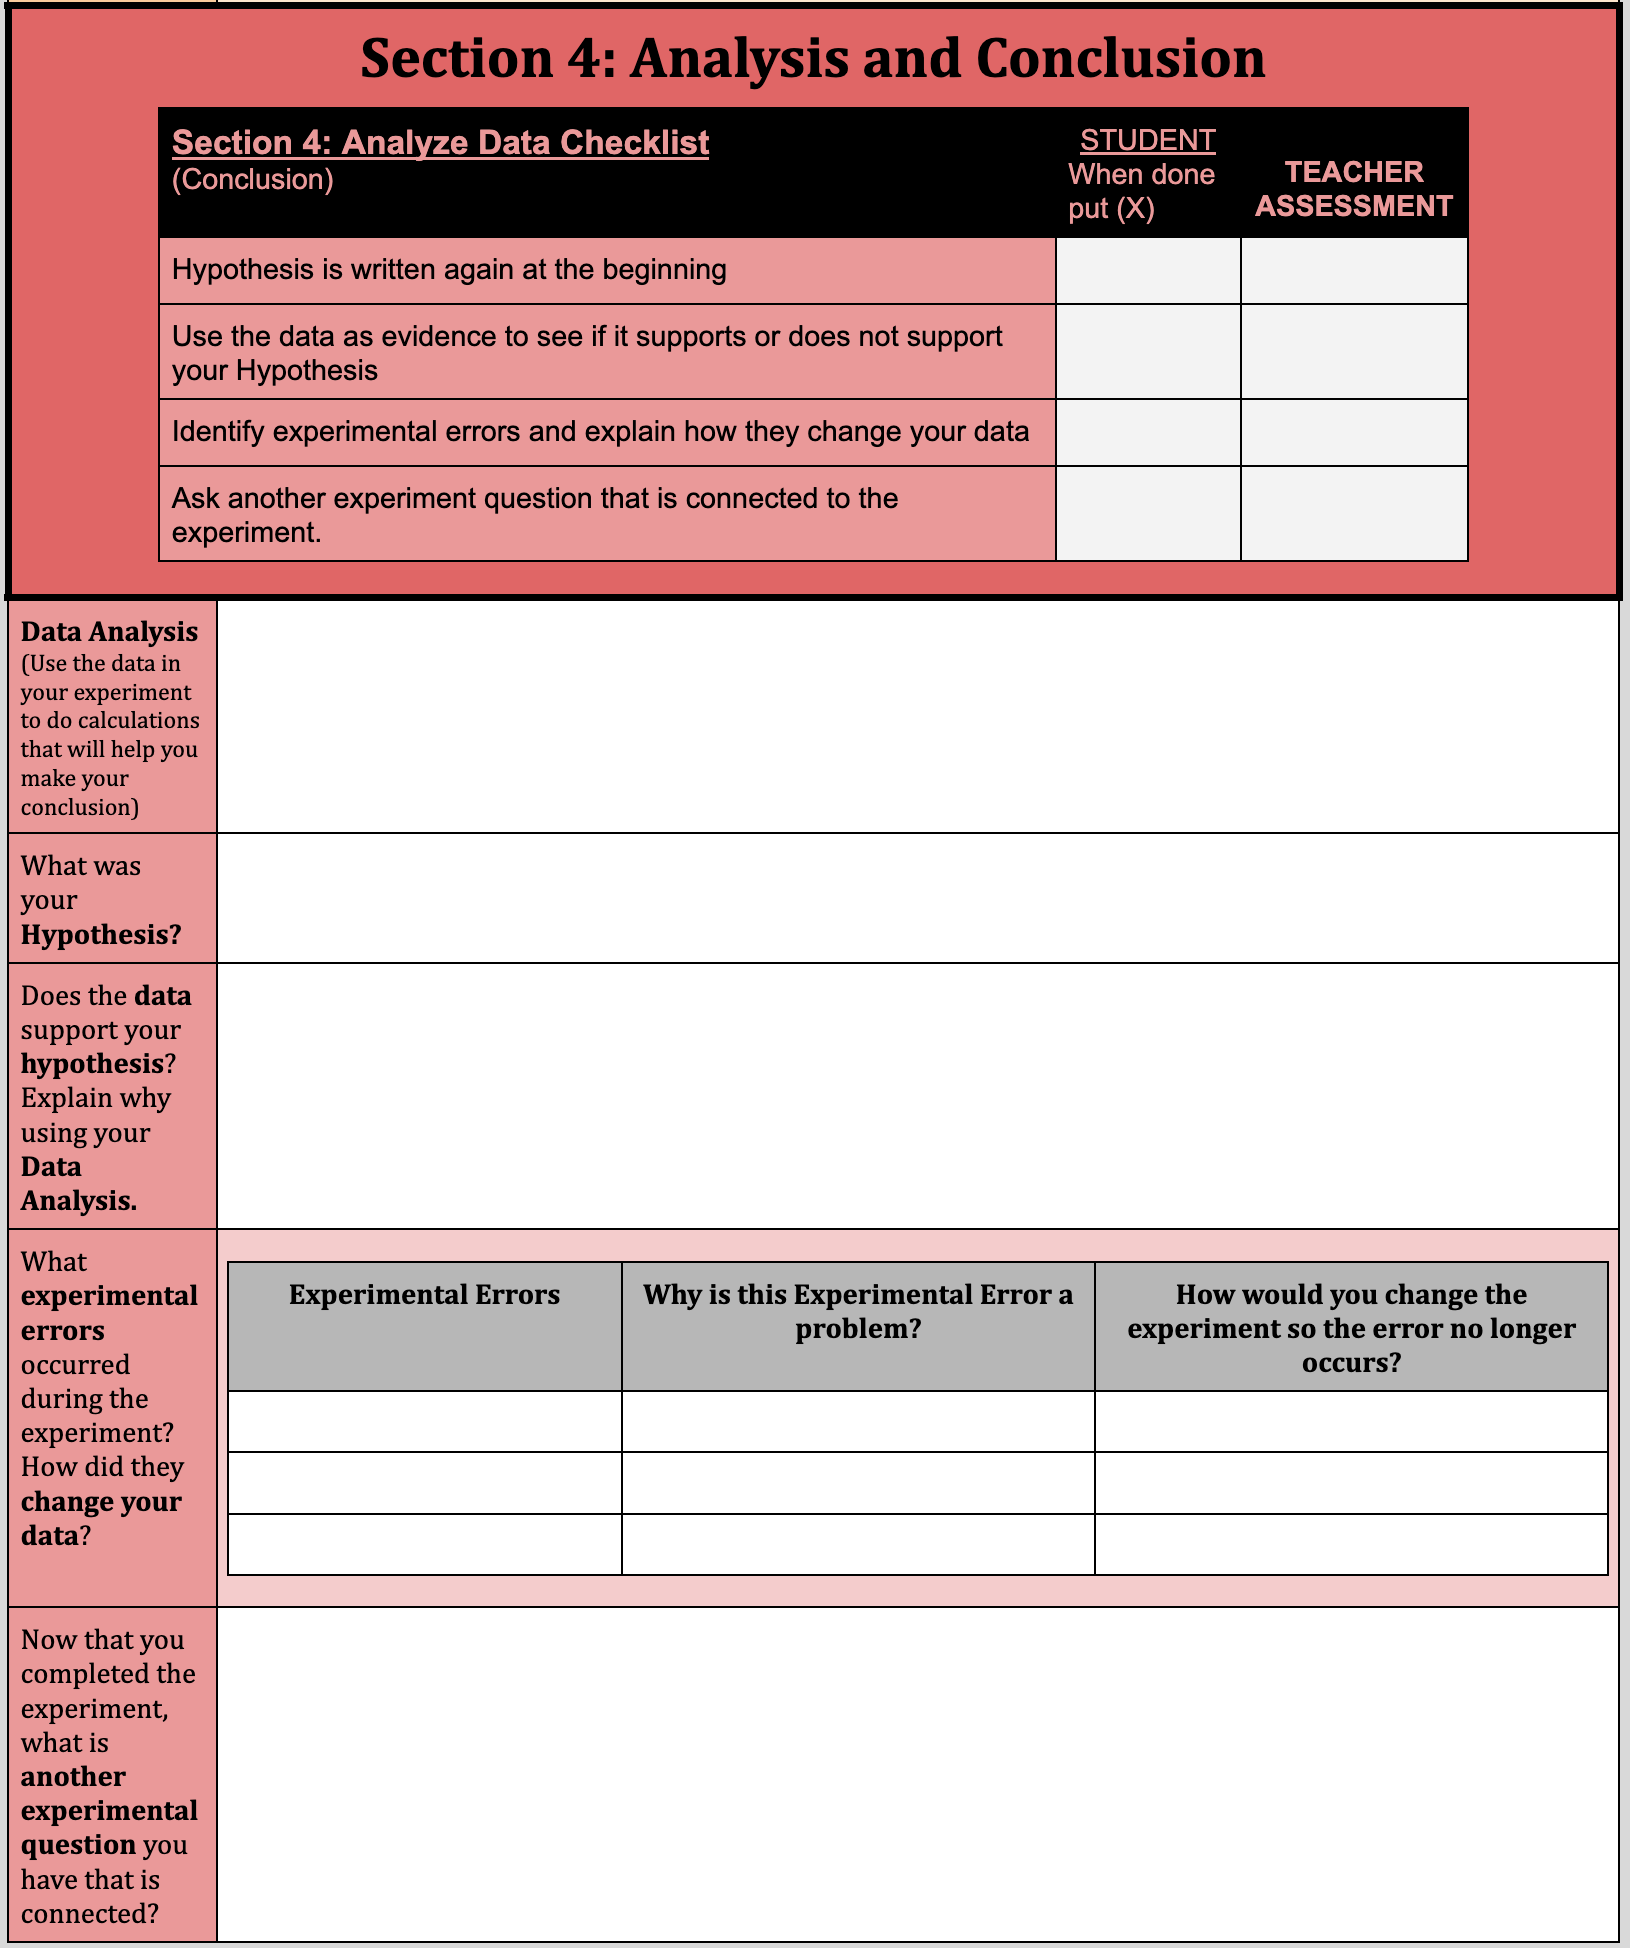
Have students use the Seed Germination Lab Report document as they progress through their experiment. See this student example lab report document.
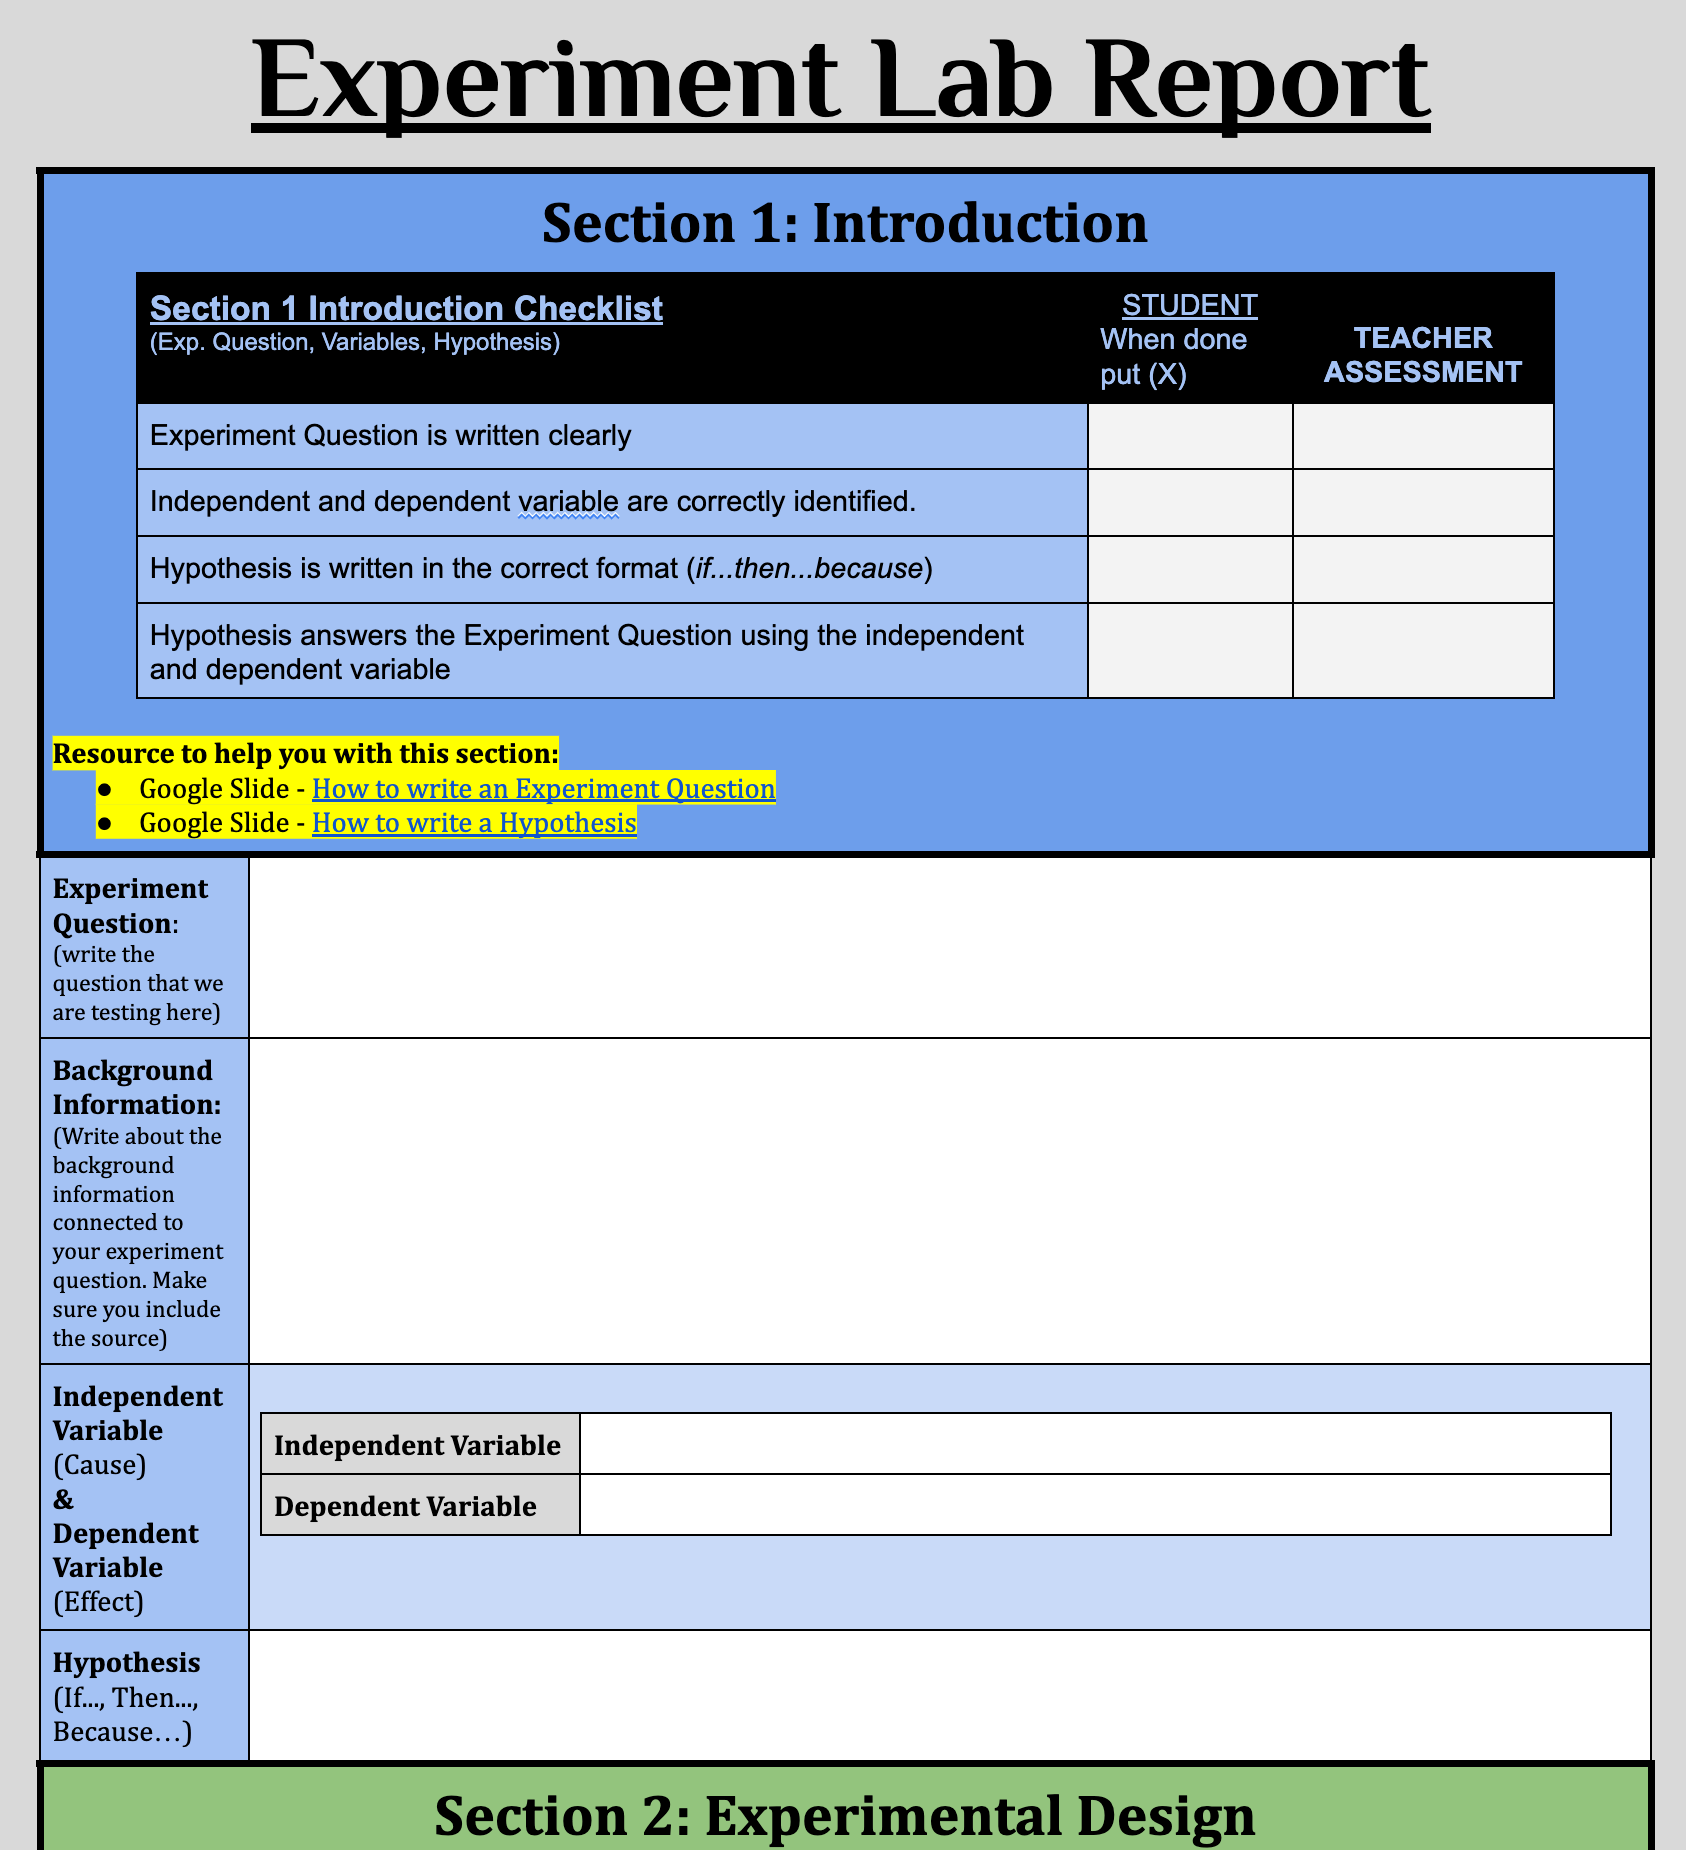
To help with Section 1 and 2 of the Lab Report, have students move through the Experiment Section 1 and 2 Help worksheet. Students will copy and paste the work from this worksheet into Section 1 and 2 of their lab report document. Here is a student completed example of the Experiment Section 1 and 2 Help document.
For students whose independent variable is not featured in the simulation, provide background reading articles to develop a hypothesis. Such as these this article on the environmental factors that affect plant growth and this article on the effects of soil pH on plant growth.
Before students set up their experiment, have them draw their set up first.
Place students in new groups based on the independent variable they selected. These students will be conducting the same experiment, but on different plants. Give each group three posters titled Test Group A, Test Group B, and Test Group C respectively. On each poster have student groups work to together to:
Identify the Independent Variable Value to see how it will change for each test group.
Identify the number of seeds (10 for each test group)
Draw a picture of what the set up will look like similar to what they saw in the simulation. If needed, use this Slide Show as example of the test set-up to base their drawing on.
When the group is finished, and you have verified their test set up depicted in the posters, have students individually complete the My Experimental Design handout using the posters they made.
Have students use the hand out they created to set up their experiment. Use the Seed Germination simulation to remind students how to set up their experiment. Use this Slide Show as example of the experiment set-up for Temperature, Light, and Water. For fertilizer, soil pH, and soil salinity, students will use pots with soil. Each test group for all independent variable experiments will require ten seeds each.
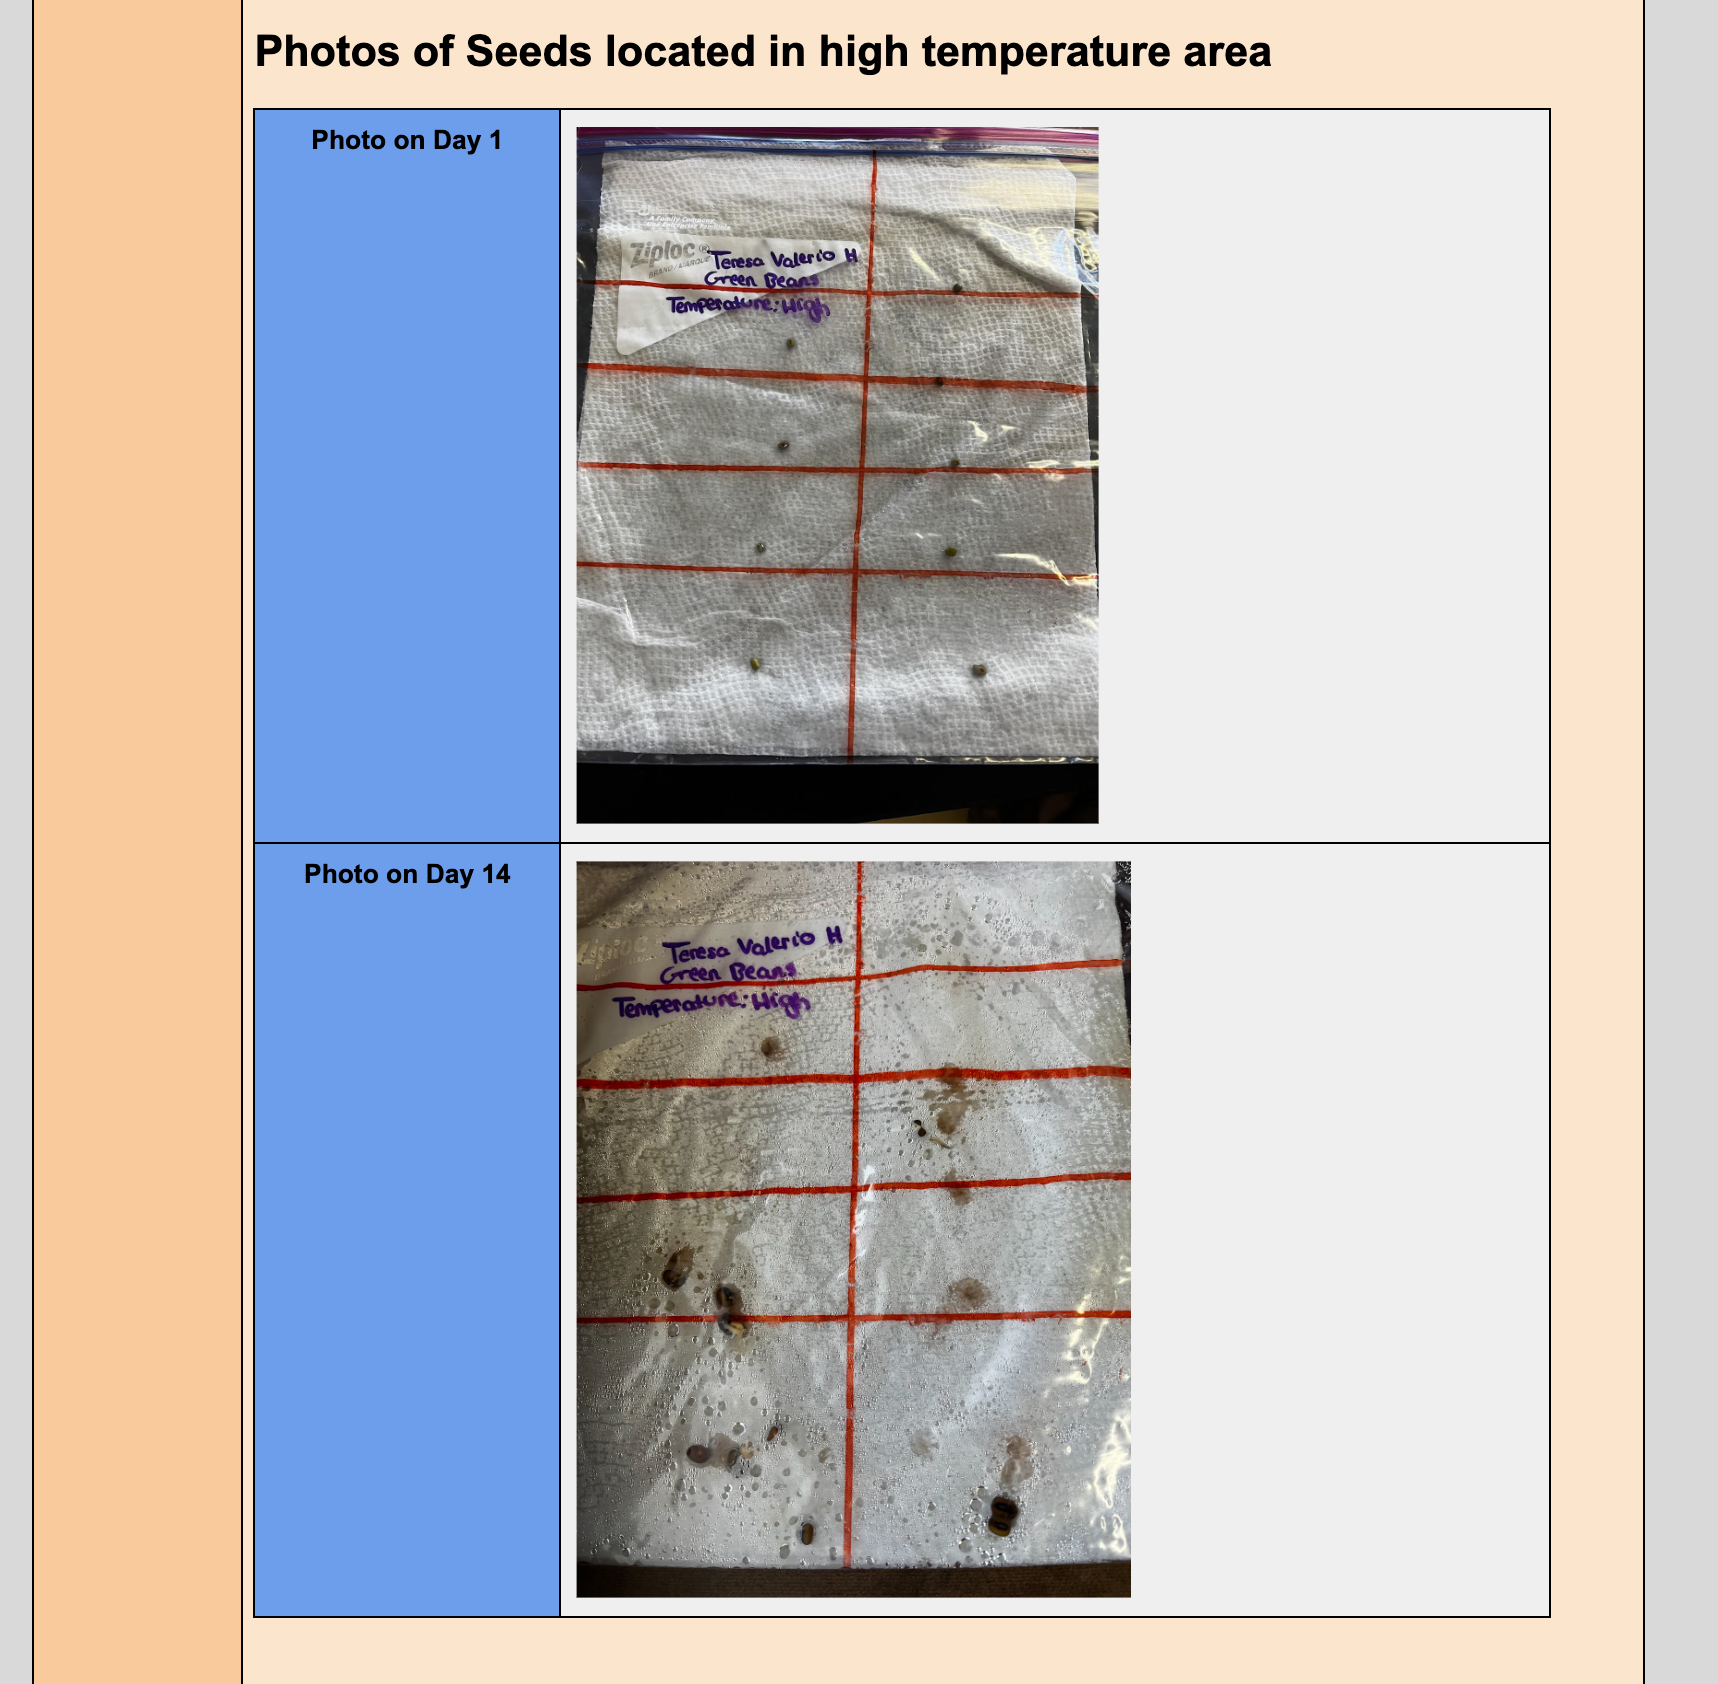
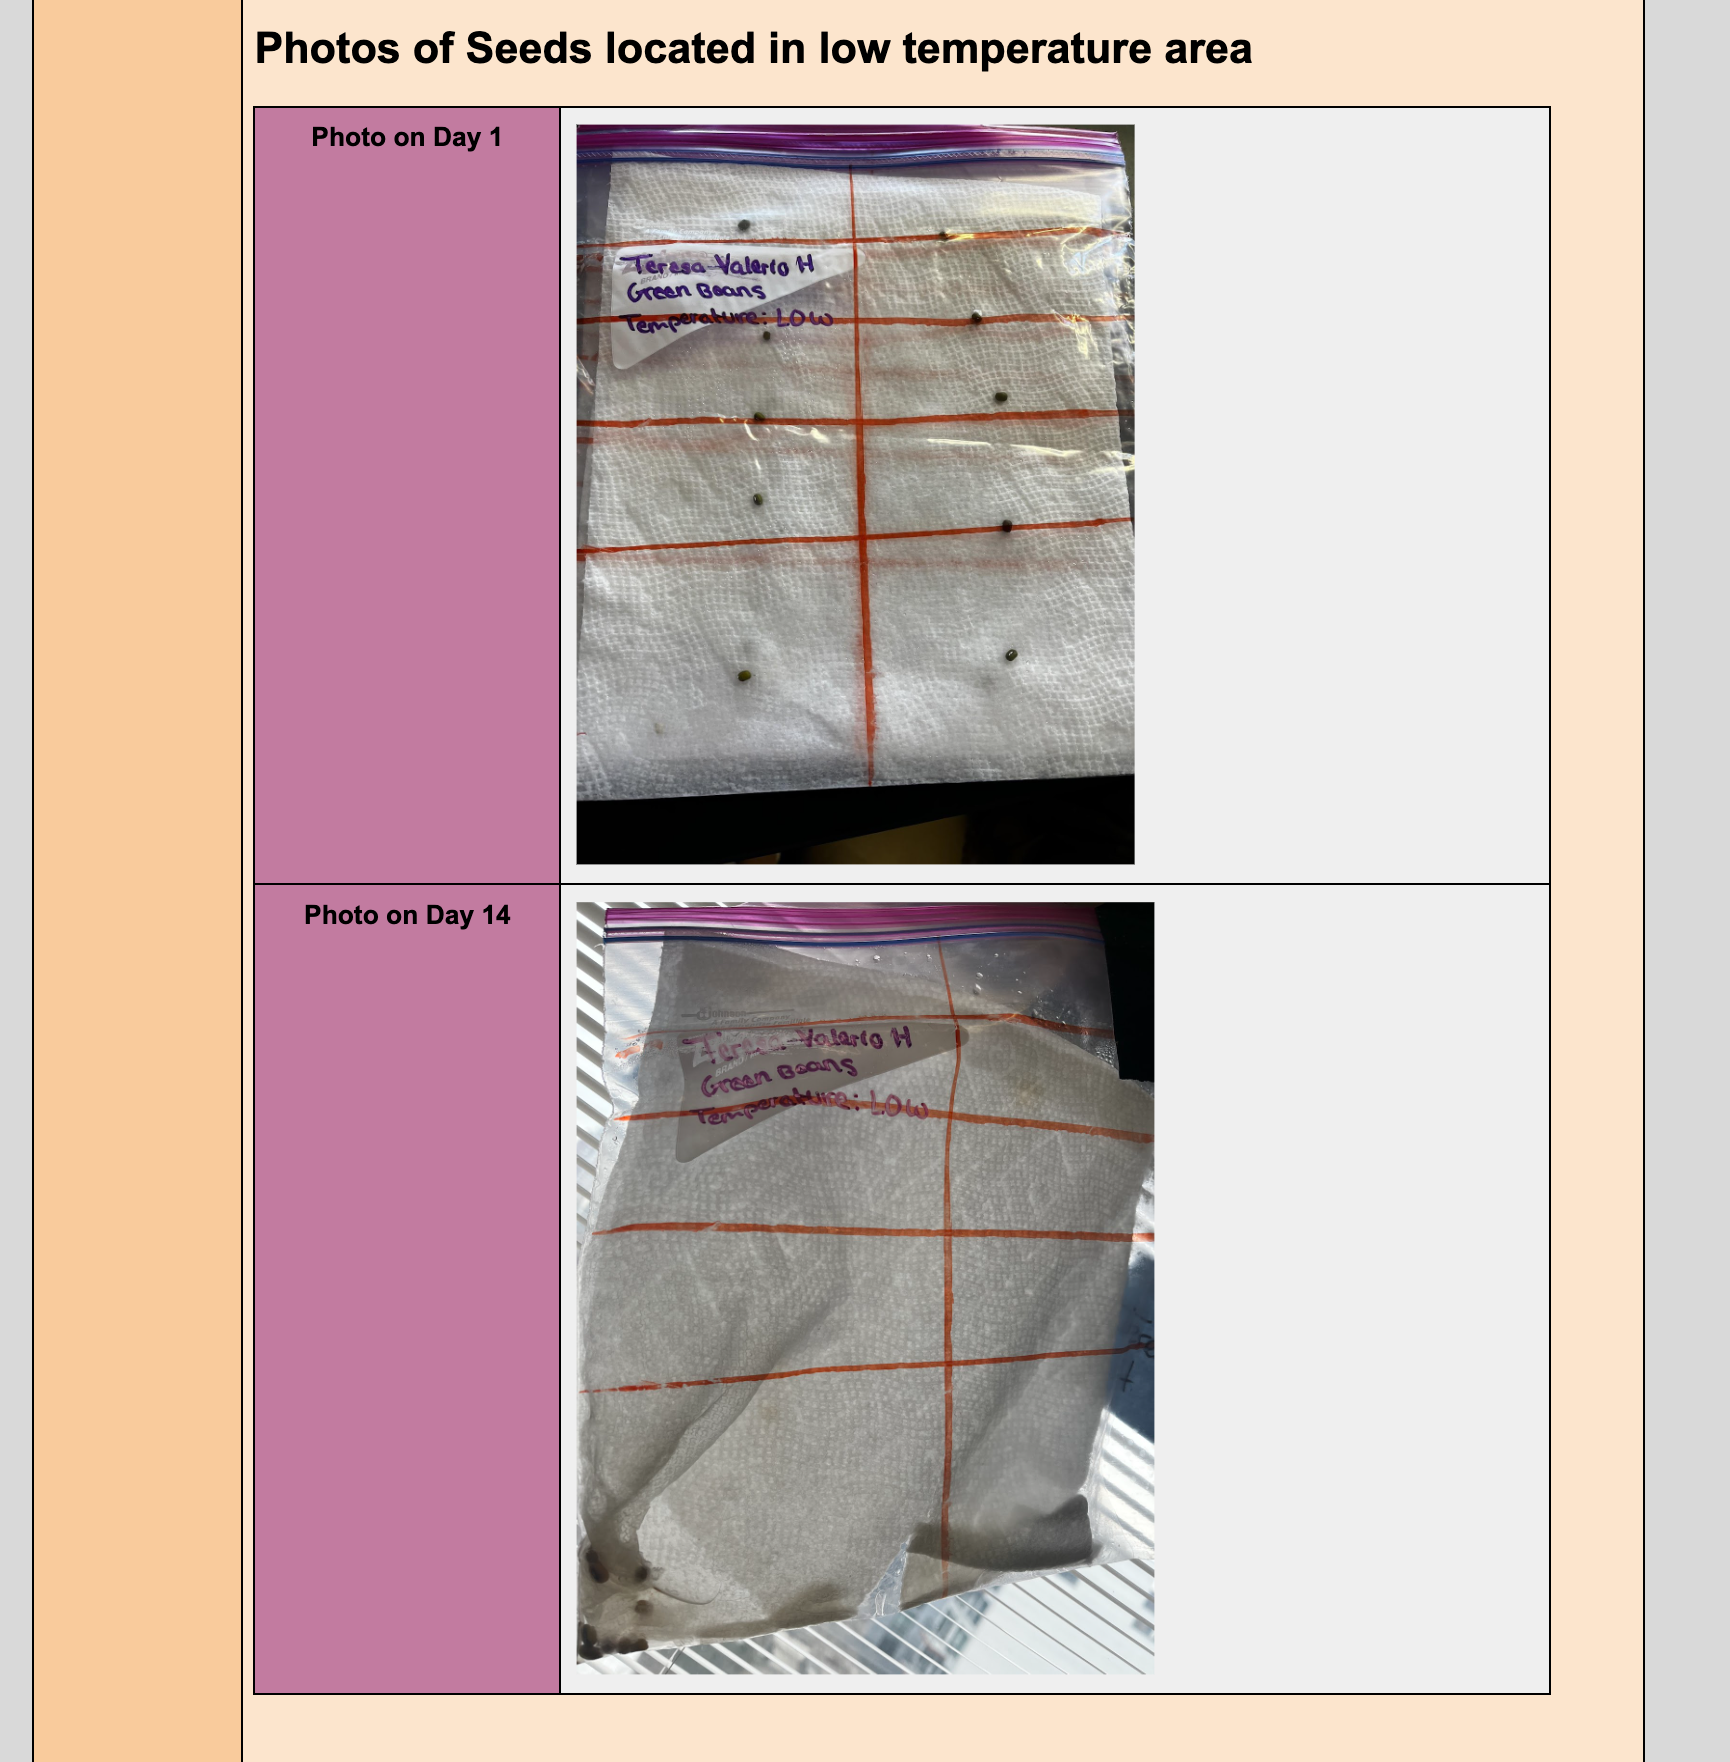
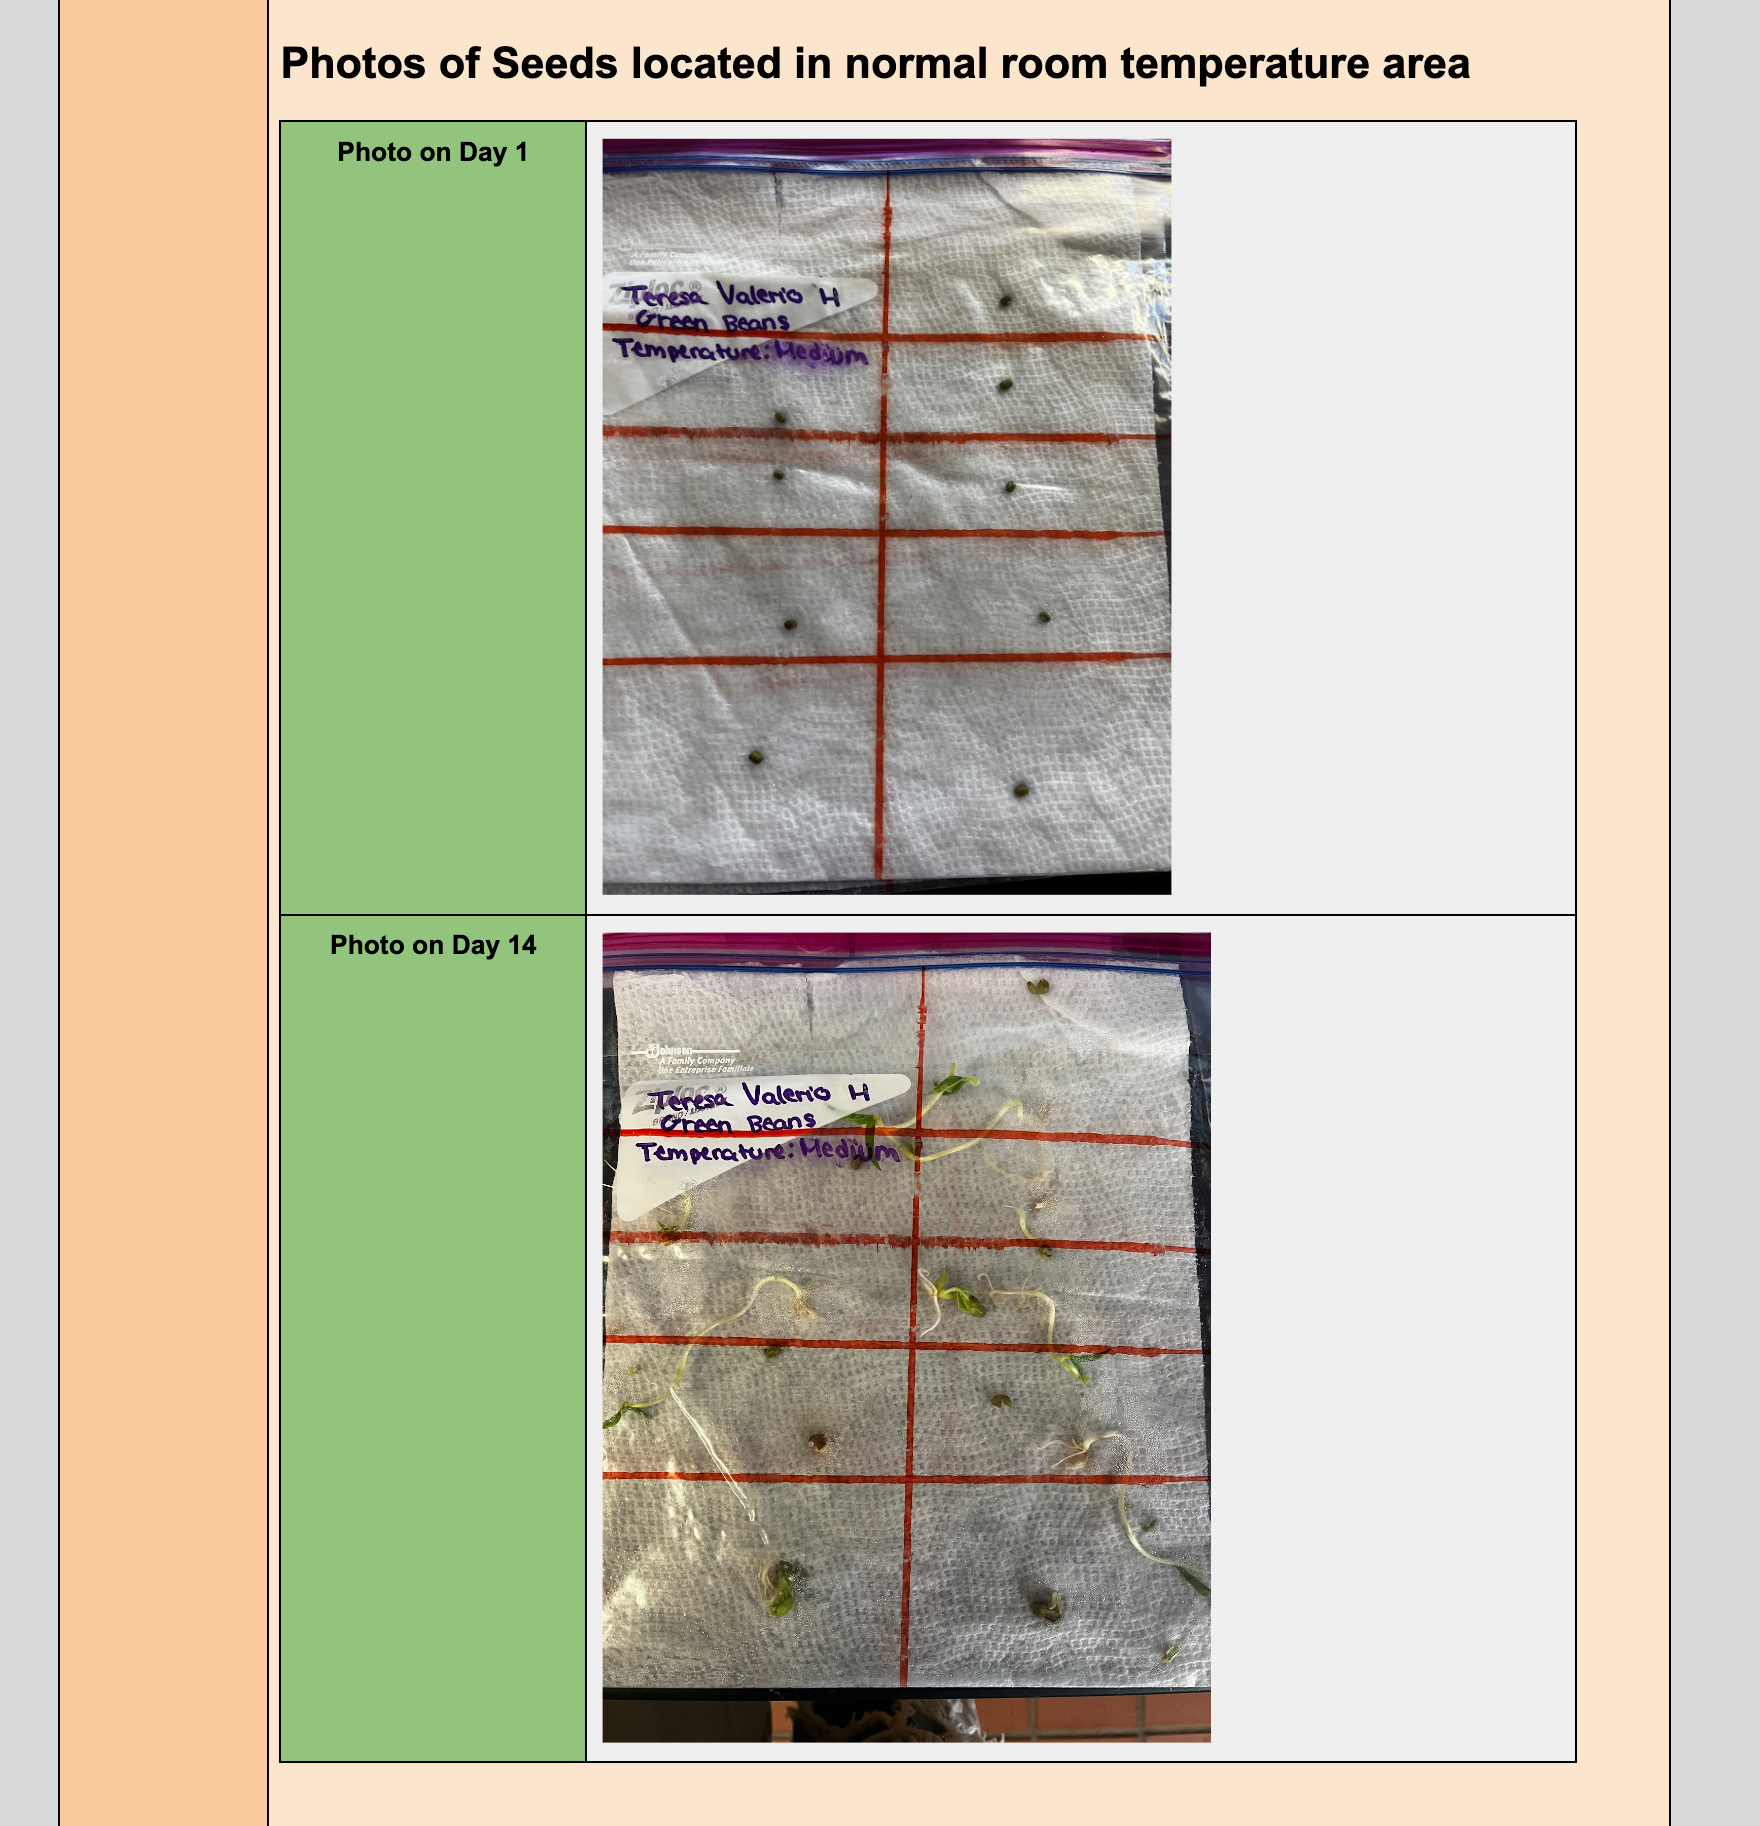
Have students take a picture of their test groups on day 1 and paste the photo in the corresponding area in Section 3 of their Lab Reports.
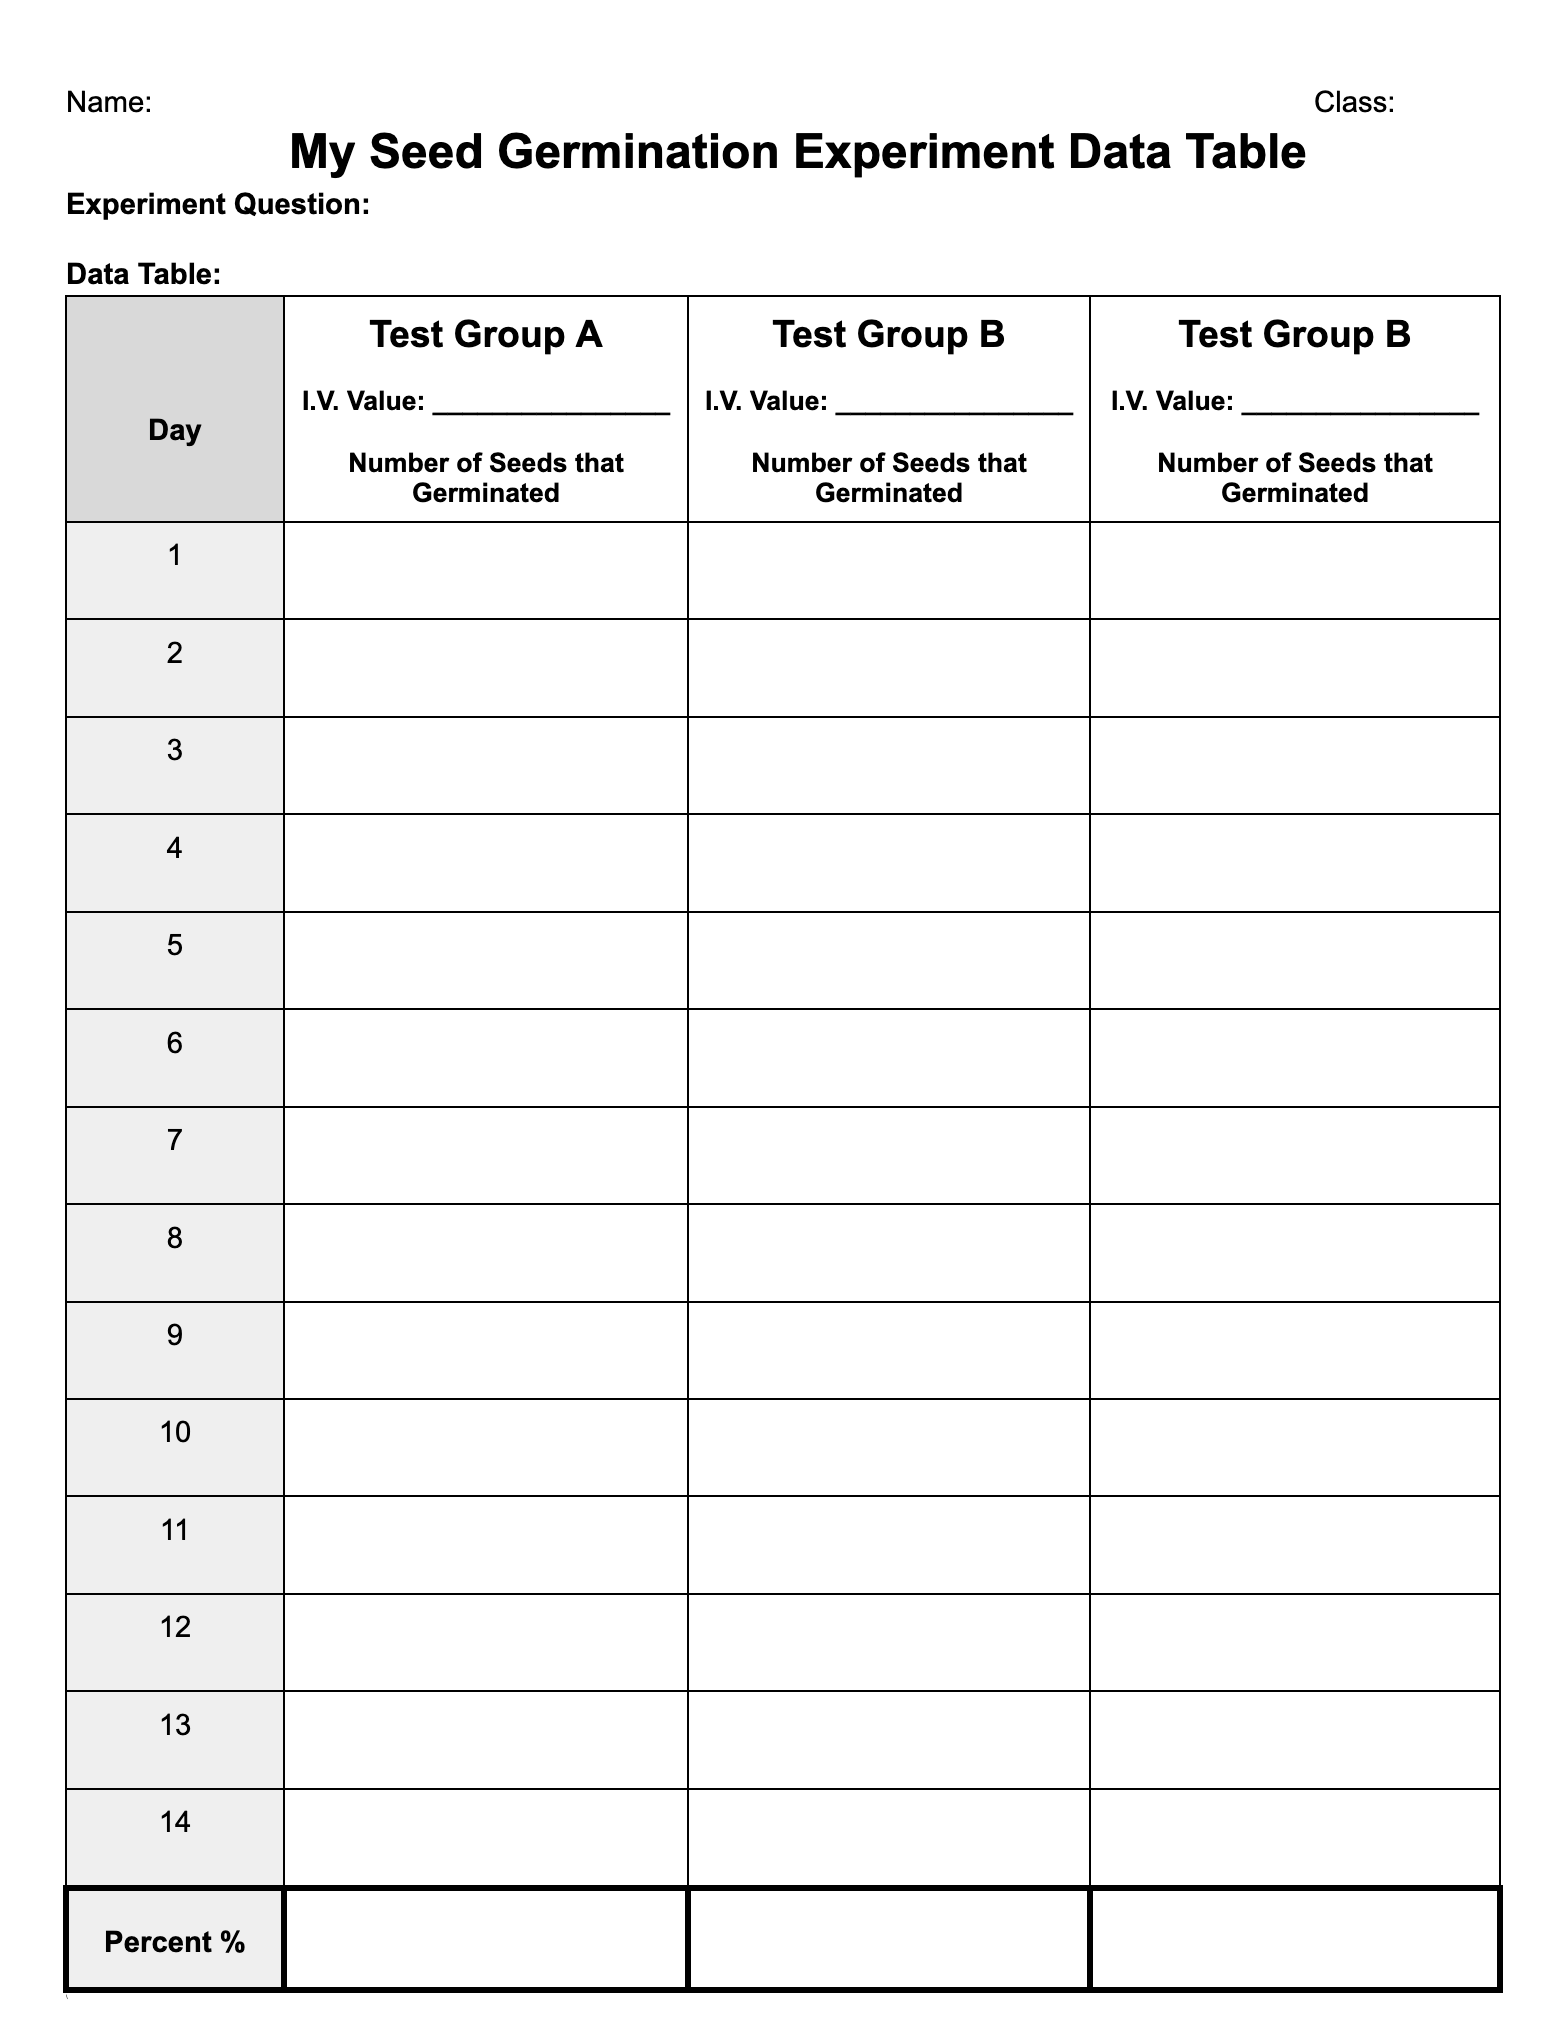
For the next two weeks students will collect their data at some point during class. Have students collect their data on this Data Table handout.
Part 2 - Preparing Cookbook Recipe
While experiment data collection is in progress, students learn about the flow of energy, cellular respiration, and healthy vs. unhealthy food. Feel free to use the linked worksheets and/or your own materials to teach these topics. Remember to continually reinforce the context of the project, their edible plant experiment, and their cookbook when teaching this content.
As an extended homework assignment, have students use the family interview and recipe document for students to interview a family member or someone from their home country about food from their country and to find a recipe that uses their edible plant as an ingredient. See this example I made for students where I interview my grandmother to ask for a family recipe and about food from Armenia. Provide ample time for students to complete. In place of family members, students could interview someone knowledgable about the food from their country.
Students use what they learned about the previously listed content to describe why the recipe from their home country is healthy. To do this students identify a key molecule in their edible plant and describe how it’s digested and used by the body to help it function. Students identify aspects of their recipe that may be unhealthy and share potential alternatives to adjust the recipe to make it healthier.
After 14 days, students finish collecting their seed germination experiment data. Have students use the Experiment Section 3 Help - Graphing document to individually analyze their data. Have students add their graphs from this document to their lab report.
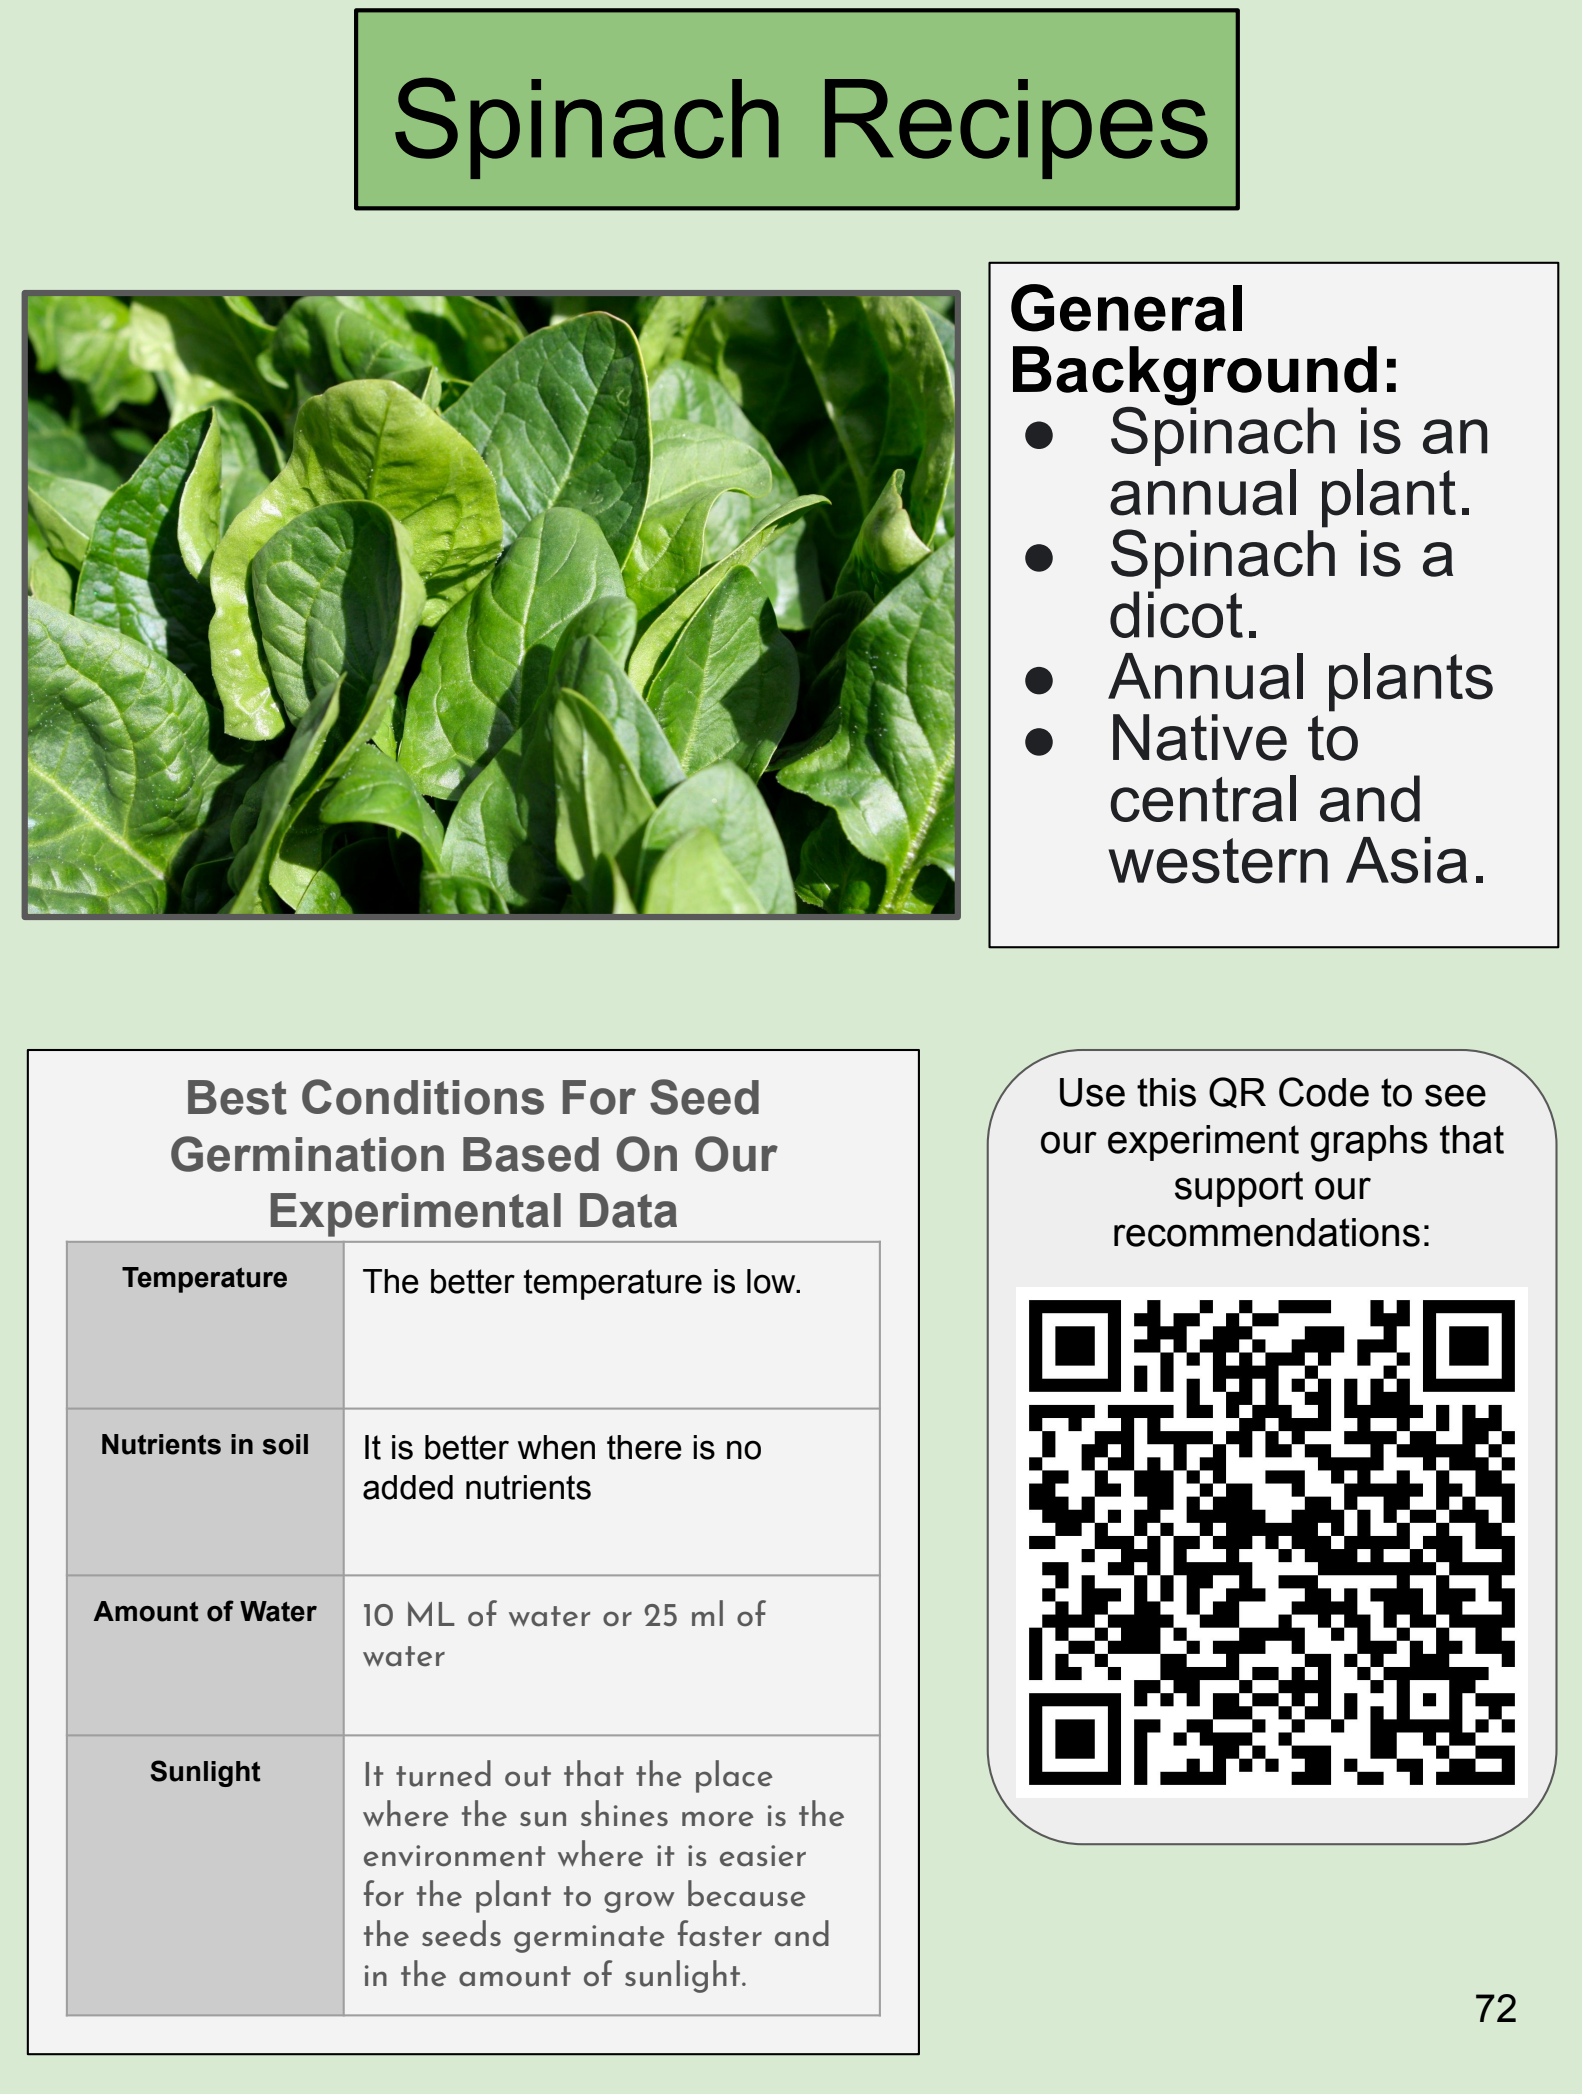
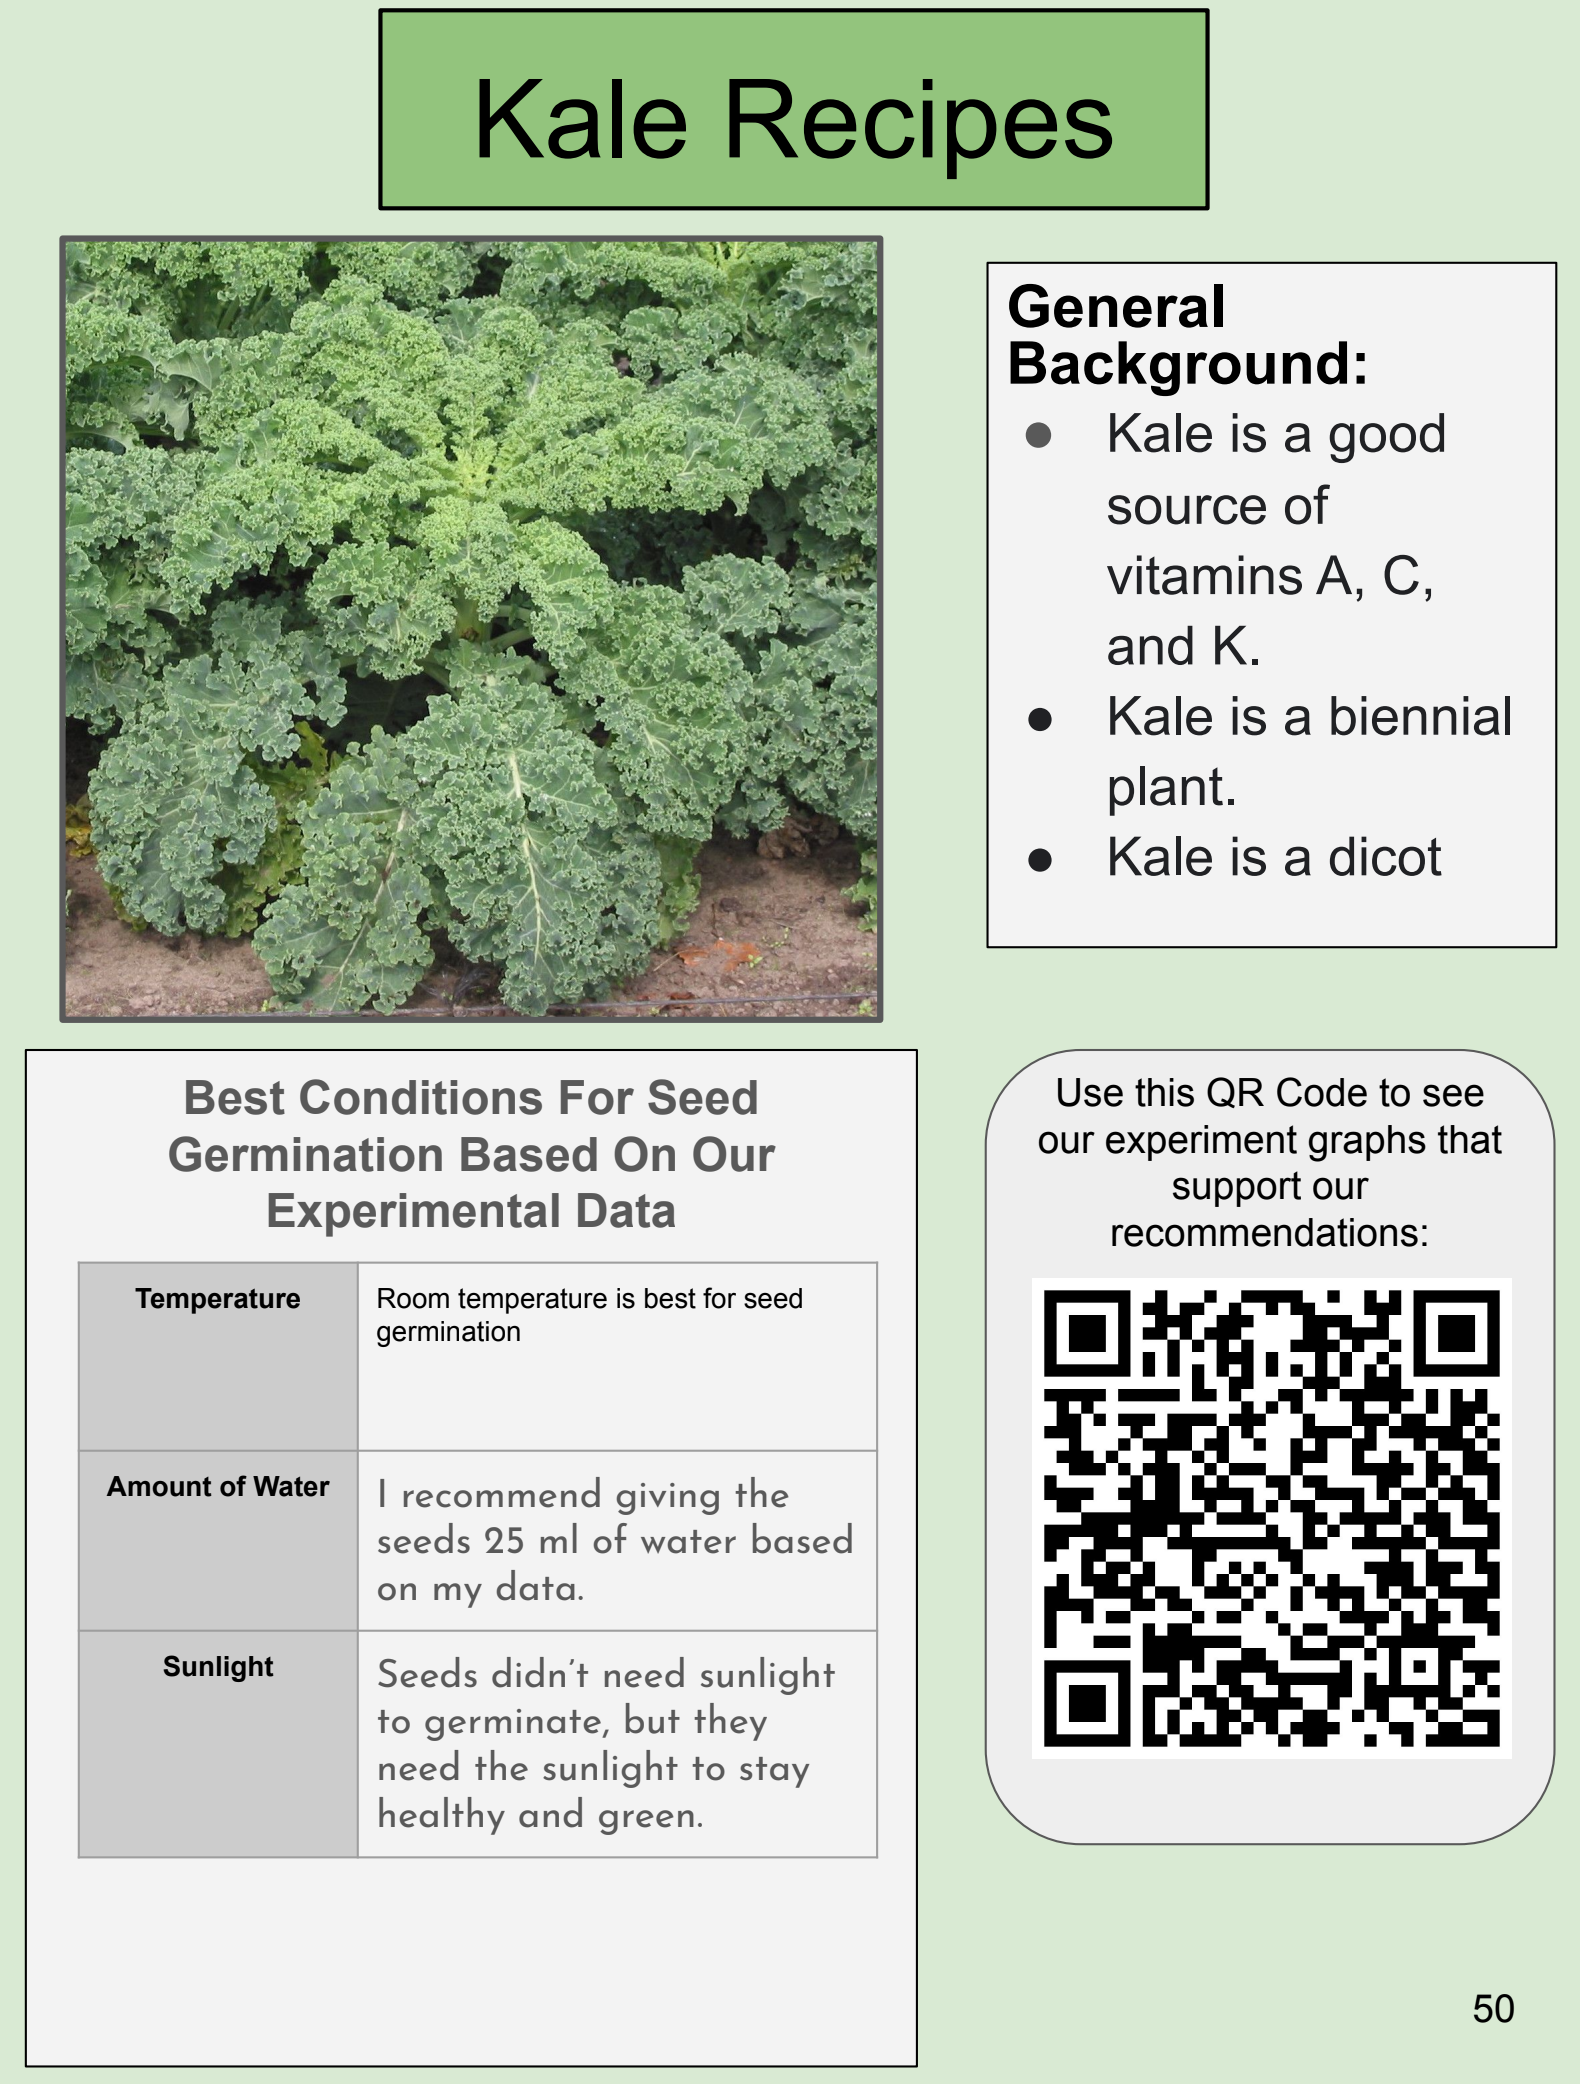
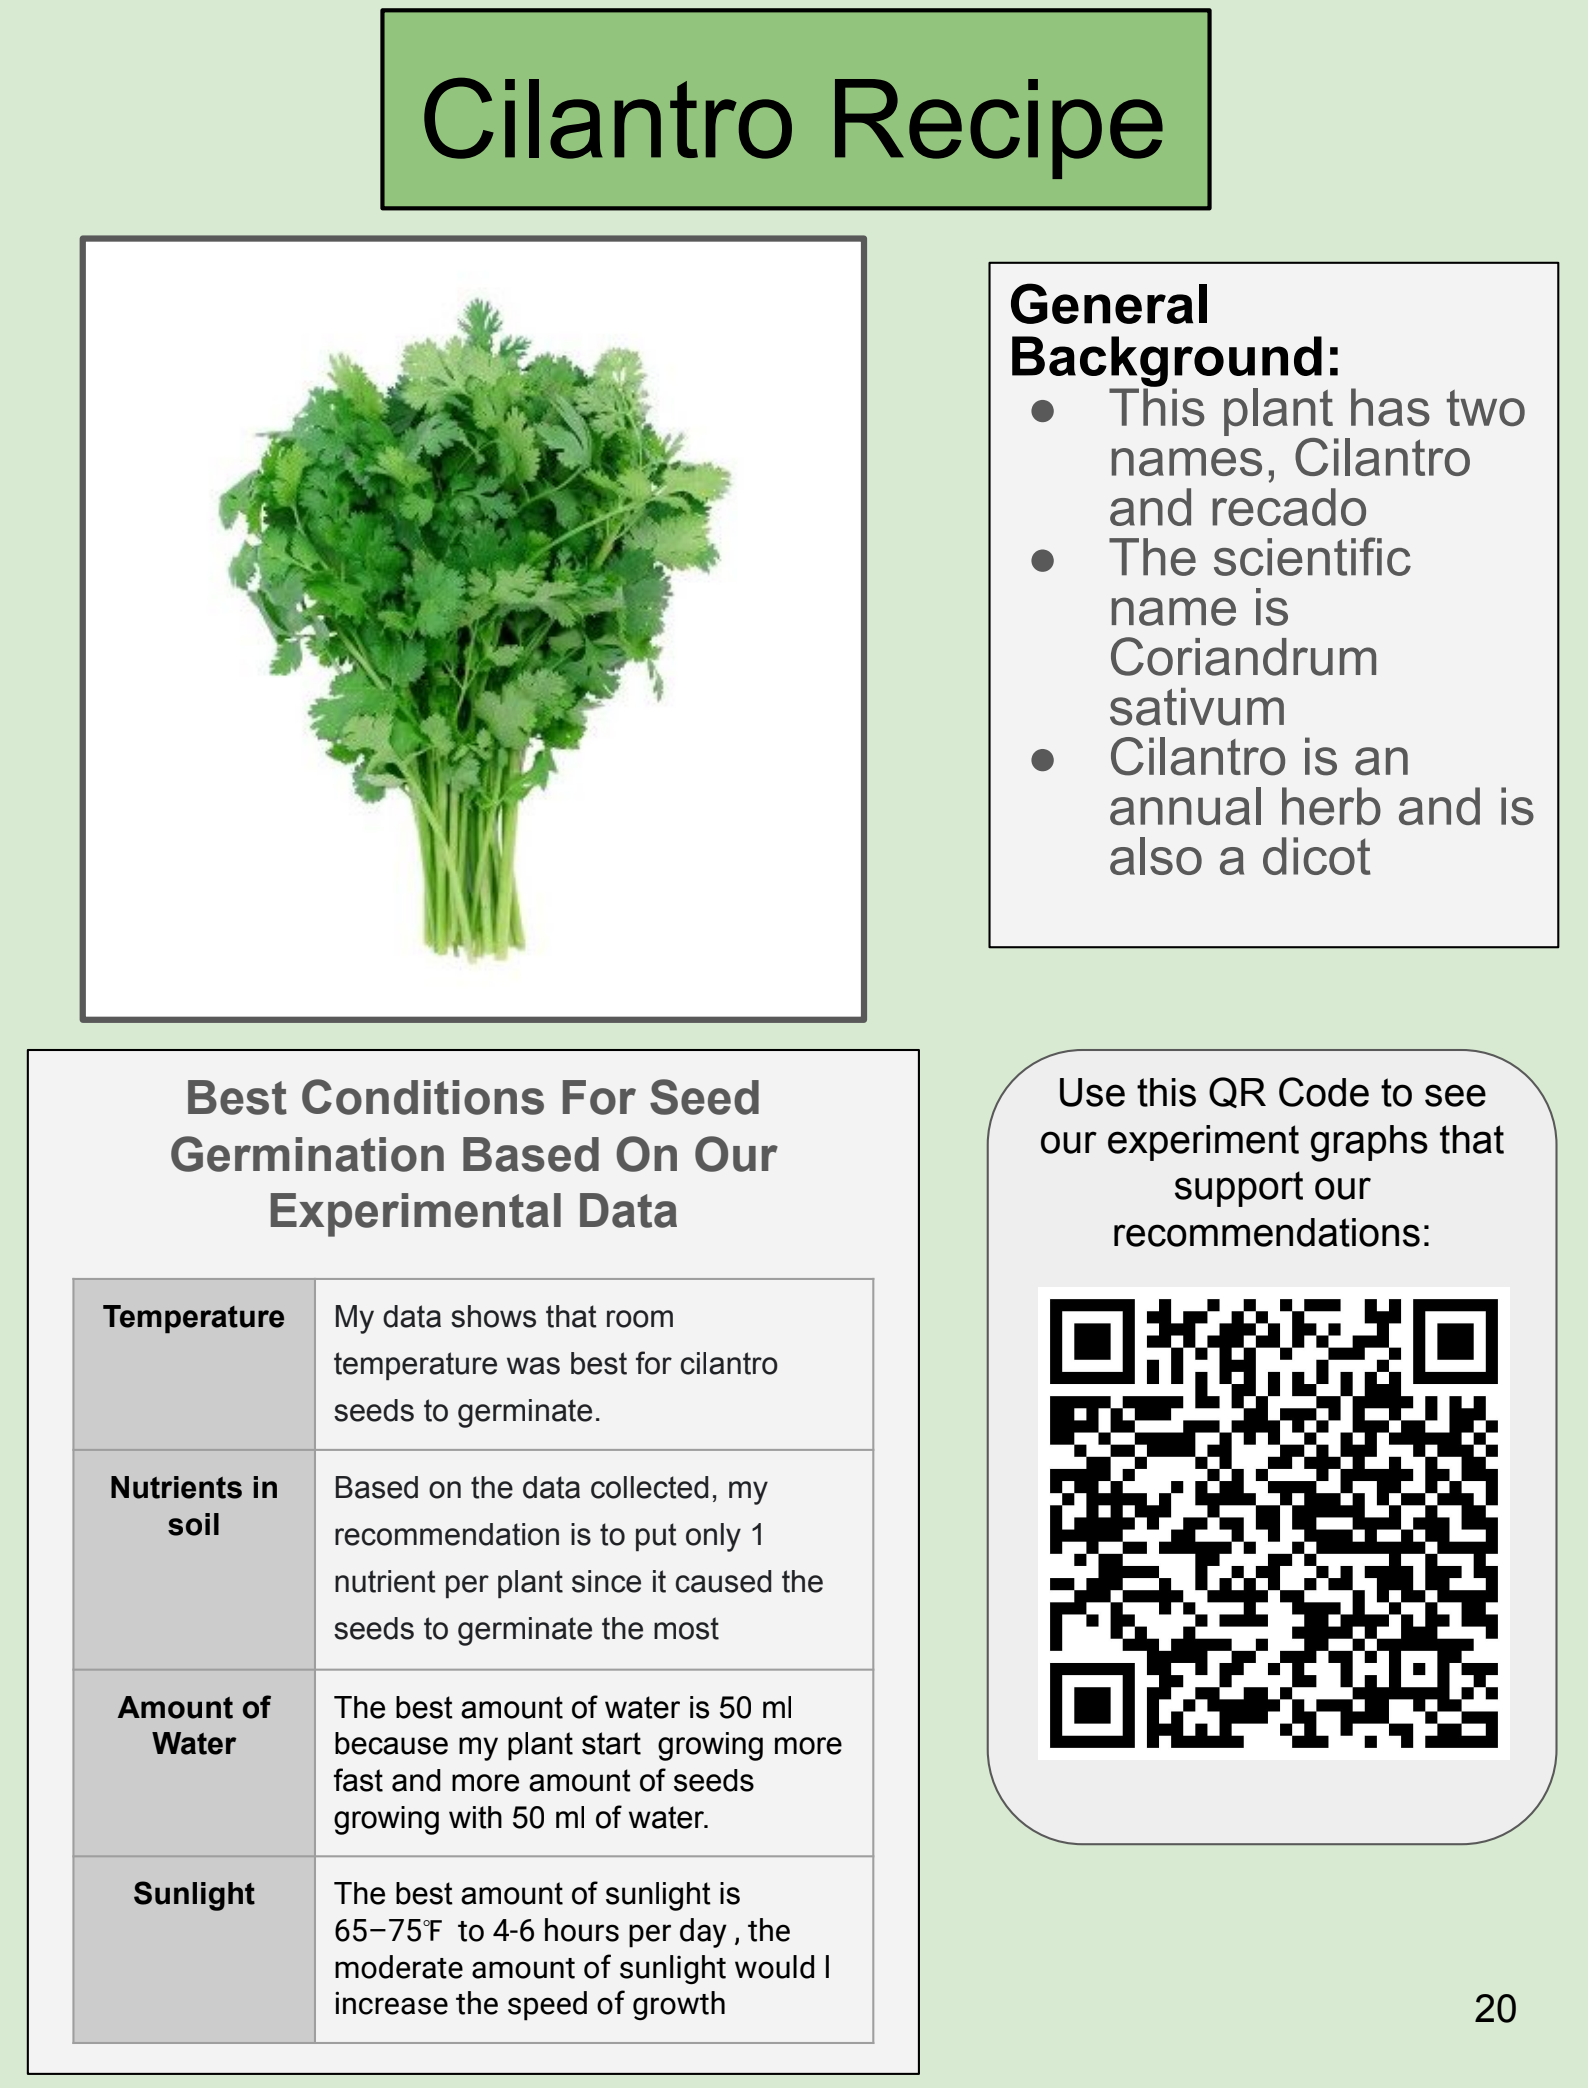
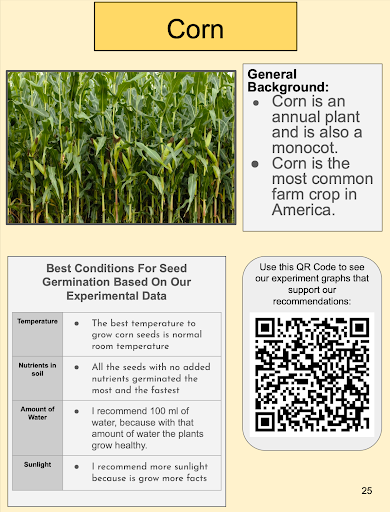
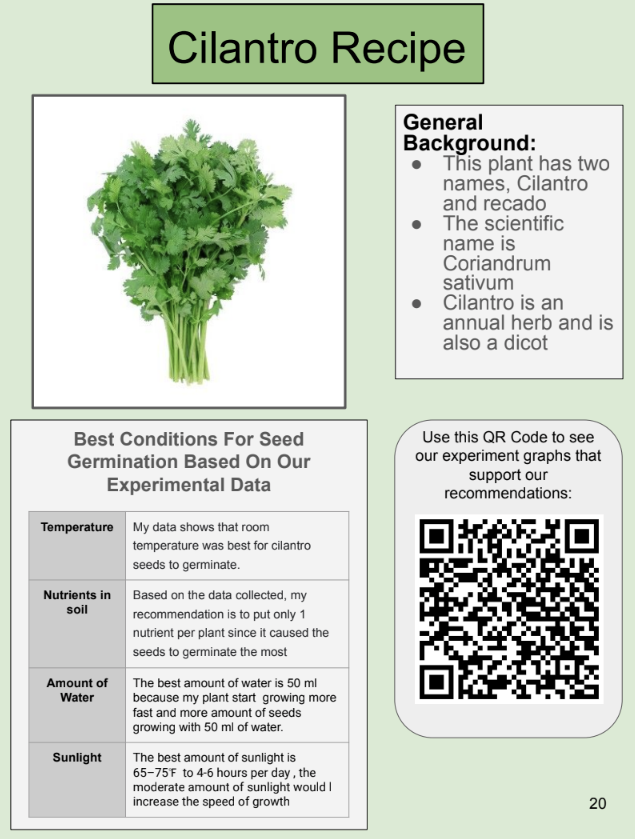
Then, have groups review the collected data on their plant to make their recommendations for how to set up the ideal conditions to germinate the seeds of their plant. To do this, have students use the How to Grow Our Plant Google Slide template. Students use these recommendations to create the chapter pages of the cookbook that features:
information about the edible plant.
their seed germination recommendations.
a QR code that links to their graphs as evidence to their recommendations.
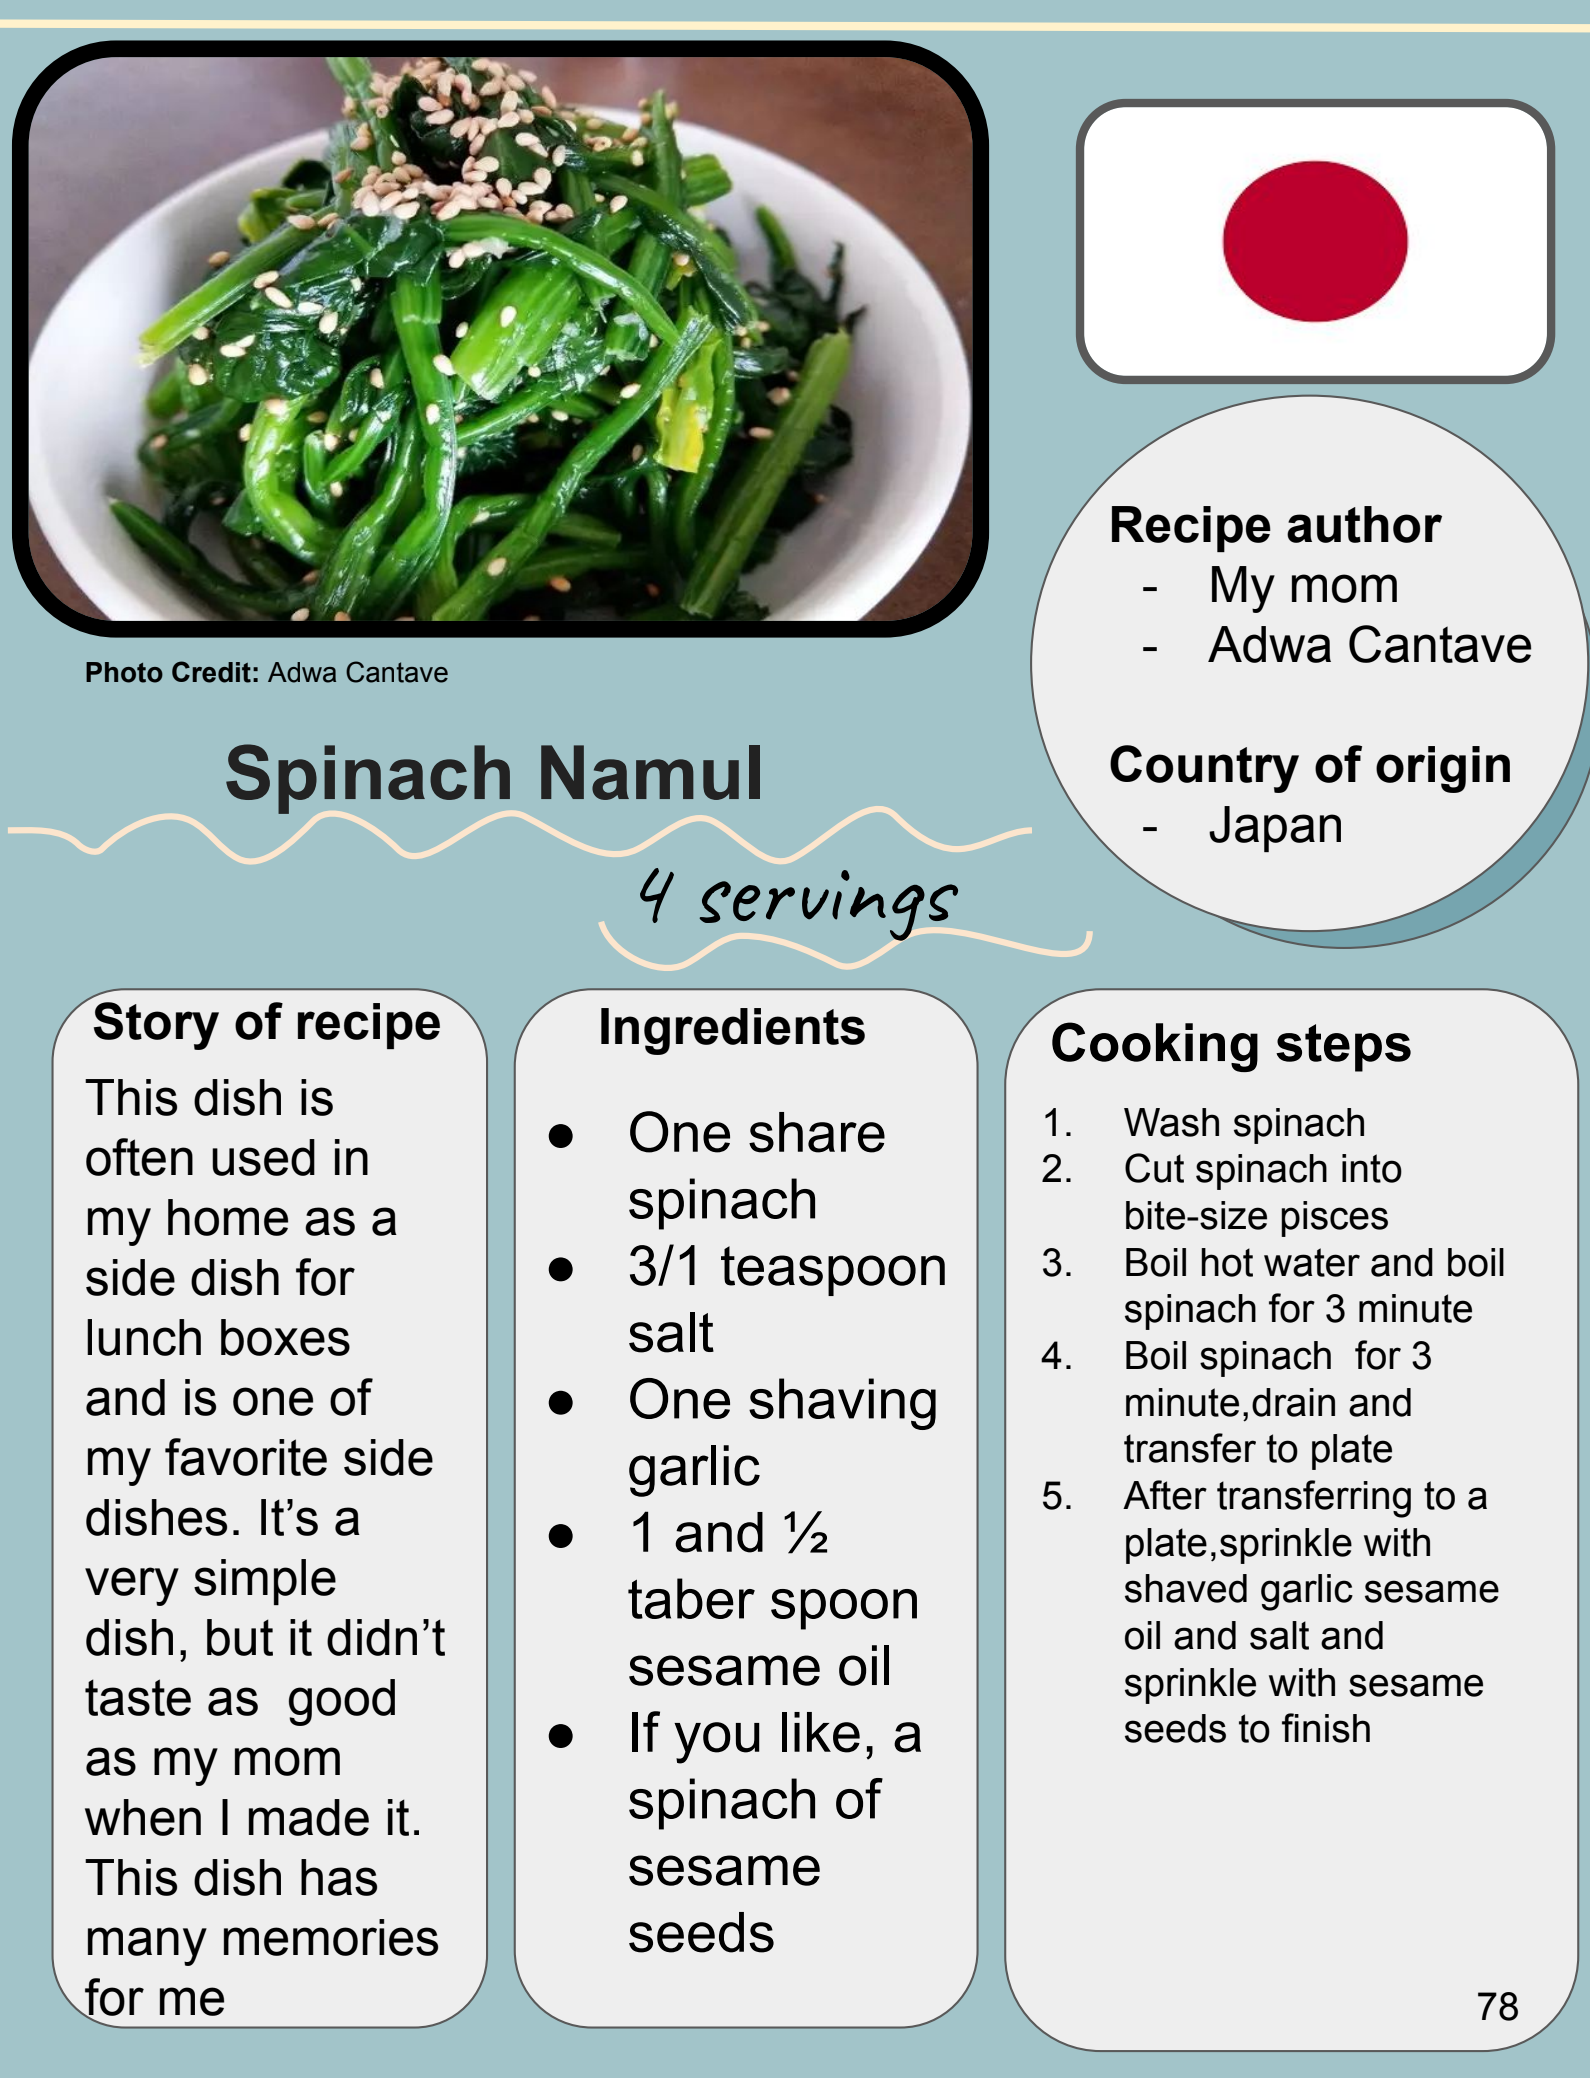
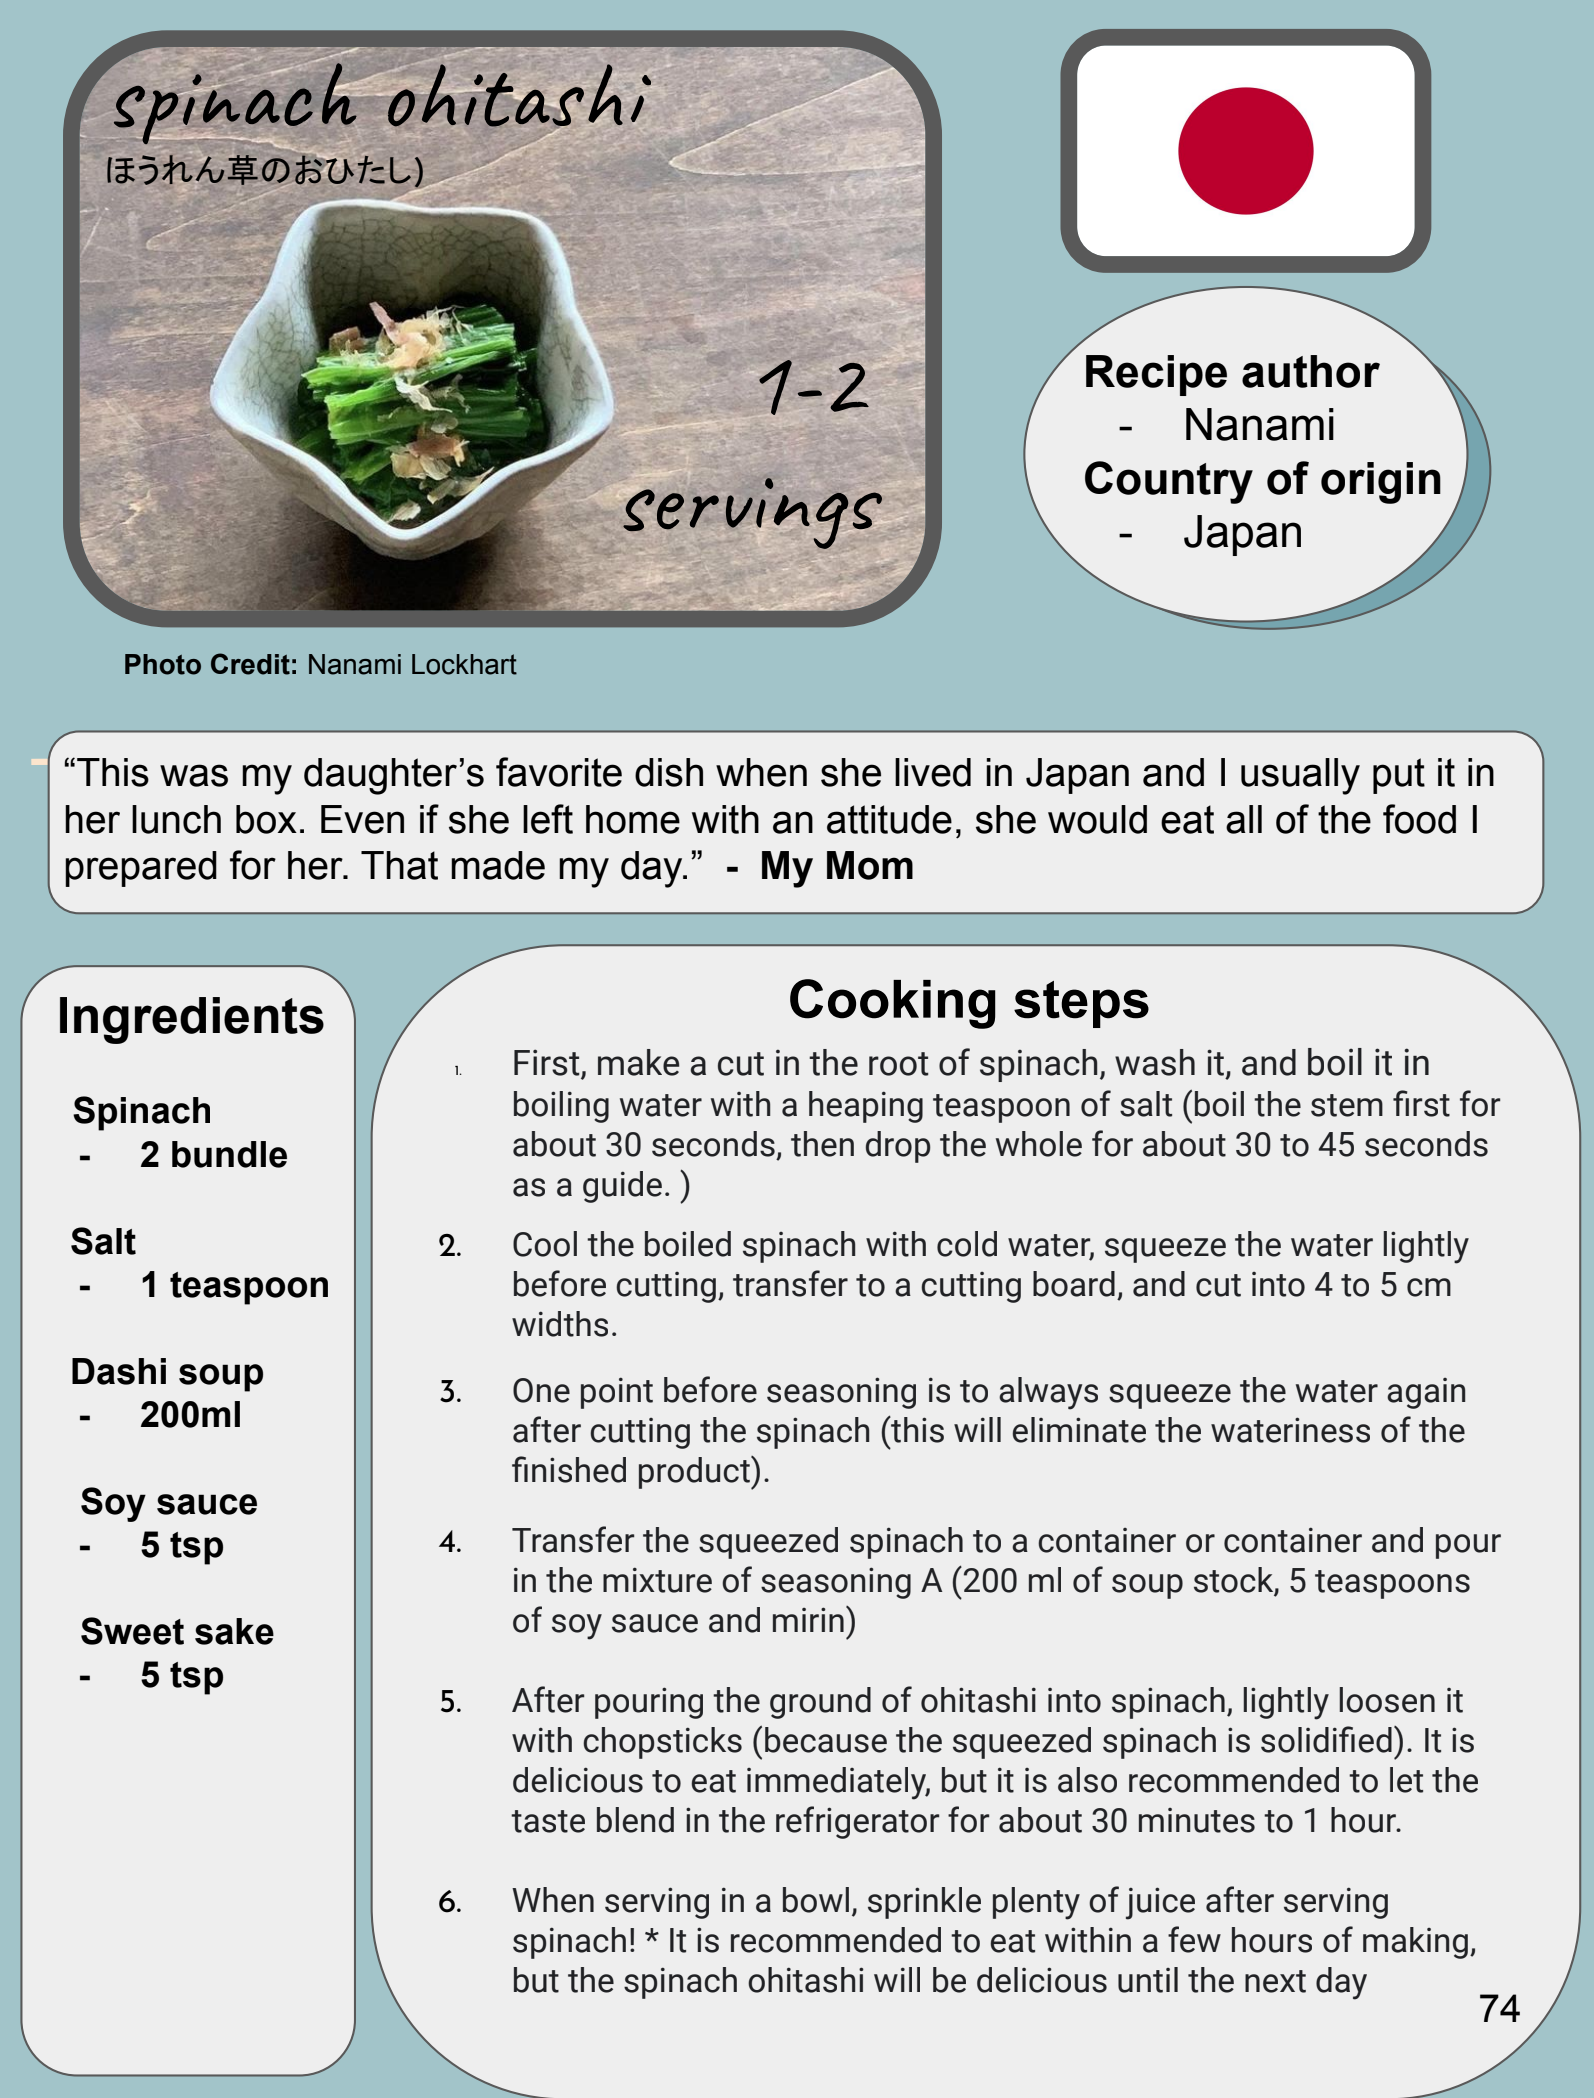
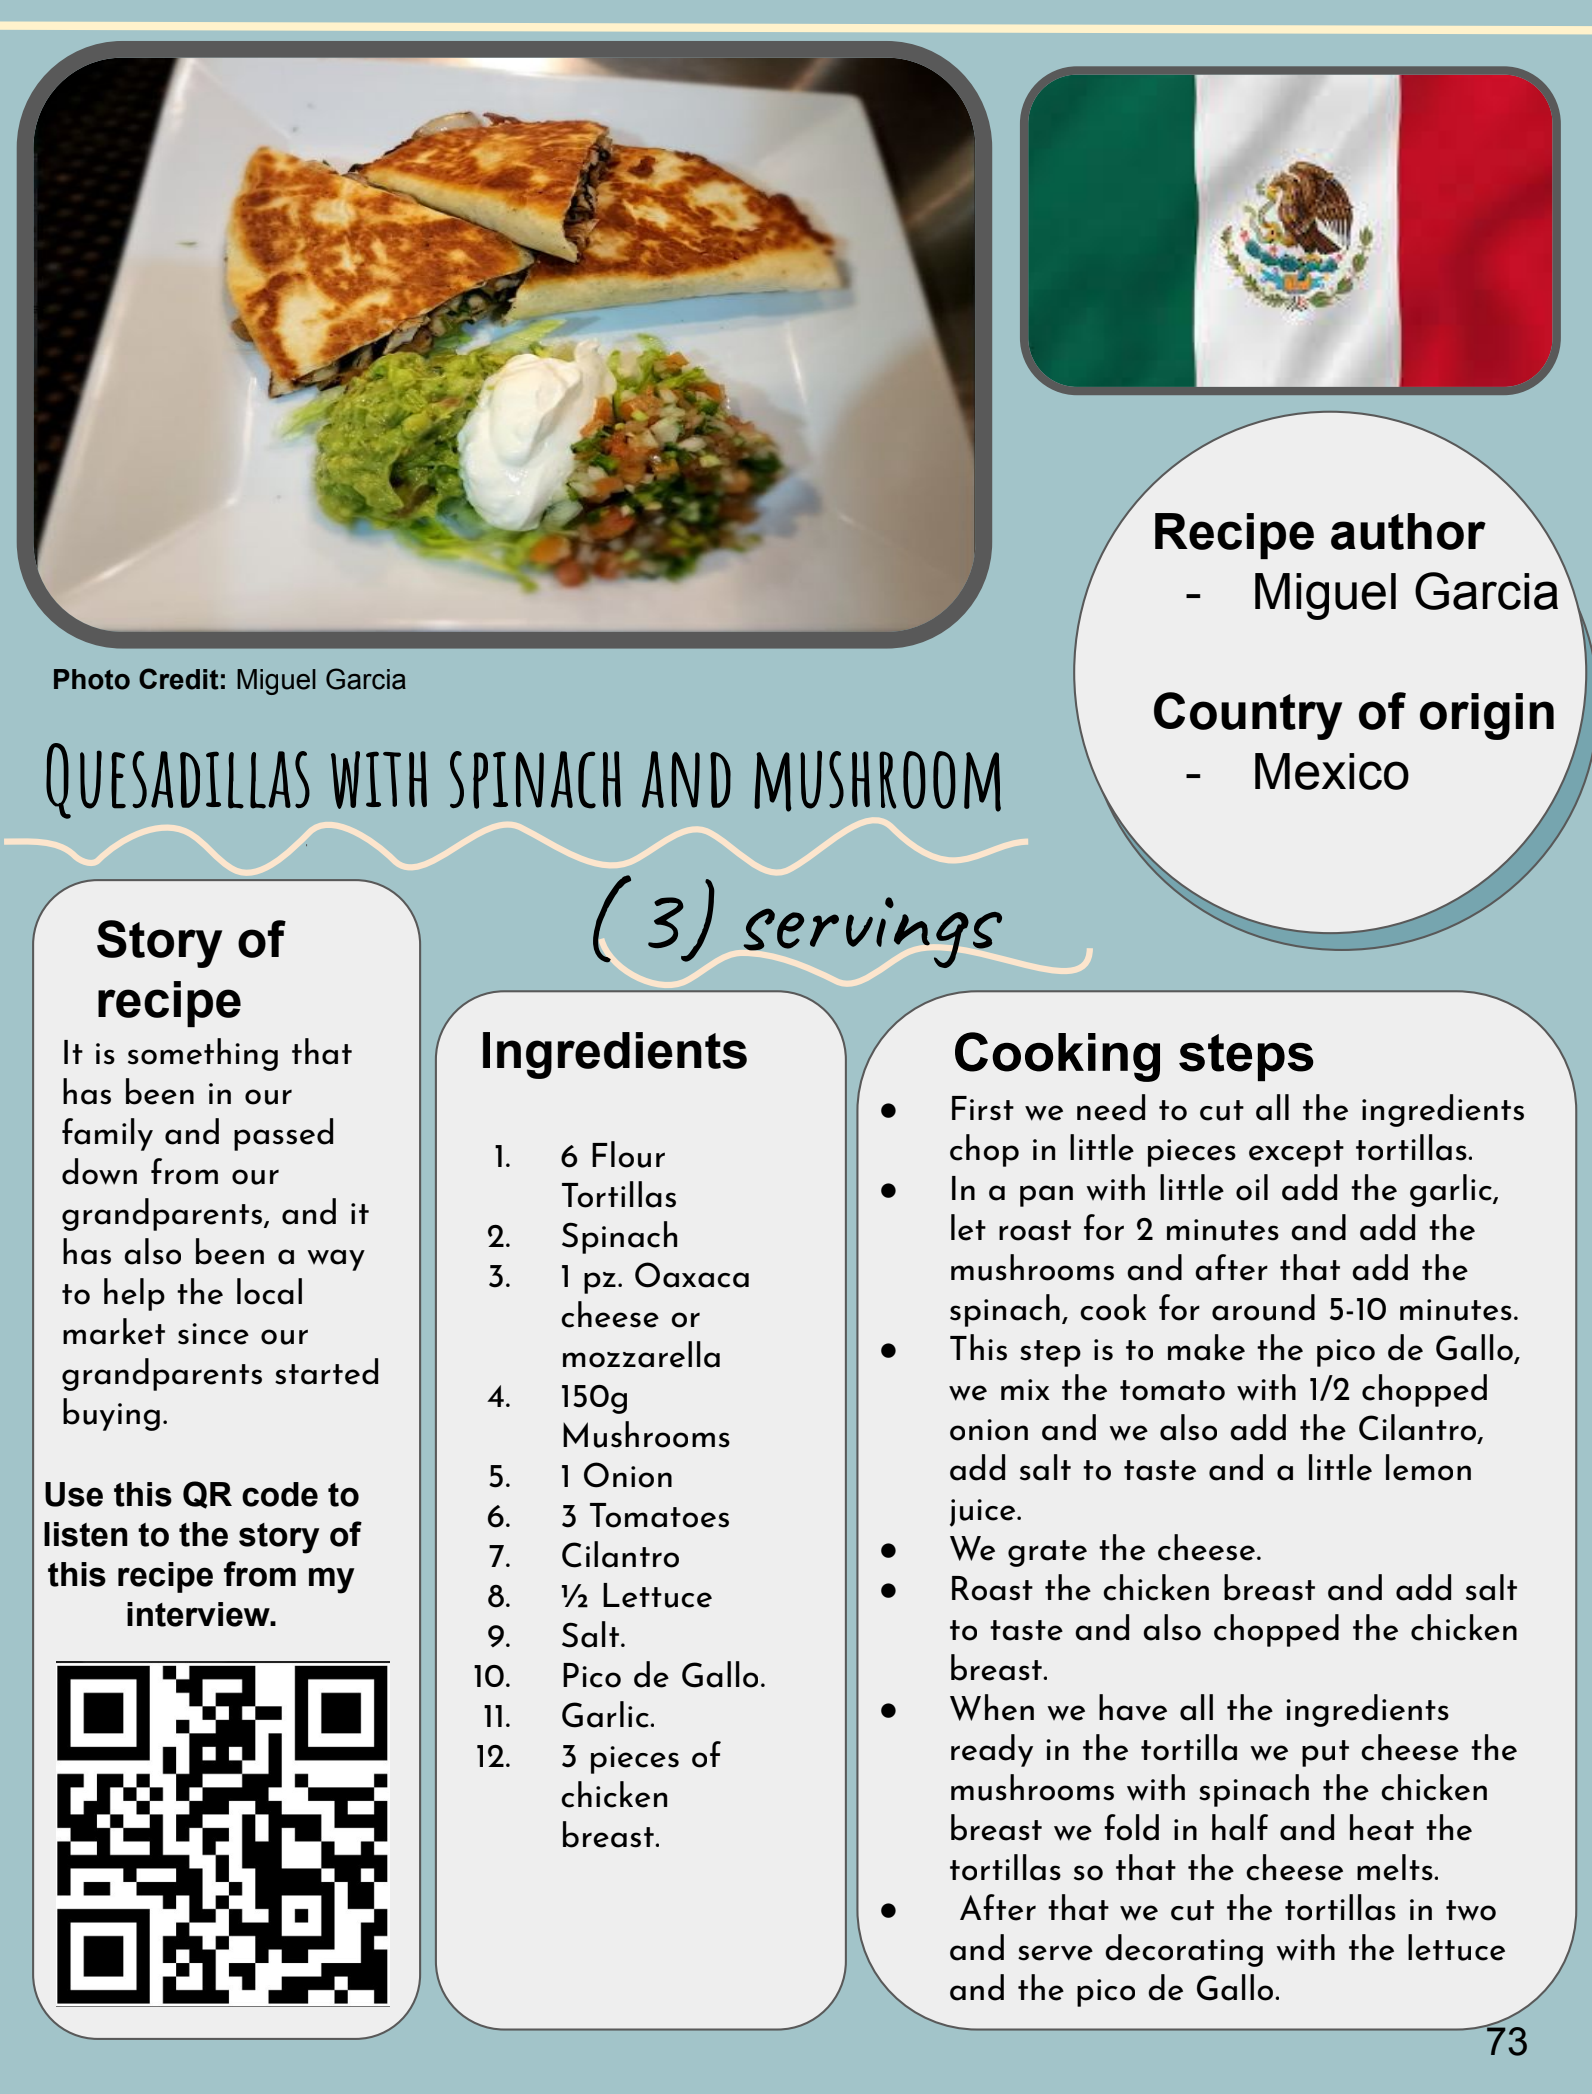
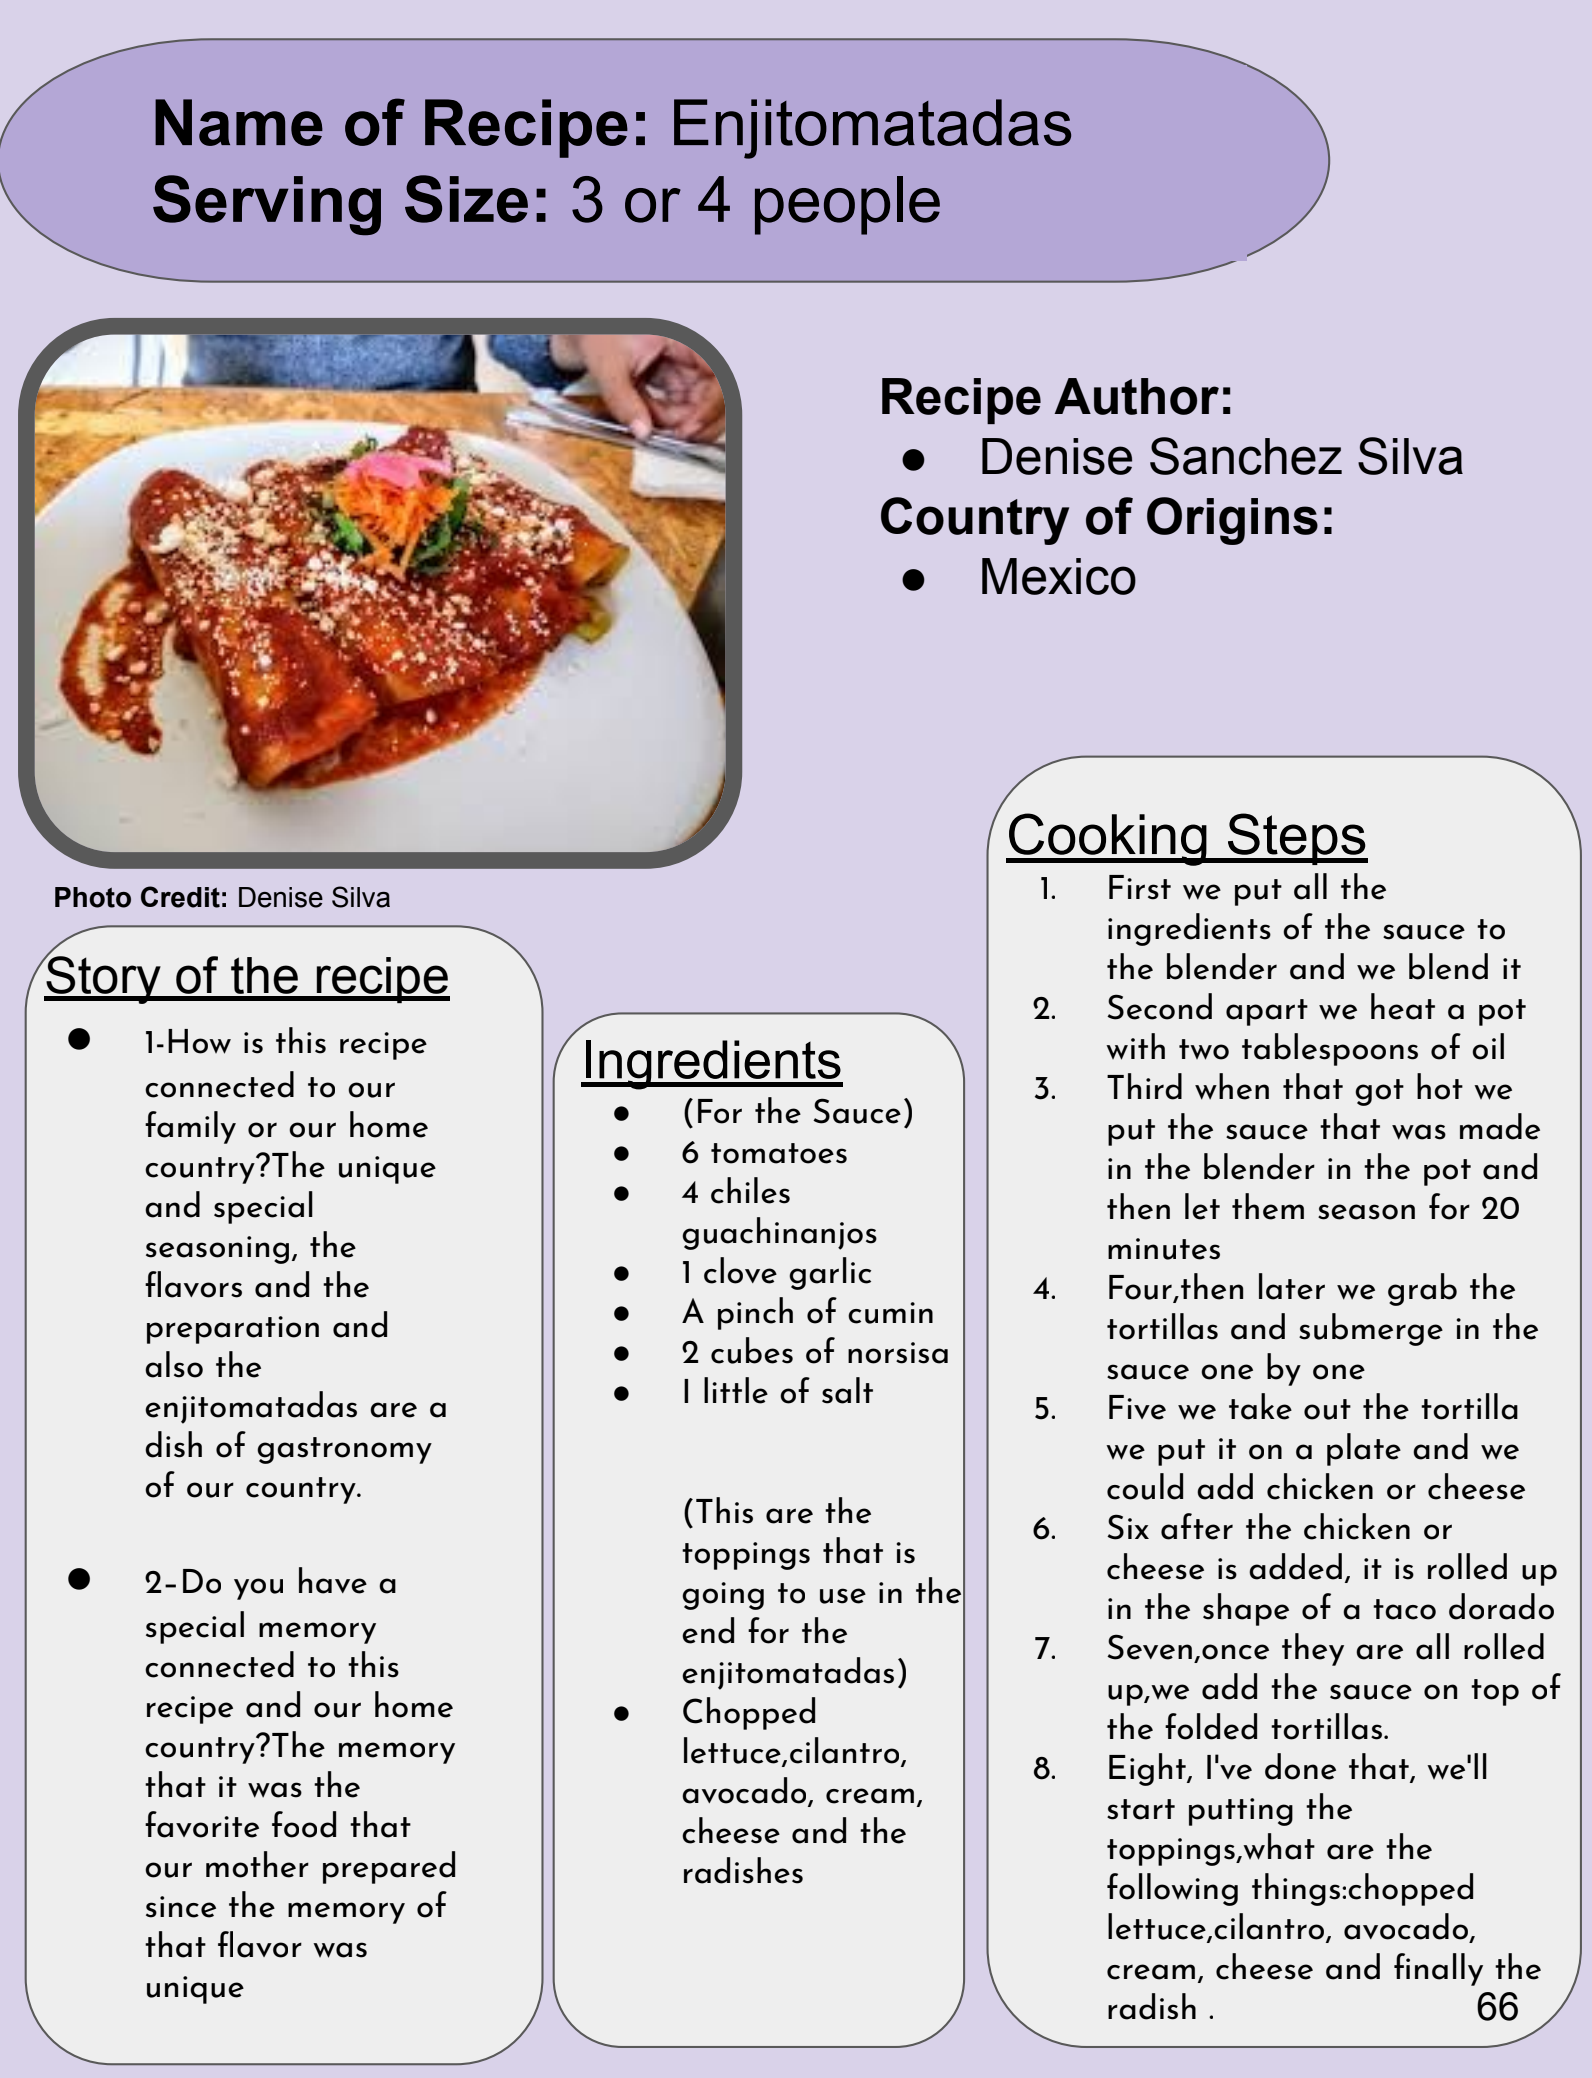
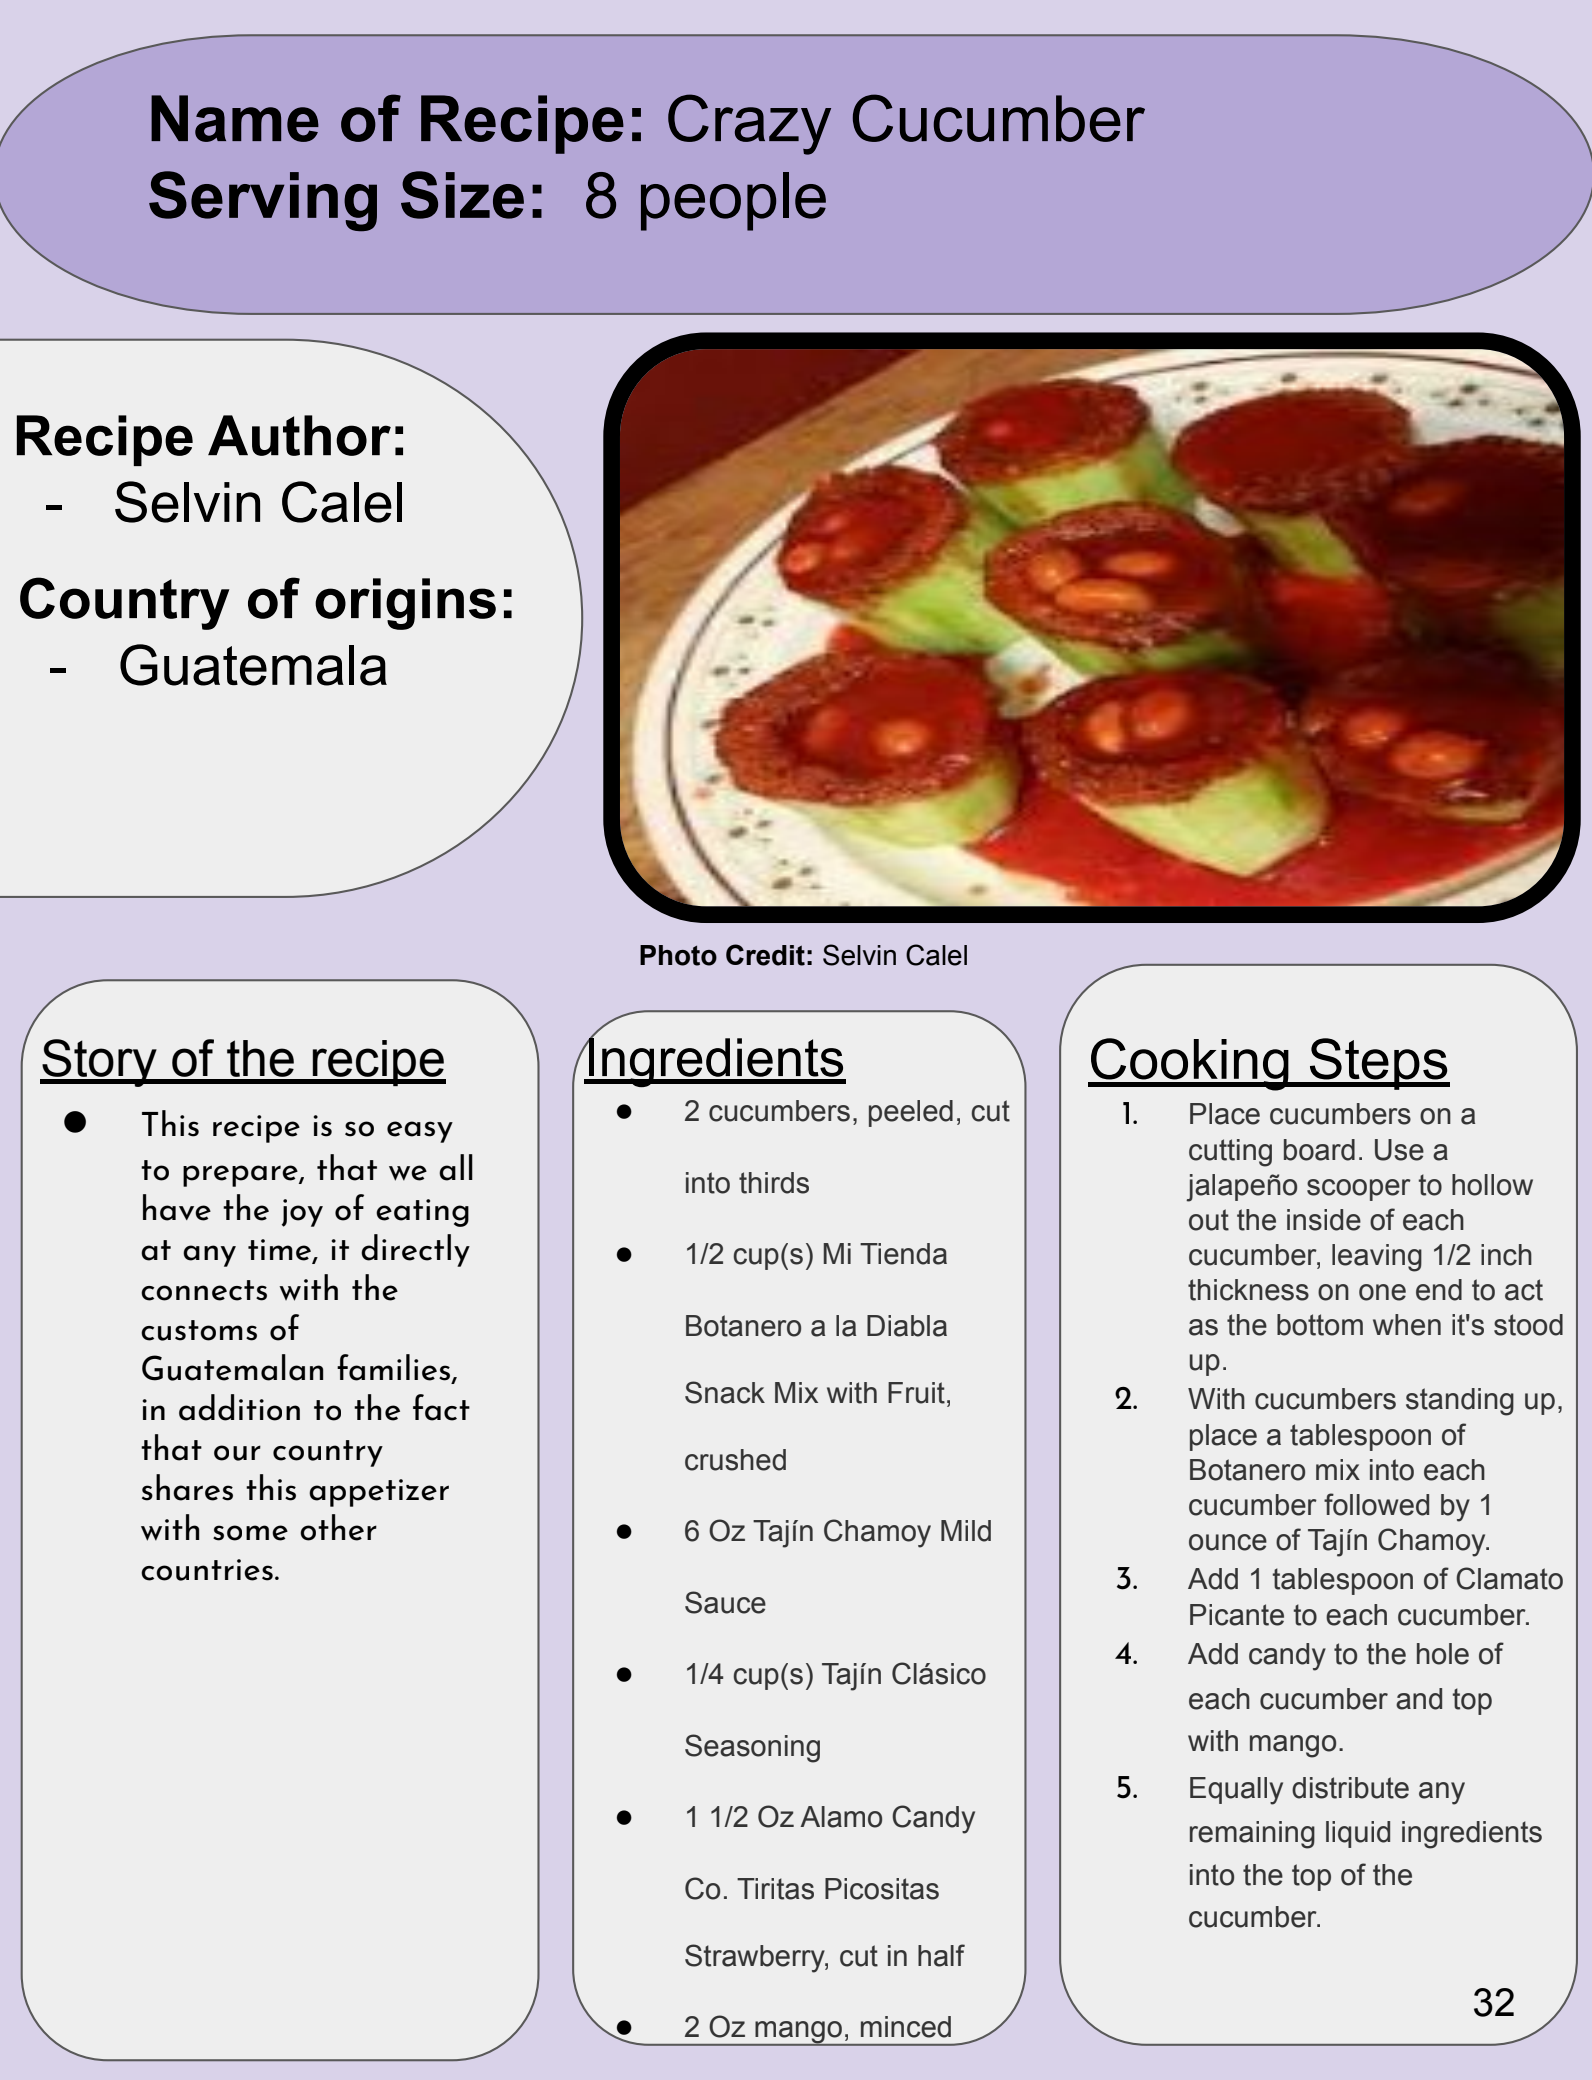
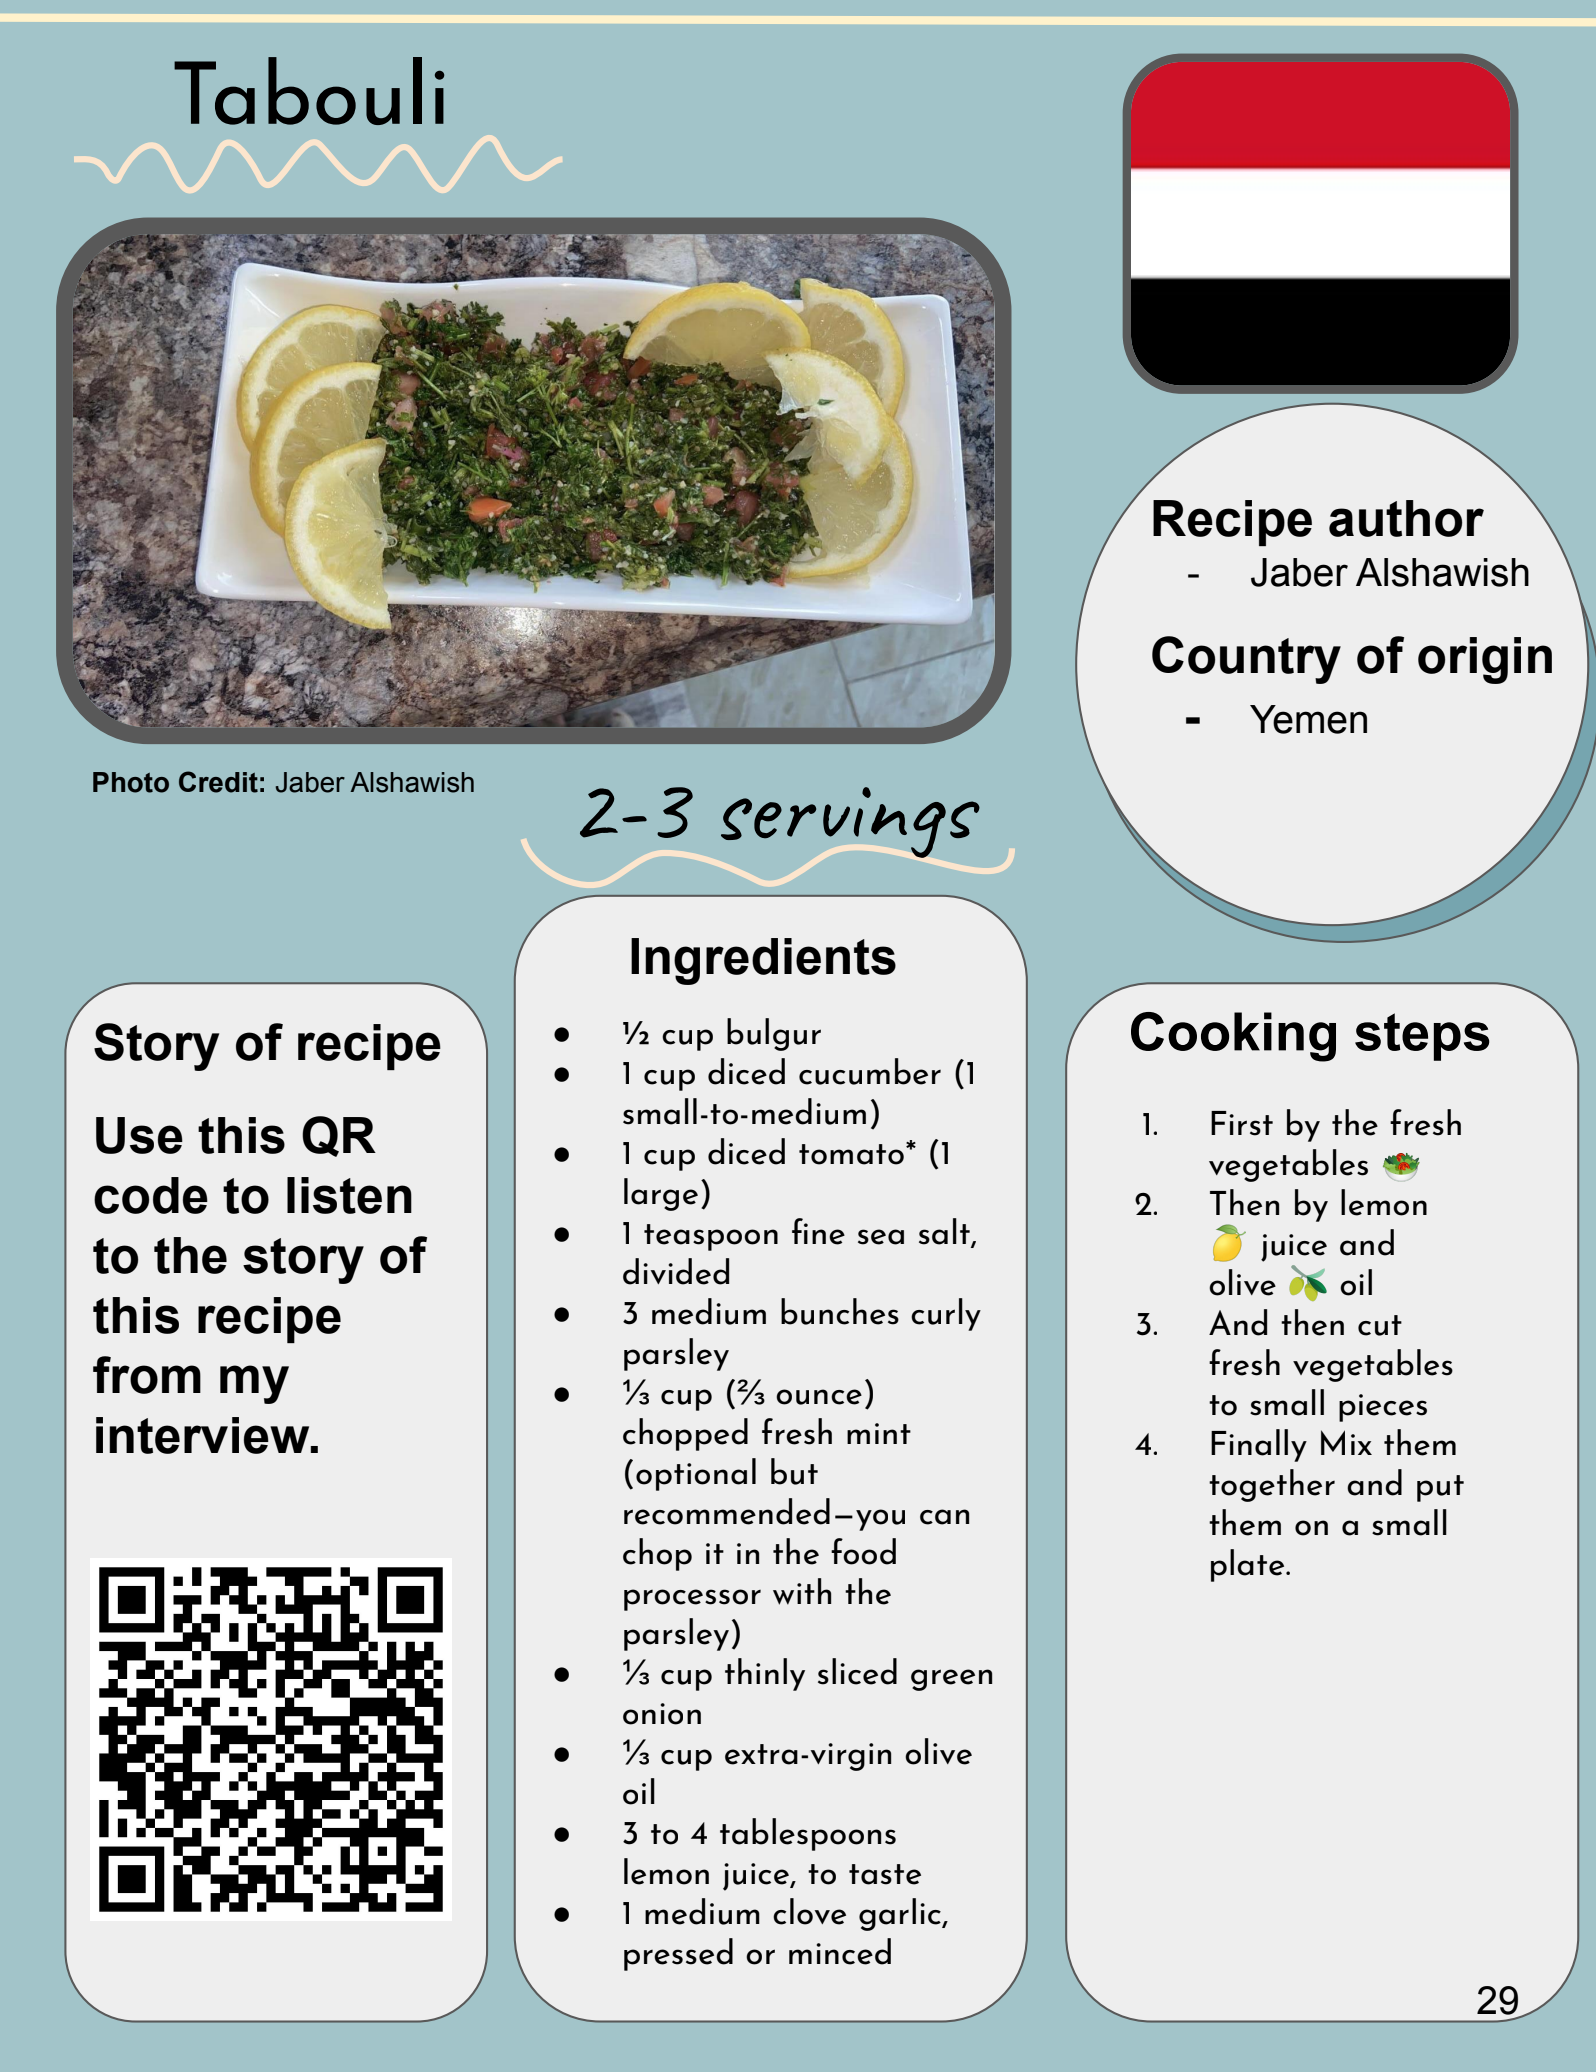
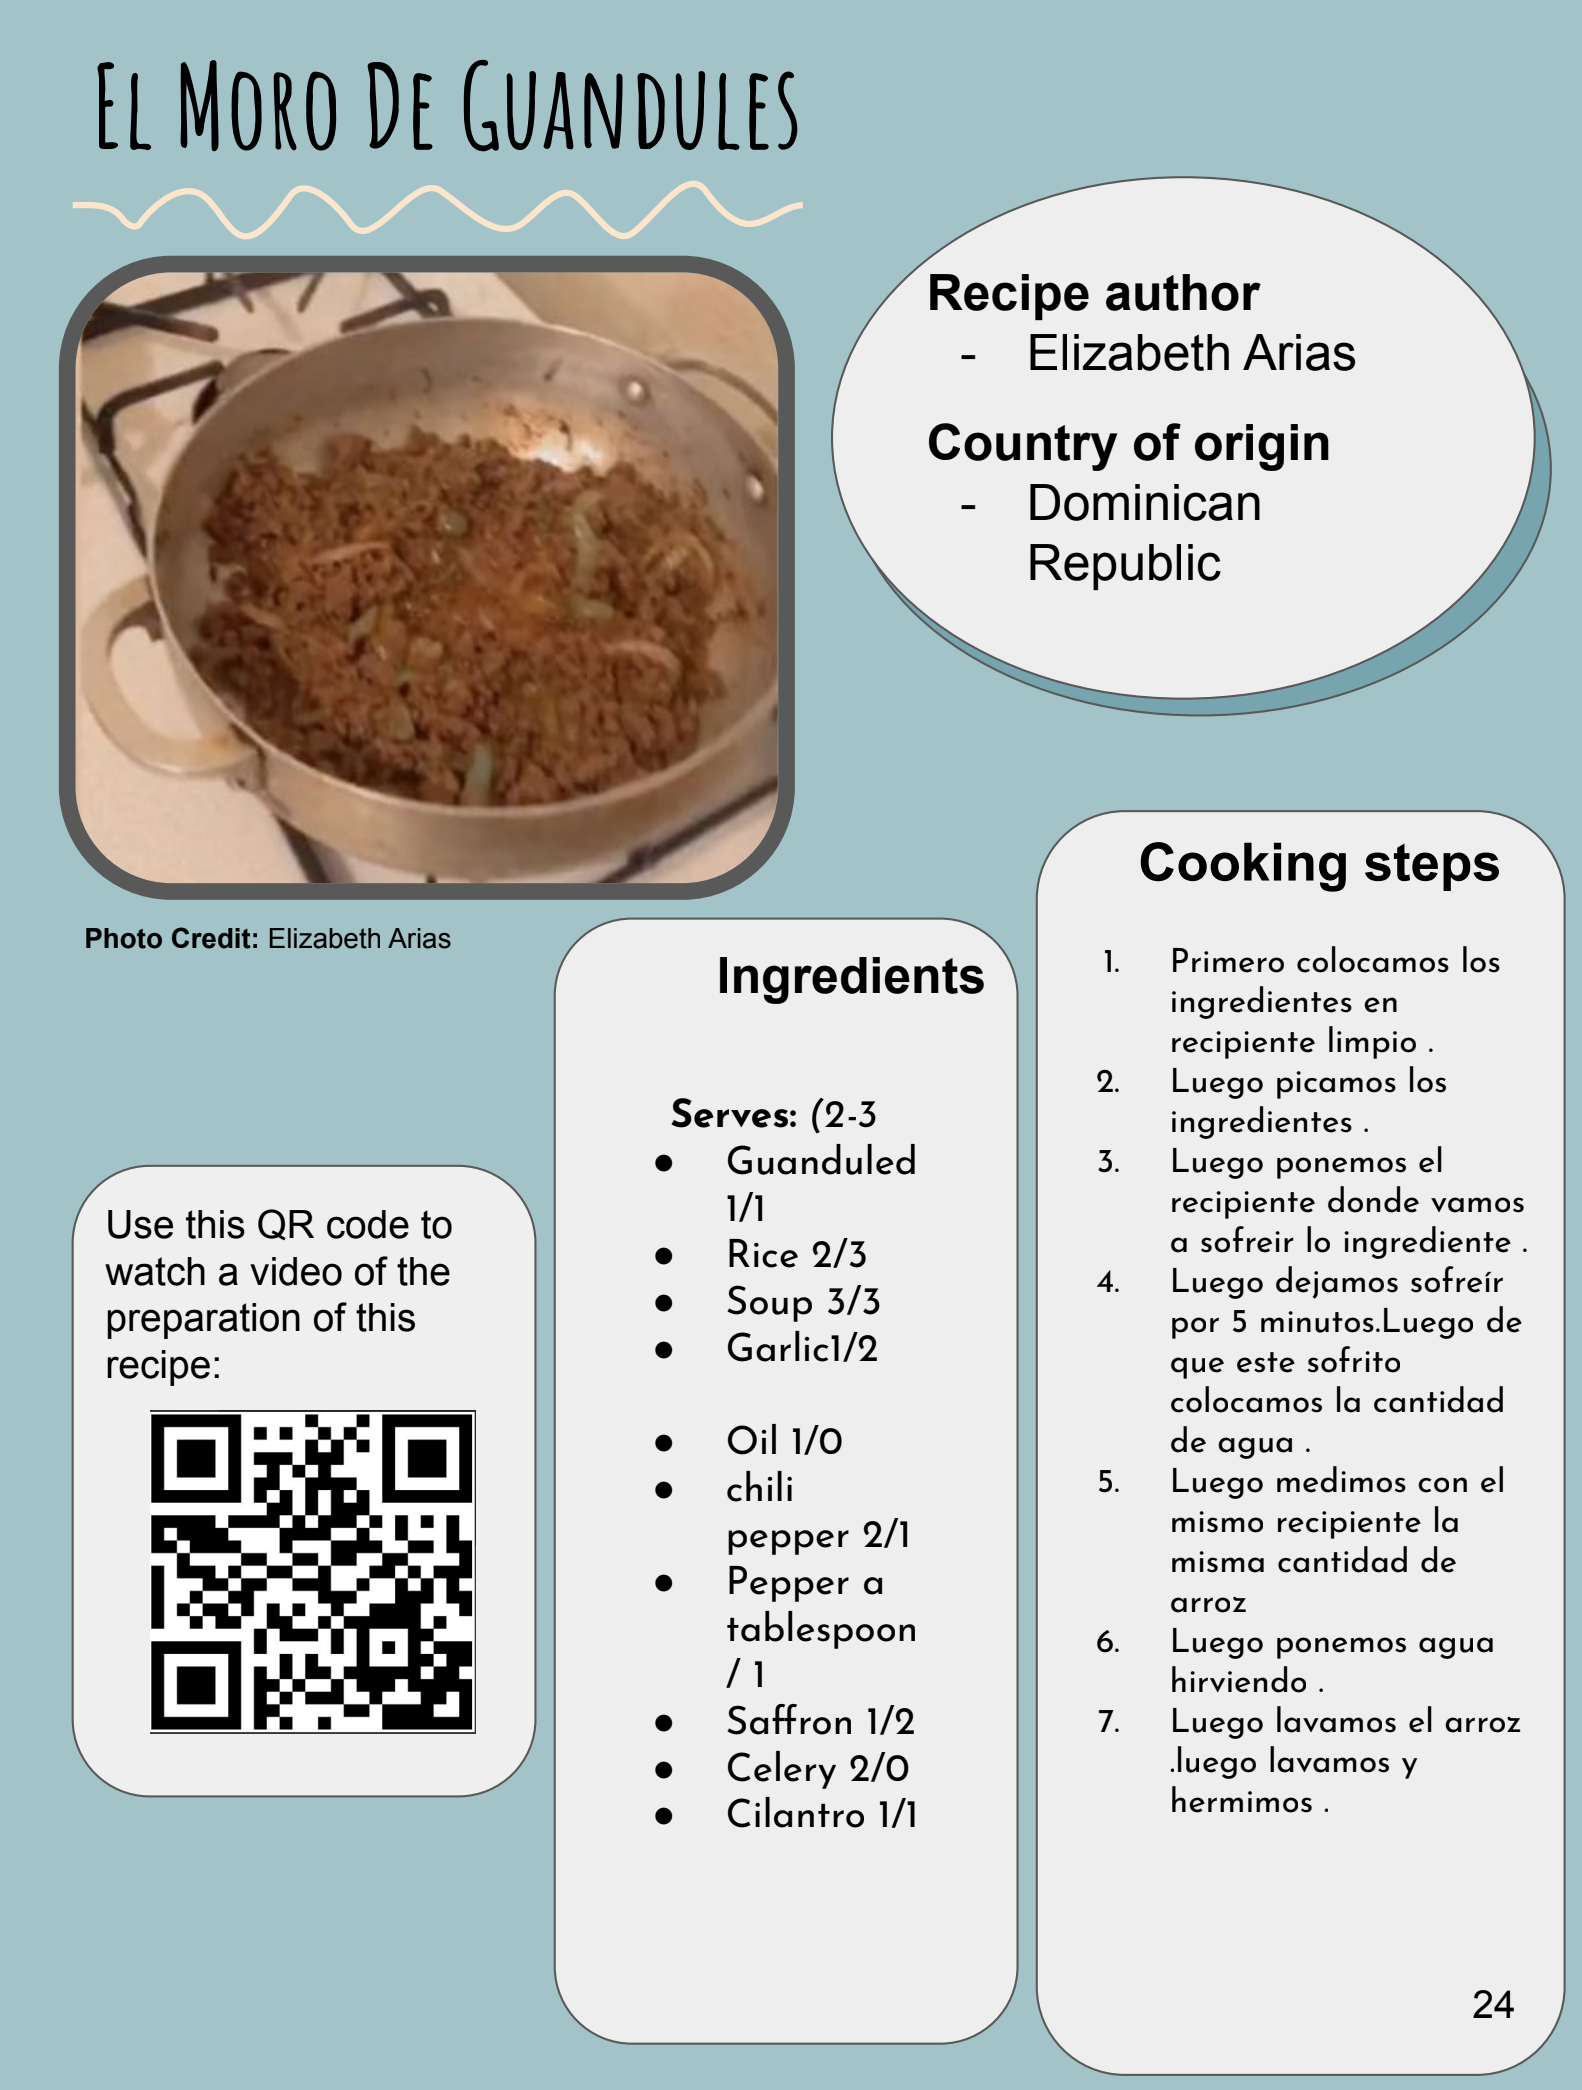
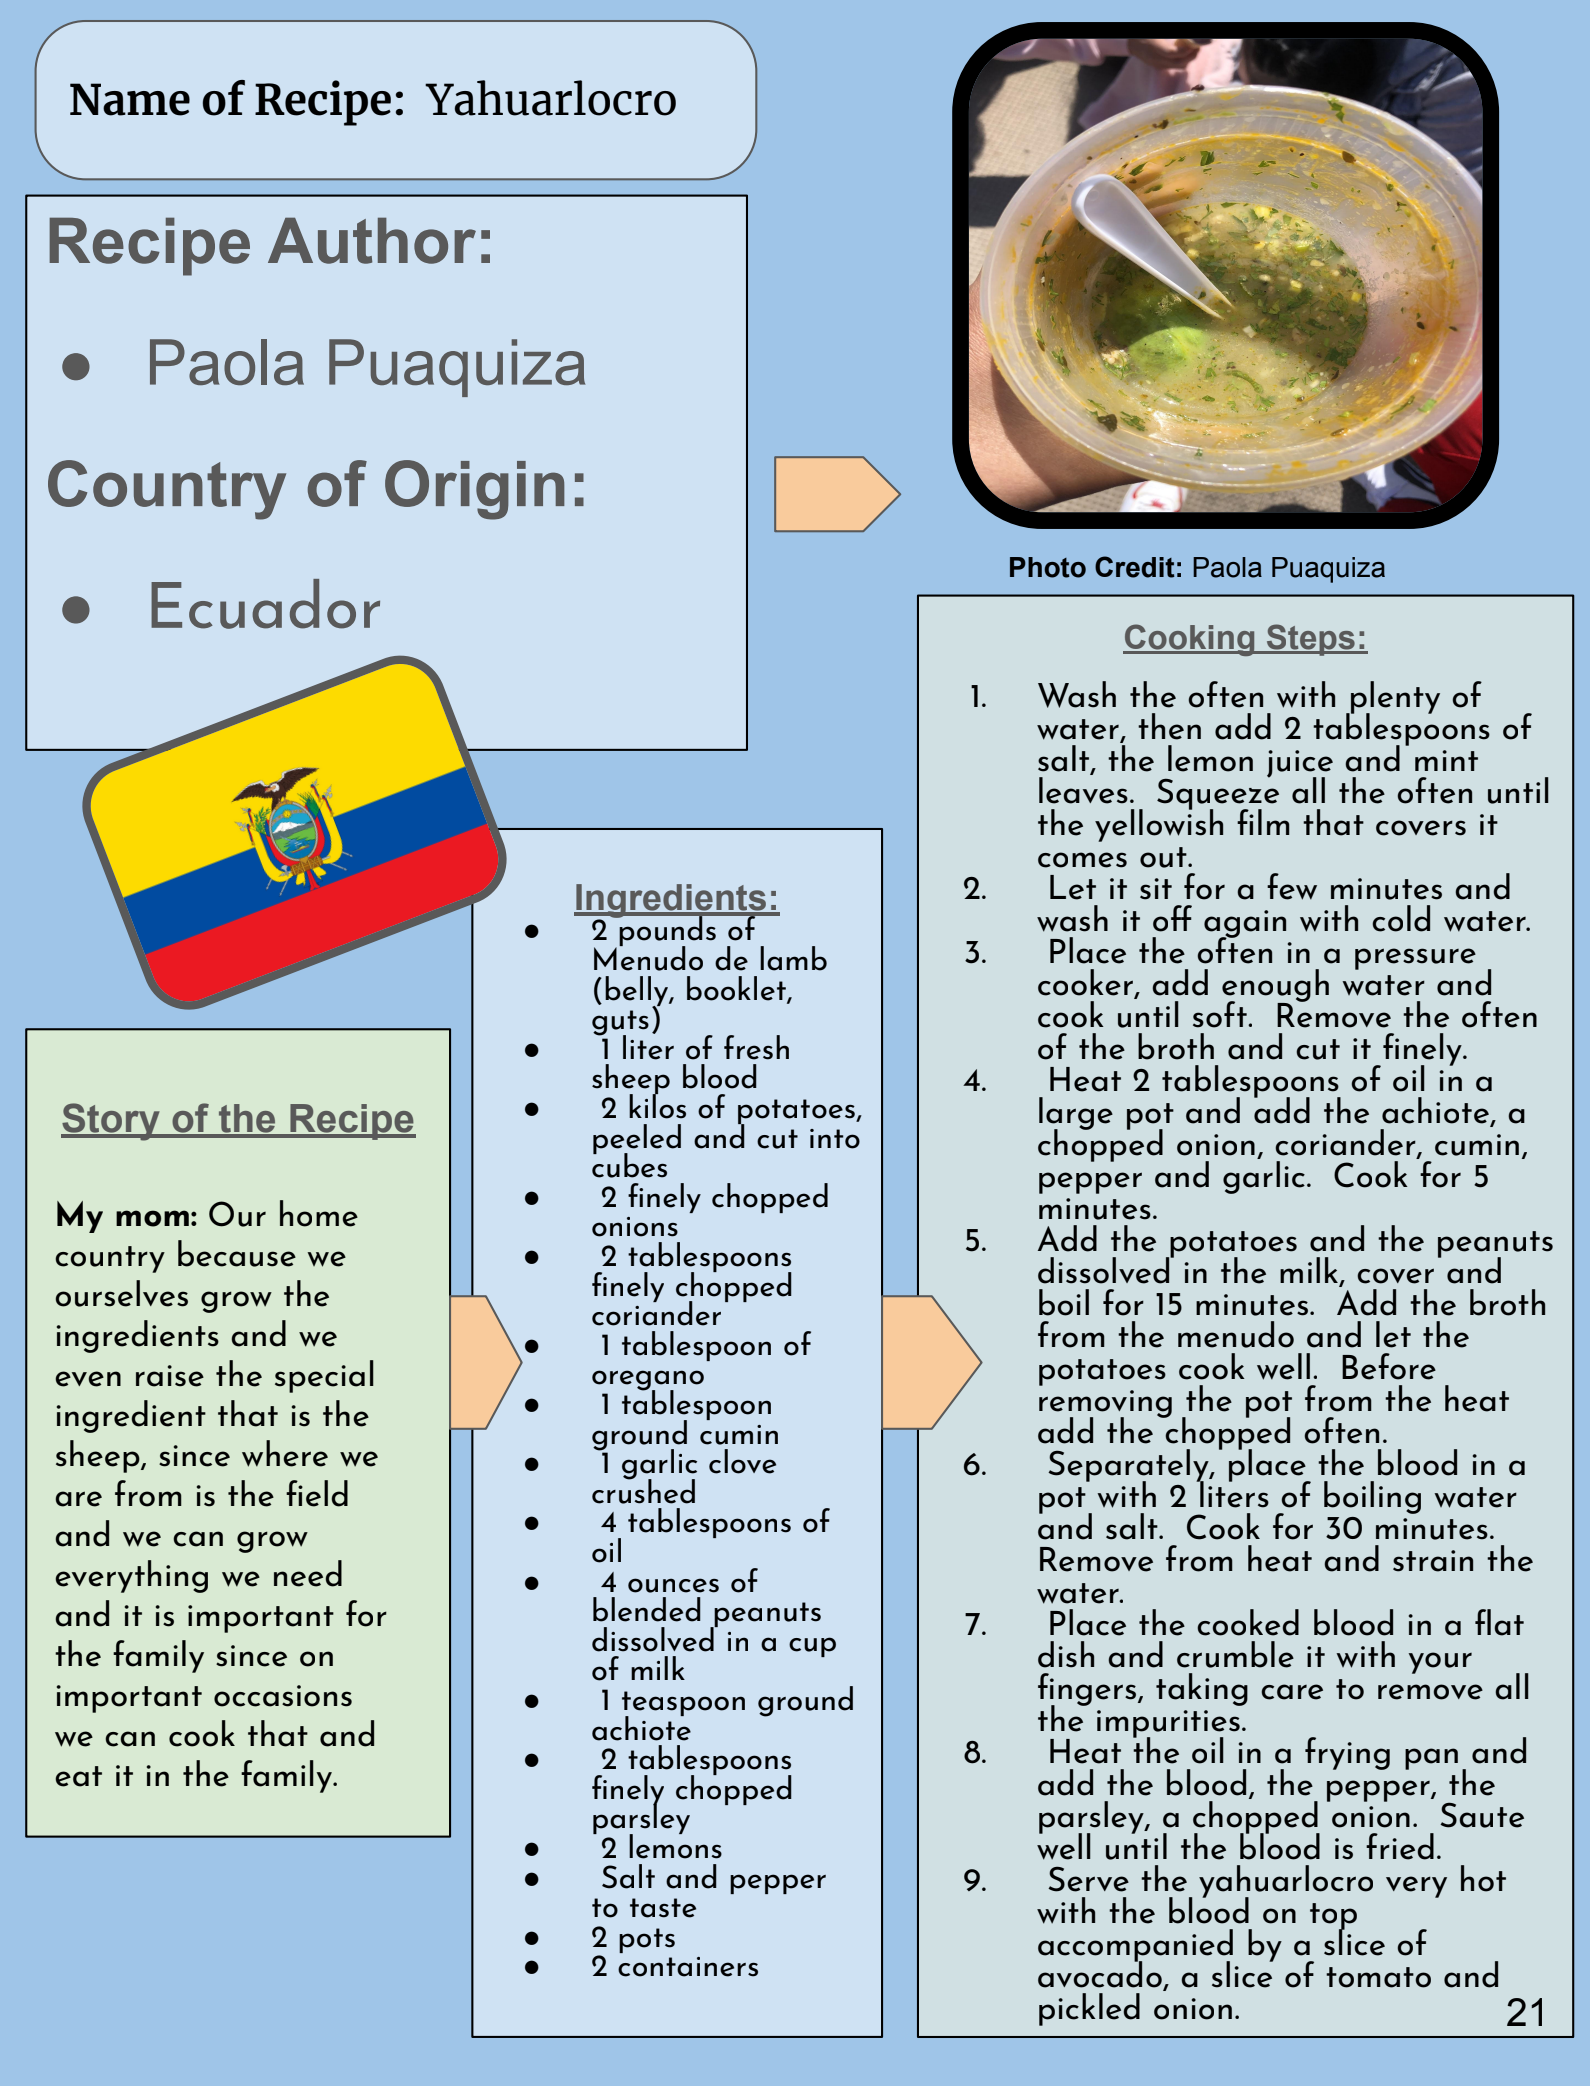
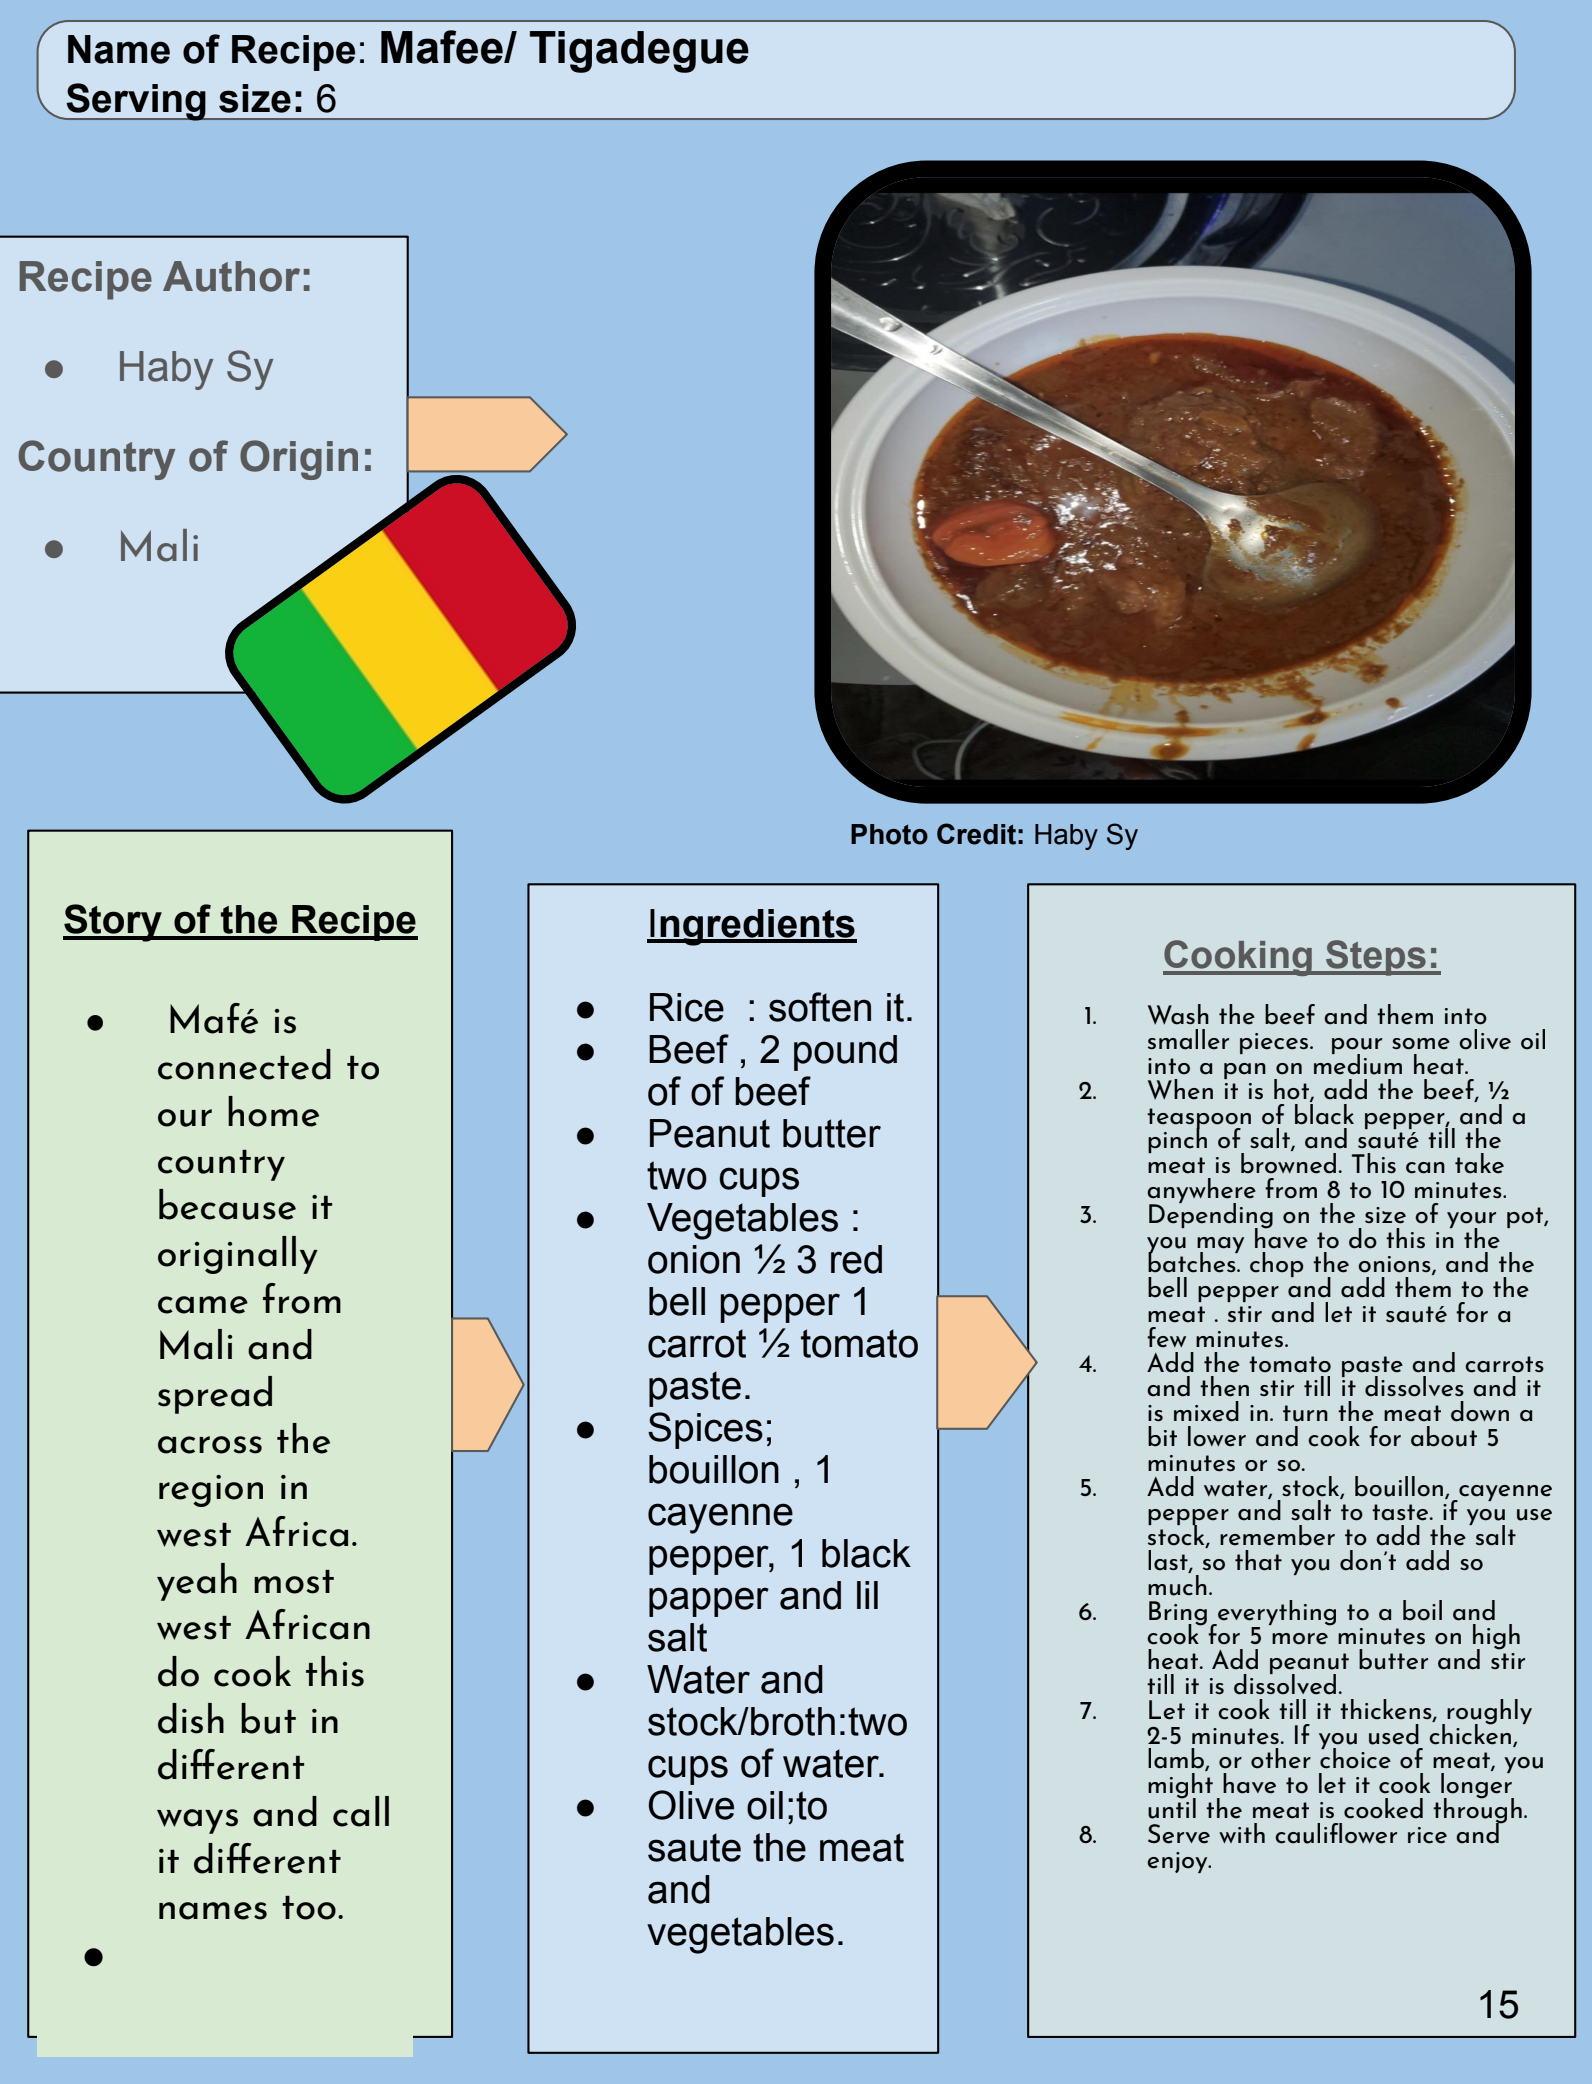
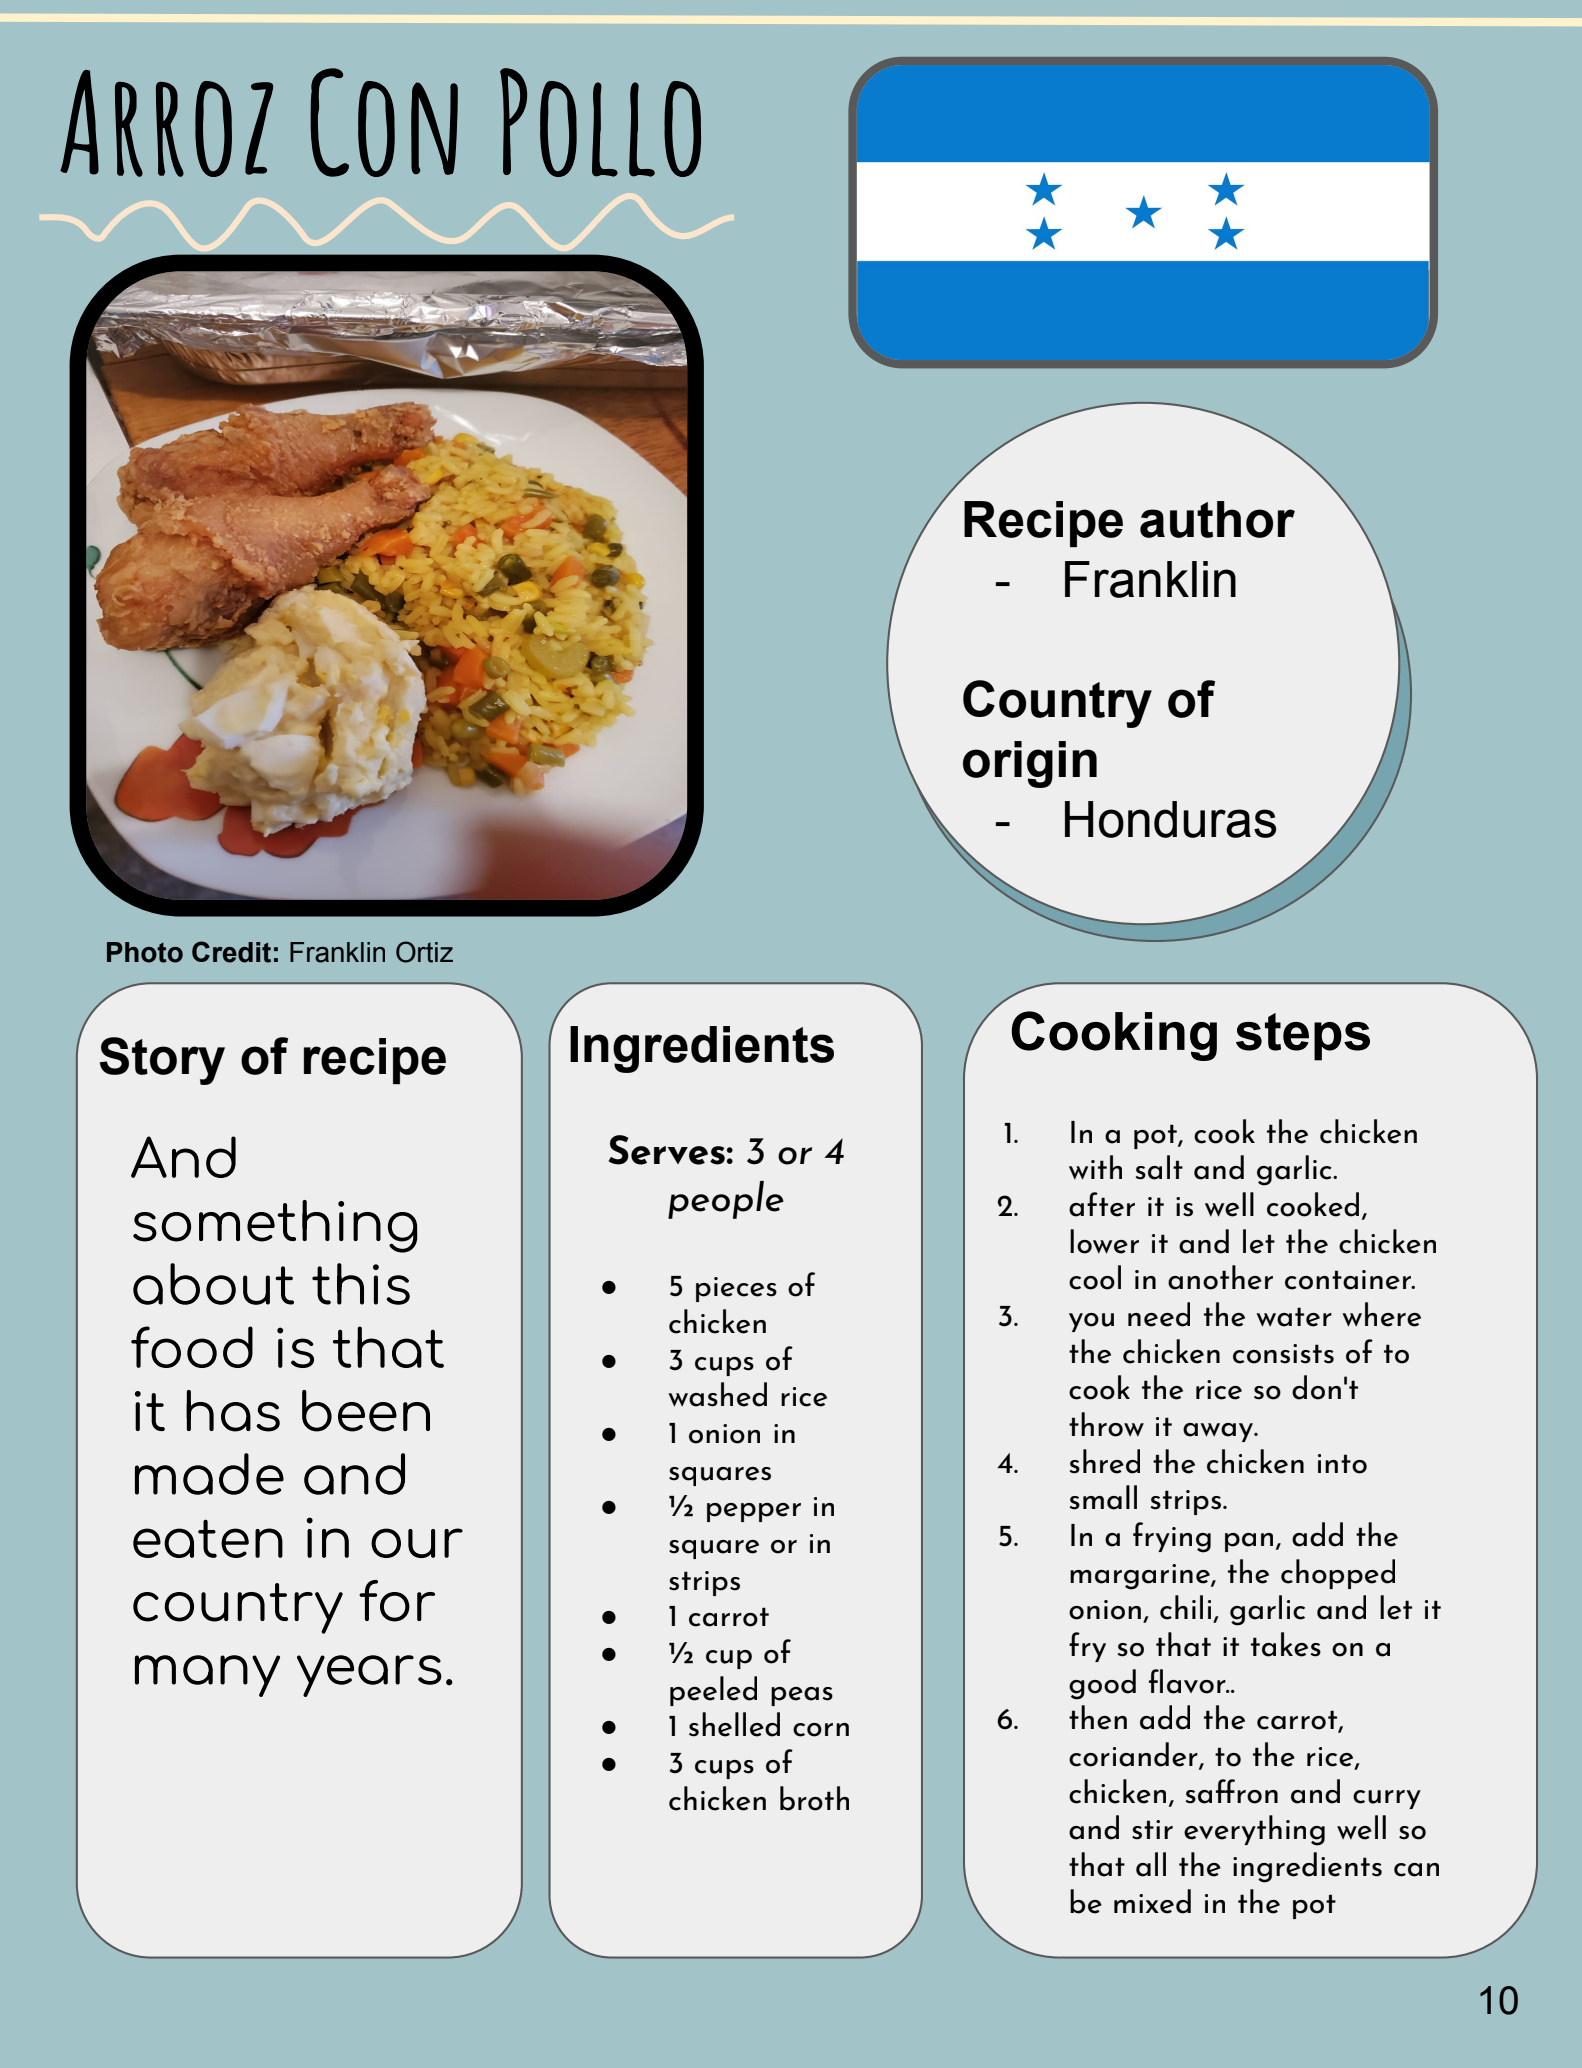
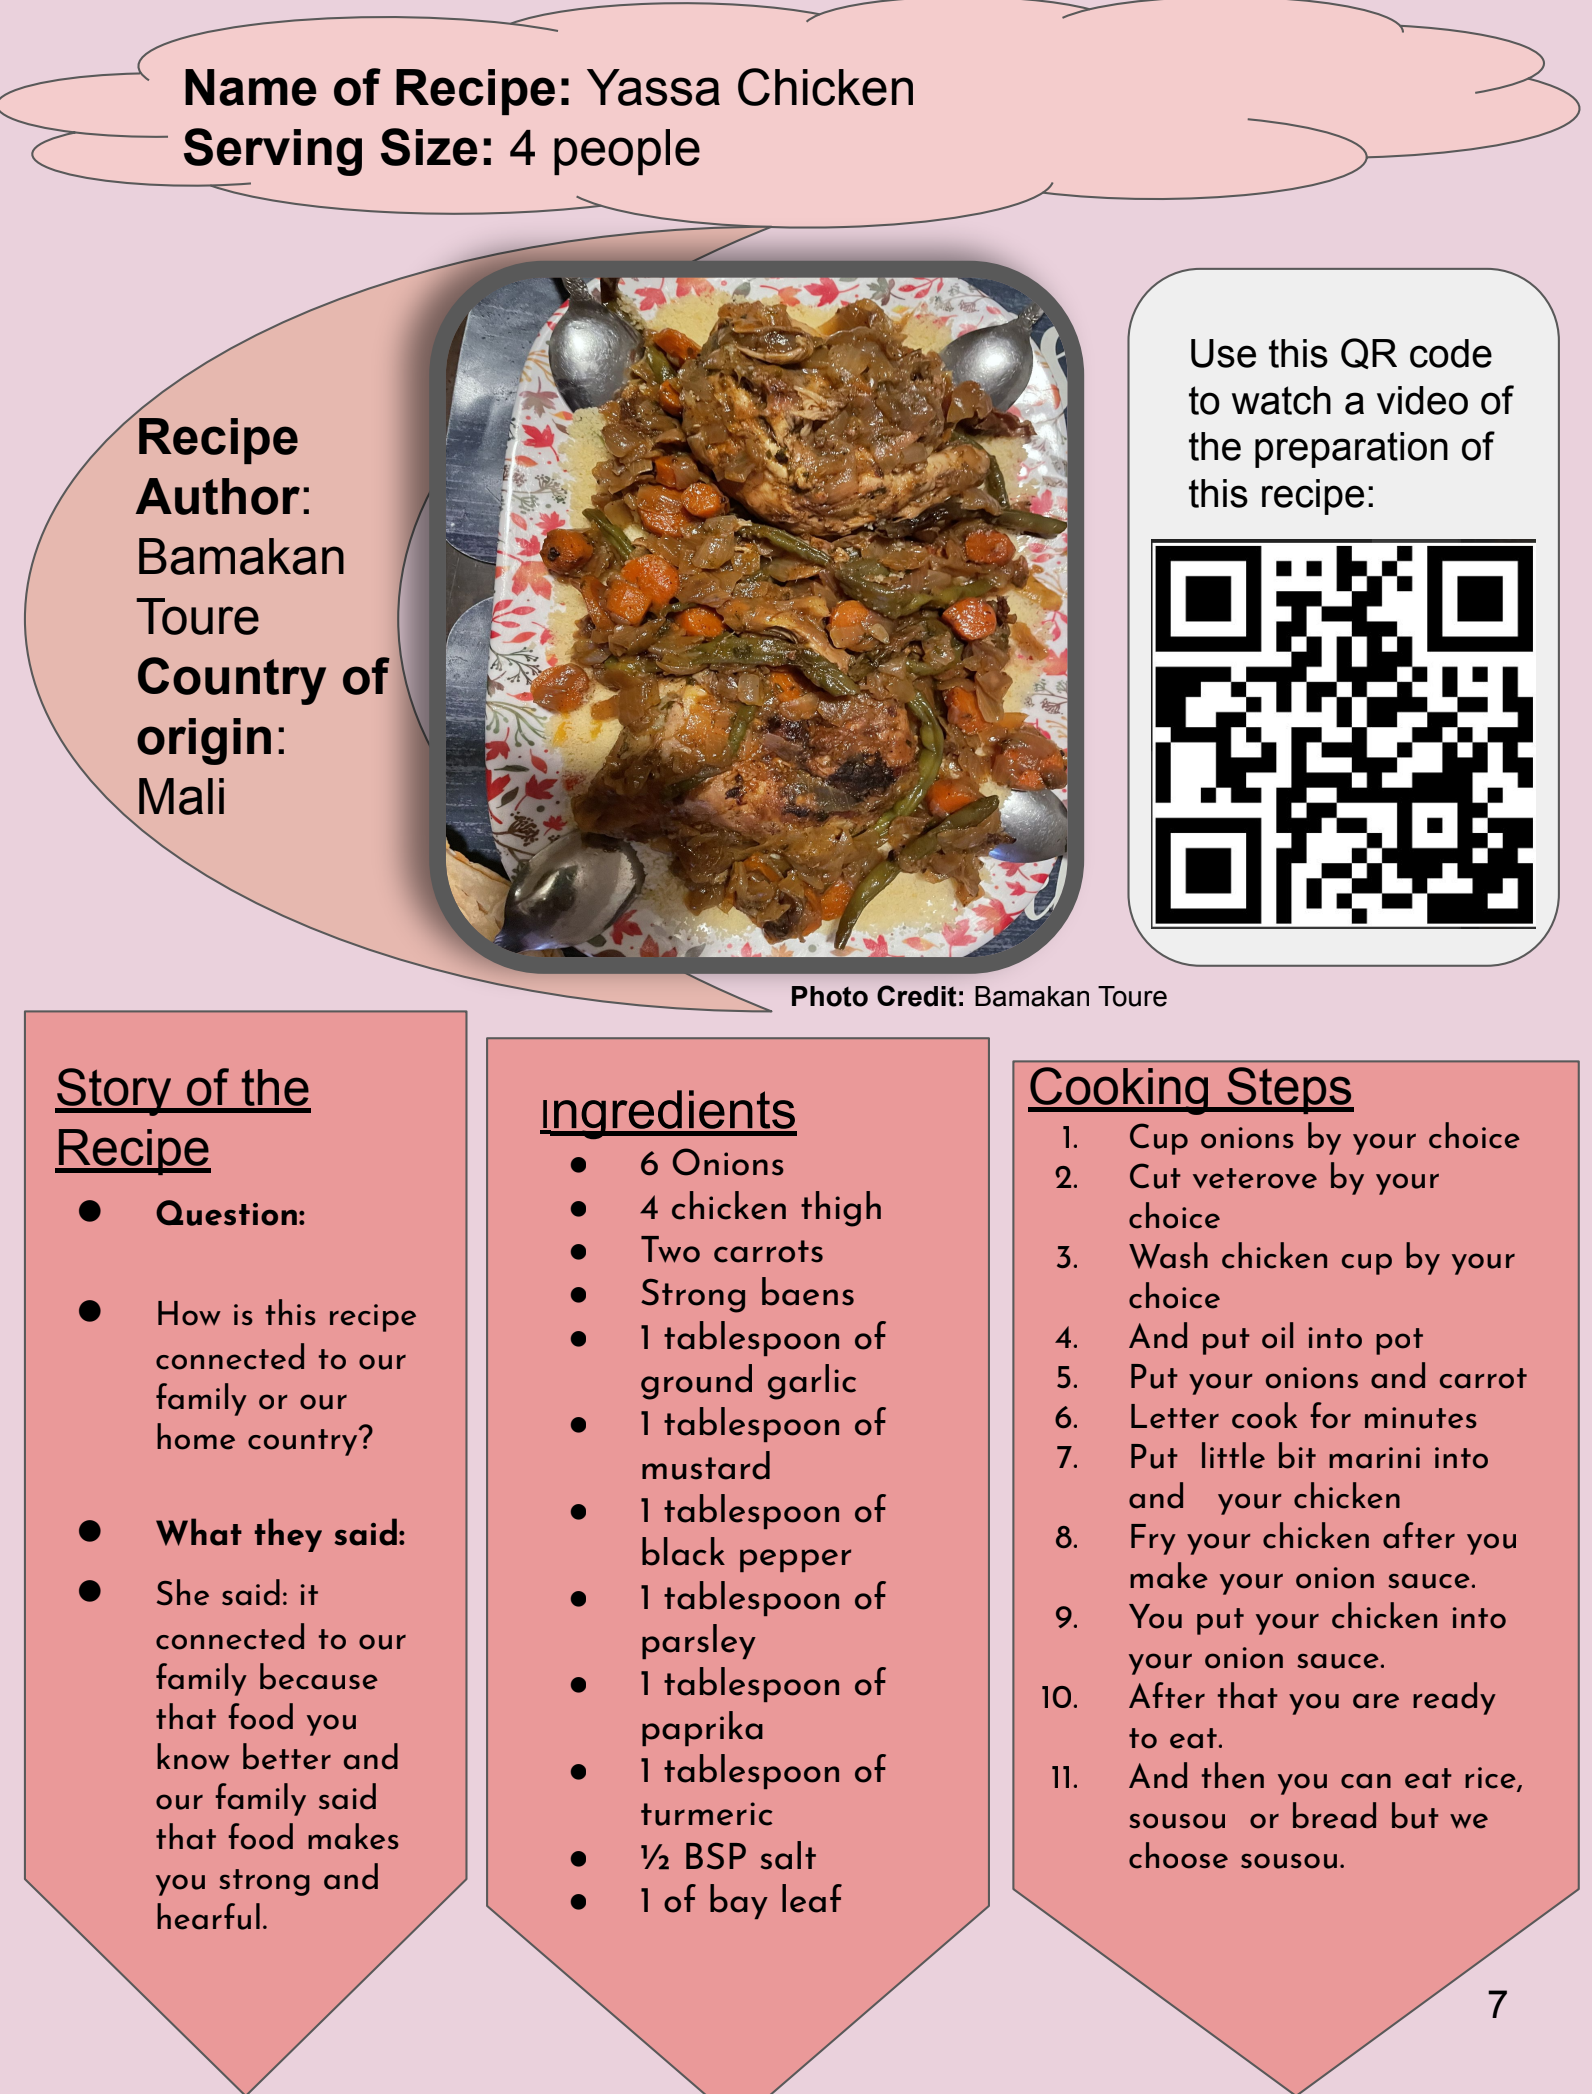
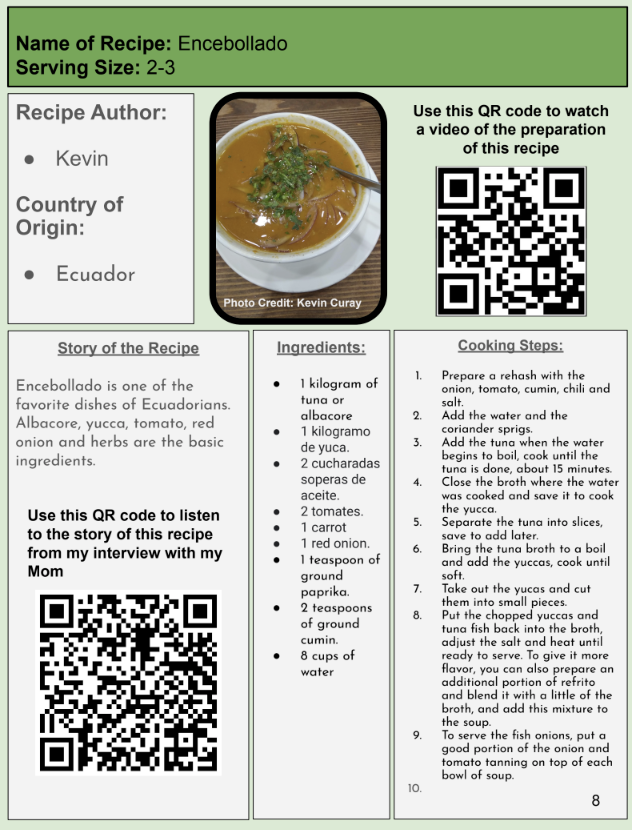
Students individually design their cookbook page using Google Slide templates created by other students. Here is the example of templates that students made for our cookbook in 2022. Make sure to modify the slides to 8.5x11 dimensions. Recipes must include their recipe name, country, the “Story of the Recipe” based on their interview, recipe ingredients with quantities, and steps to cook the recipe. If students include a picture of the prepared recipe, it needs a photo they took after they or someone in their family cooked the meal. Photos of the food are optional. Other options students can choose to add to their recipe include, creating a how-to video for how to prepare the meal and recording the audio of their family member in their native language or in English. Students link can link these by adding a QR code to their recipe.
In triads where each student represents a different edible plant and multiple countries, students present:
their recipe and why it represents food from their country.
why their recipe is healthy.
how to set up the best conditions to germinate the seed of their plant based on their group’s experimental results.
Students give feedback to one another about the design of their recipe on the cookbook recipe template.
Student editors are identified to copy edit the recipe submissions, and compile the chapter pages from the groups and the individual recipes to finalize their book. The student recipes and group plant chapter pages are added together in one Google Slide. Make sure the dimensions of each slide is 8.5x11. Export the Google Slide as a PDF document to create the final draft cookbook.
Students write thank you letters to the person they interviewed and include the link to the final draft of the digital cookbook.
If appropriate, celebrate the end of the project with a pot luck where students bring in the meals they included in the cookbook. Invite family, teachers, and other guests to the potluck. Consider using this potluck to have students present their project work similarly to how they previously presented in triads to each other.
Before moving onto the next unit, consider having students individually plant the seeds of their plant by setting up the ideal conditions they discovered in their seed germination experimentation experiment. Challenge students that as the class continues for the rest of the year, to use what they learned from the project and their experiments to keep their plants alive.